
1960s Vintage Camper Renovation: Demo, Electrical, and Fixing Leaks
After buying the trailer, it was time to start the demo. At first we planned to do some simple improvements on the trailer’s interior. But once we started the demo, we realized this was going to be a bigger project…
This post may contain affiliate links. Read my full disclaimer here.

Initially we weren’t planning to take the trailer down to the studs and start over with a full rebuild… but that’s what ended up happening.
This post is part 2 of our 1960s vintage camper renovation series. Start from the beginning here!

The Demo
We began by removing everything from the trailer. We took out the mattress, cushions, and curtains. Then, we checked for water damage.
After we bought the trailer, we had heavy rain for about a week and noticed a leak on the ceiling inside. The previous owners mentioned a small leak, so it wasn’t a big surprise. Still, we had to fix it.
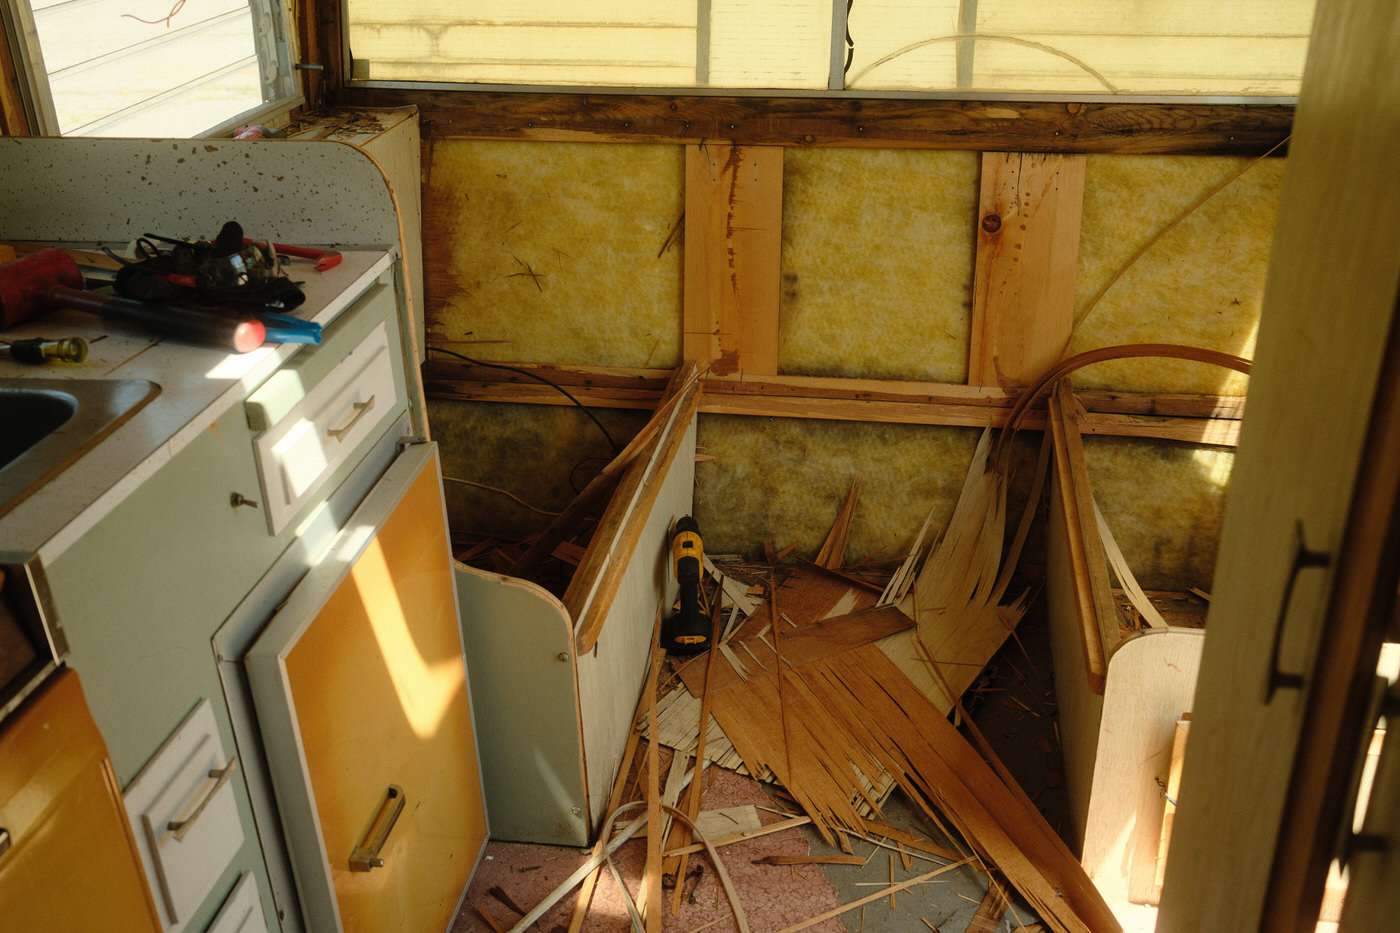
Luckily, when we pulled the wall panel down, there wasn’t any damage to the frame, but there was a little mold.
Speaking of mold, the trailer had a strong musty smell, which made me worry that we would uncover more mold. And we did.
But still, it wasn’t that bad. In most spots we did a simple mold cleanup with soapy water and then a vinegar spray.
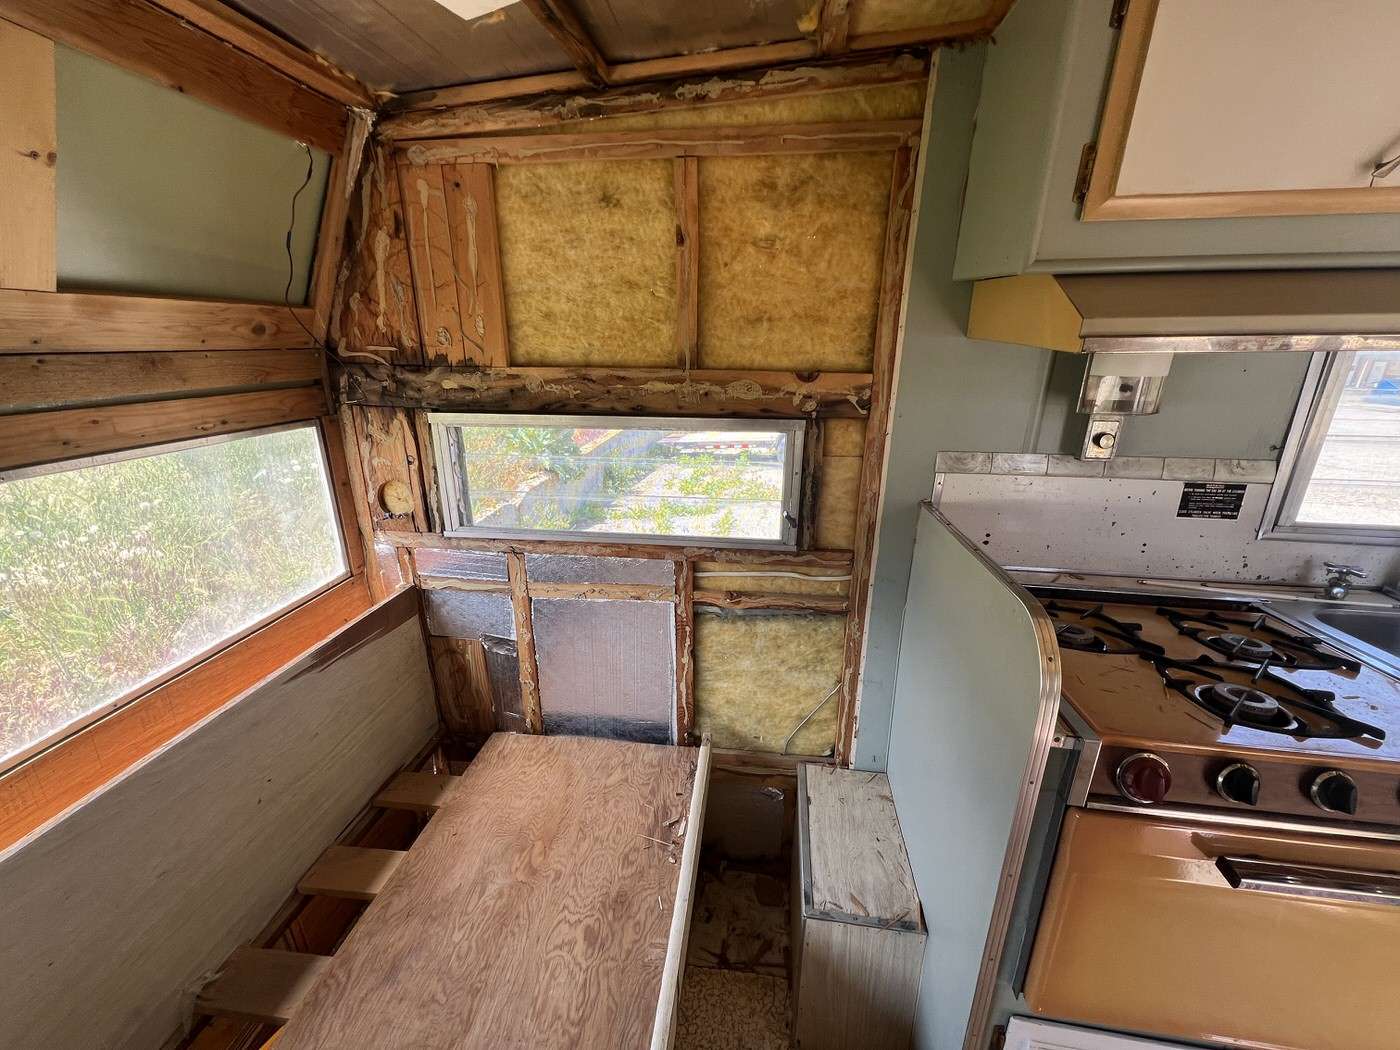
Nick replaced some wood in a few spots. But for a 56-year-old frame, it was in really good shape. I think it helps that we live in Utah where the climate is dry.
We also had to tear up the floor. The carpet was easy to pull up and throw out because it wasn’t glued down. But under the carpet was an old vinyl flooring glued down to the floor.
Since this trailer was so old, it’s possible that it contained asbestos. This added a little more anxiety to the demo days.
Nick ended up pulling up the old vinyl and then painting the floor with a few coats of a heavy duty primer. It held up well during the rest of the trailer renovation until we put the new carpet down. (More on the carpet in a later post!)
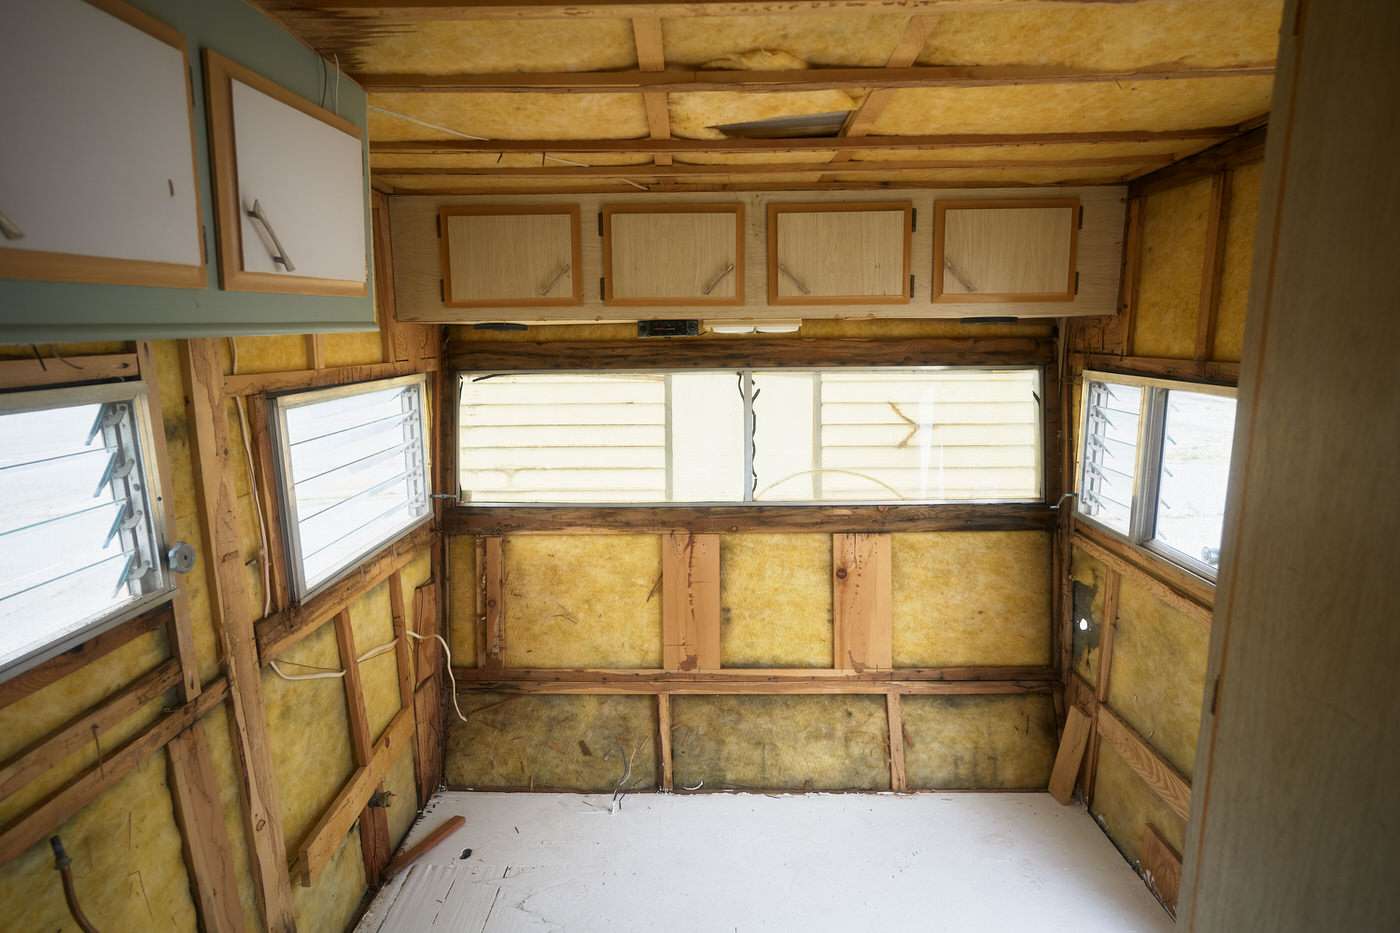

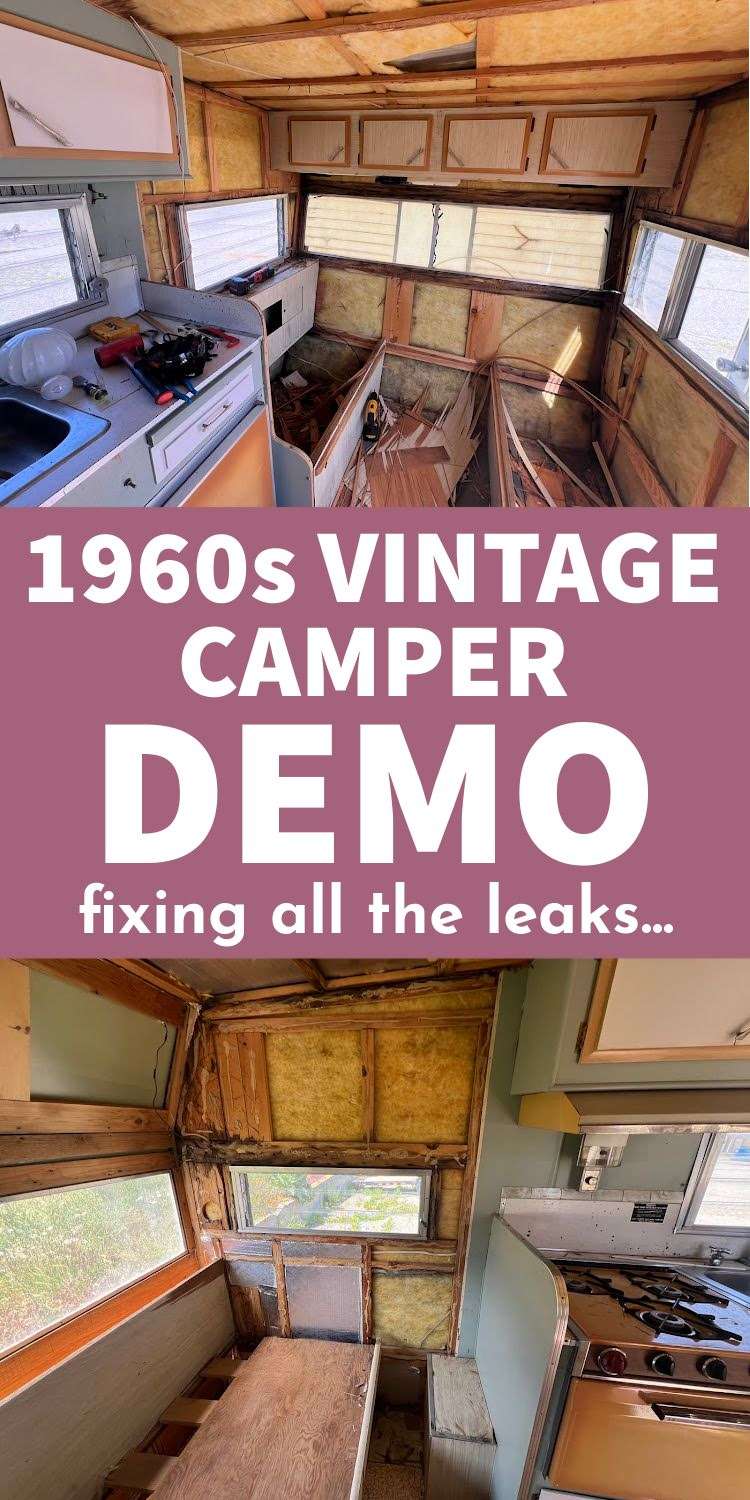
The above photos show what the interior looked like after most of the demo and painting the floor with a floor primer.
Later, we ended up taking down the cabinets in those photos and the couch platform too. But for now, most of the demo was done and we moved on to the electrical.
The Electrical
The electrical in this trailer was a complete mess. Over the years, many small fixes were made on top of one another. So, Nick decided to rewire the entire trailer himself.
We got a new 7-pin plug to connect the trailer to the truck when towing. This plug powers the exterior lights on the trailer and charges the trailer battery when we’re on the move.
To keep the battery charged at camp, we installed a solar panel on the roof with these brackets and have a second panel that can be moved around camp to stay in the sun.
We wanted this camper to be completely off-grid and not need any exterior hookups.
We decided to install small LED lights on the ceiling. There’s one above the table, another under the kitchen cabinets, and one over the bed.
These 3 lights would be on the same dimer switch.
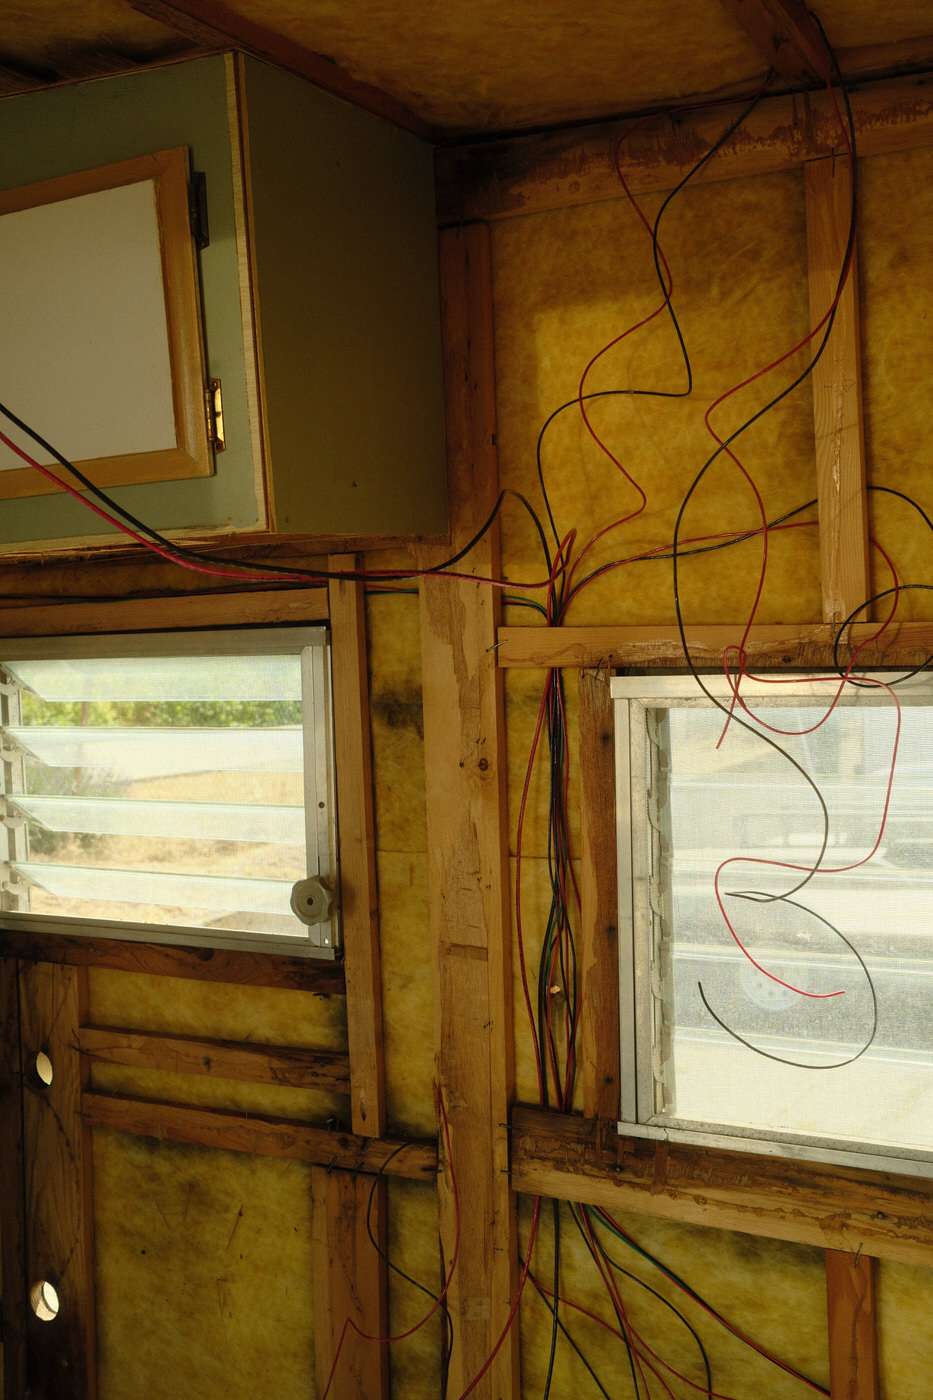
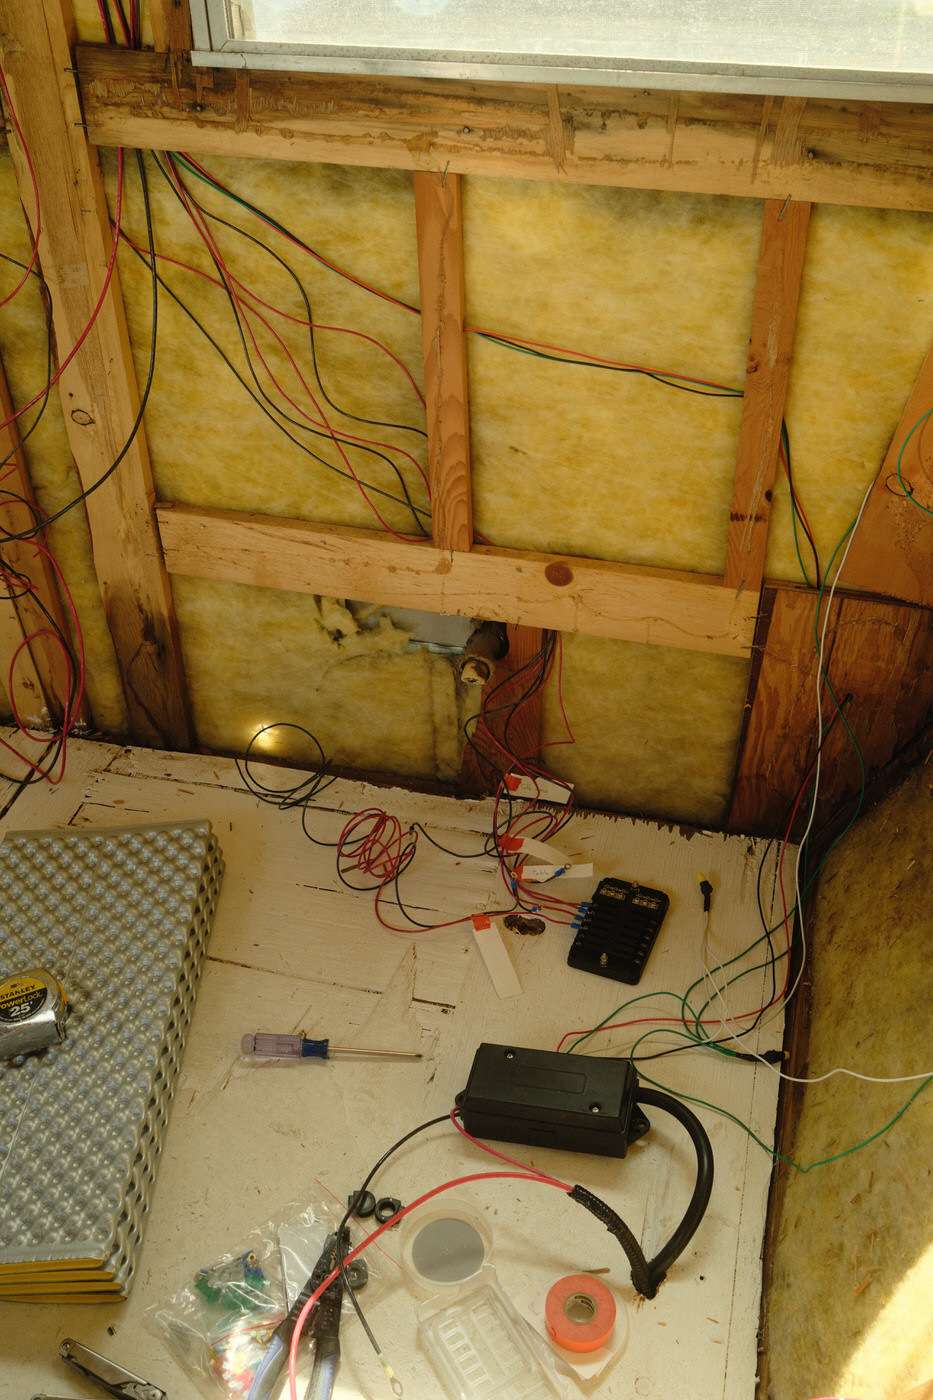
Nick also wired for two wall sconces – one around the table area, and one around the bed area. Each of these lights are on their own dimmer switches. We have 3 dimmer switches in total.
If you’re laying in bed, you can easily turn the bed light on and off without having to get up.
Nick also planned to have a few places were we could charge our phones and computers. We plan to take this camping trailer on long trips. It will be nice to get some work done while we’re on the go!
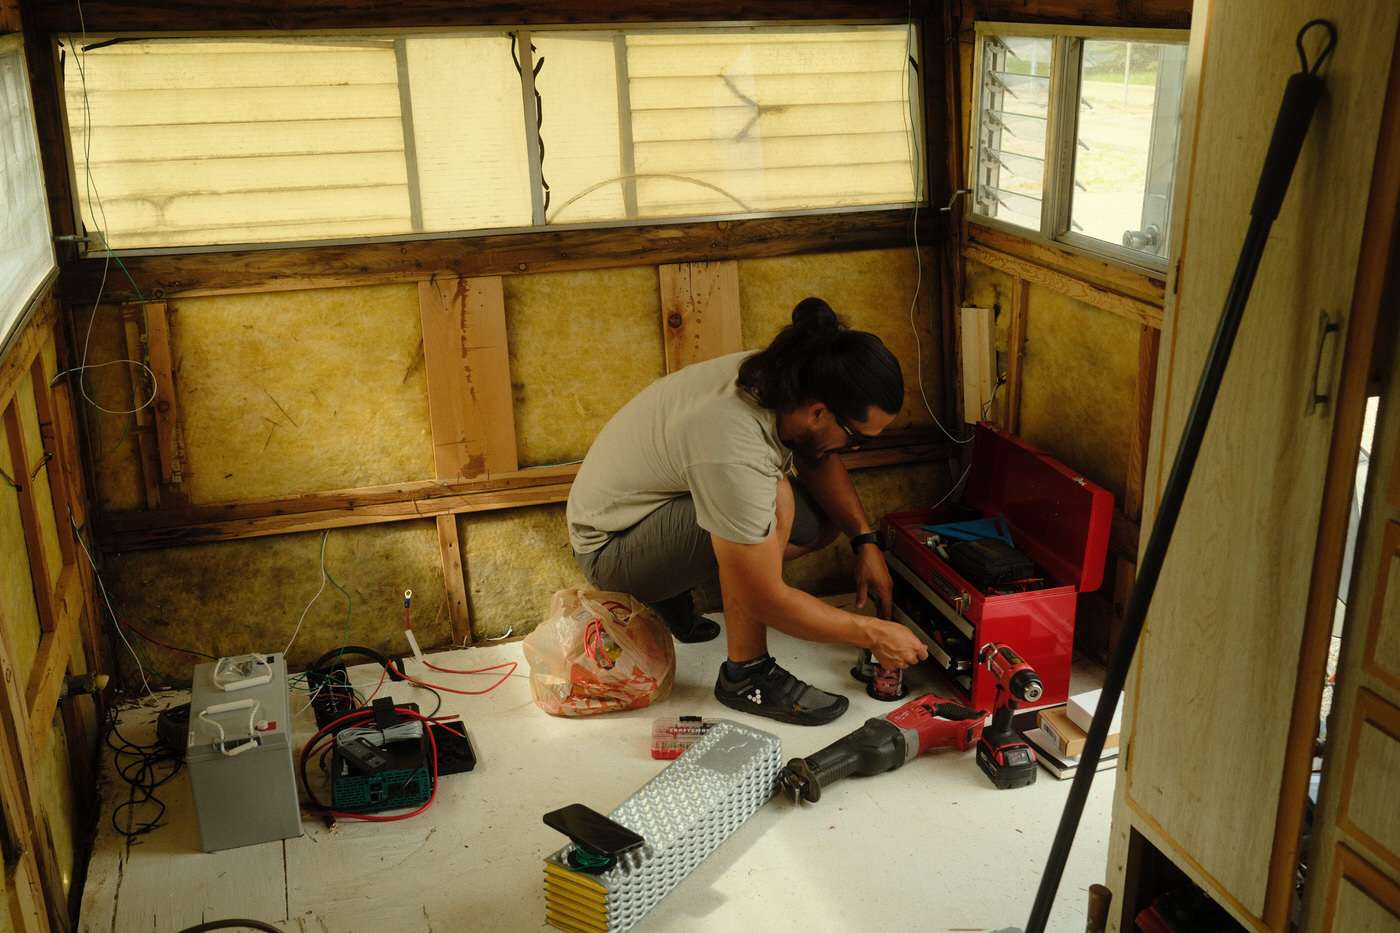
Trailer Power System Details from Nick:
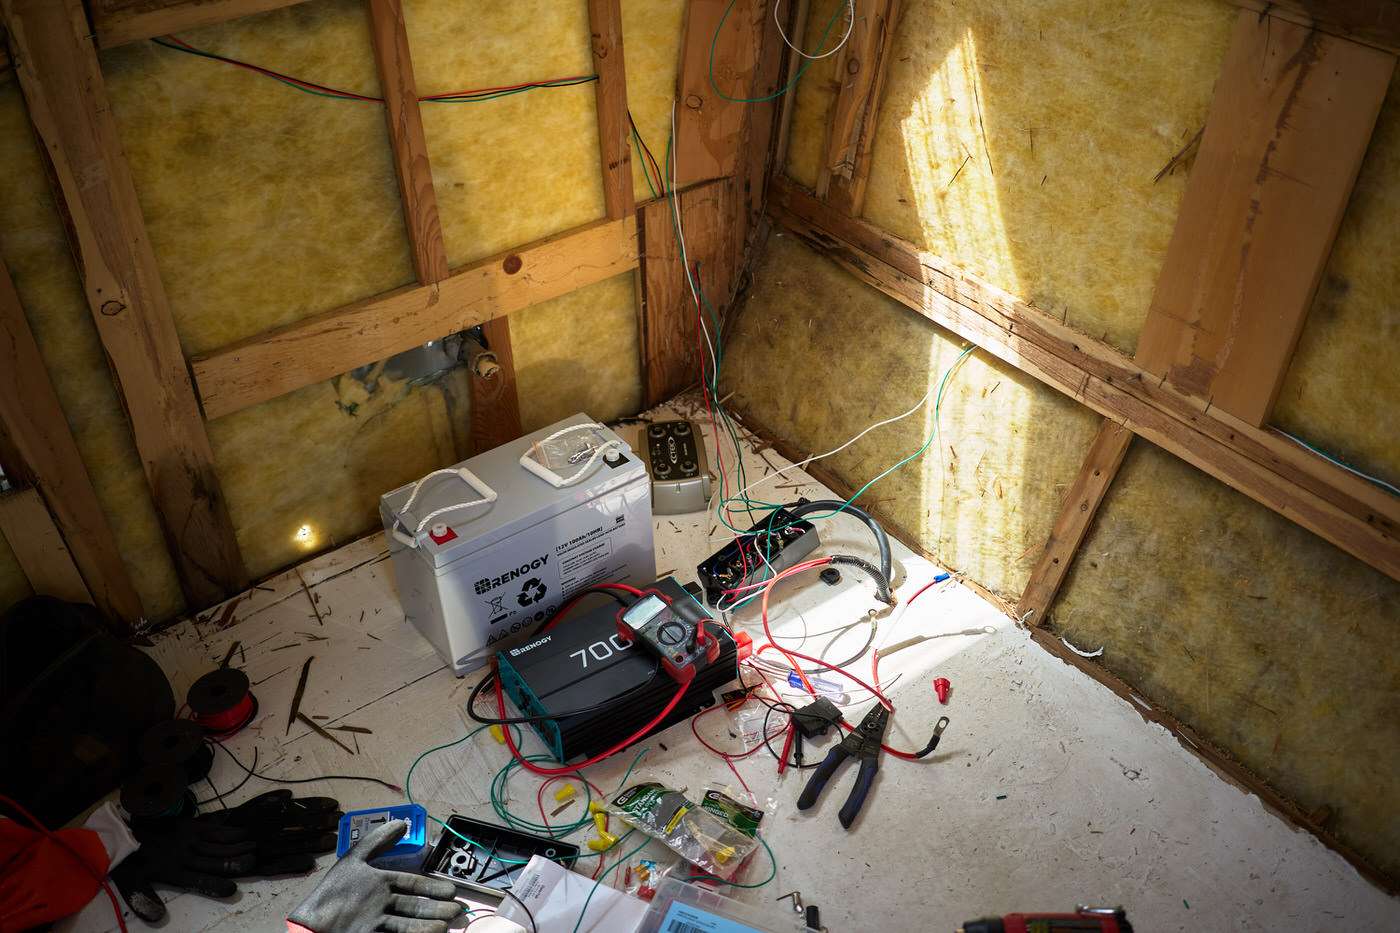
I built the power system in the trailer to be completely off-grid. We have a 100AH AGM battery. An AGM battery is completely sealed so it’s safe to use indoors unlike a conventional lead acid battery, and it’s more affordable than lithium ion batteries.
We have a charge controller from CTEK that has inputs for an alternator (7-pin plug) and solar panels. The controller takes power from these inputs, monitors the temp of the battery, and charges it at a rate that keeps the battery in good health.
From the battery, heavy duty wires lead to a fuse box. From the fuse box wires lead to the various places we need power in the trailer (lights, outlets, fridge, gas sensor).
We also have a power inverter that is directly connected to the battery with fused heavy duty wires for the rare times we need a 120v outlet.
The outlets we have available around the trailer to charge our devices are all heavy duty 12v outlets like you’d find in your car and we use USB-C car chargers to charge our phones, laptops, and camera gear.
Initially we didn’t plan to have a 12v fridge so I thought 100AH would be plenty. After adding the fridge I wish we had chosen a slightly larger battery, but if we’re good about keeping our mobile solar panel in the sun everything works great.
The Insulation
Much of the old fiberglass insulation was still in good condition. So, in most areas, we simply added another layer of foam insulation on top.
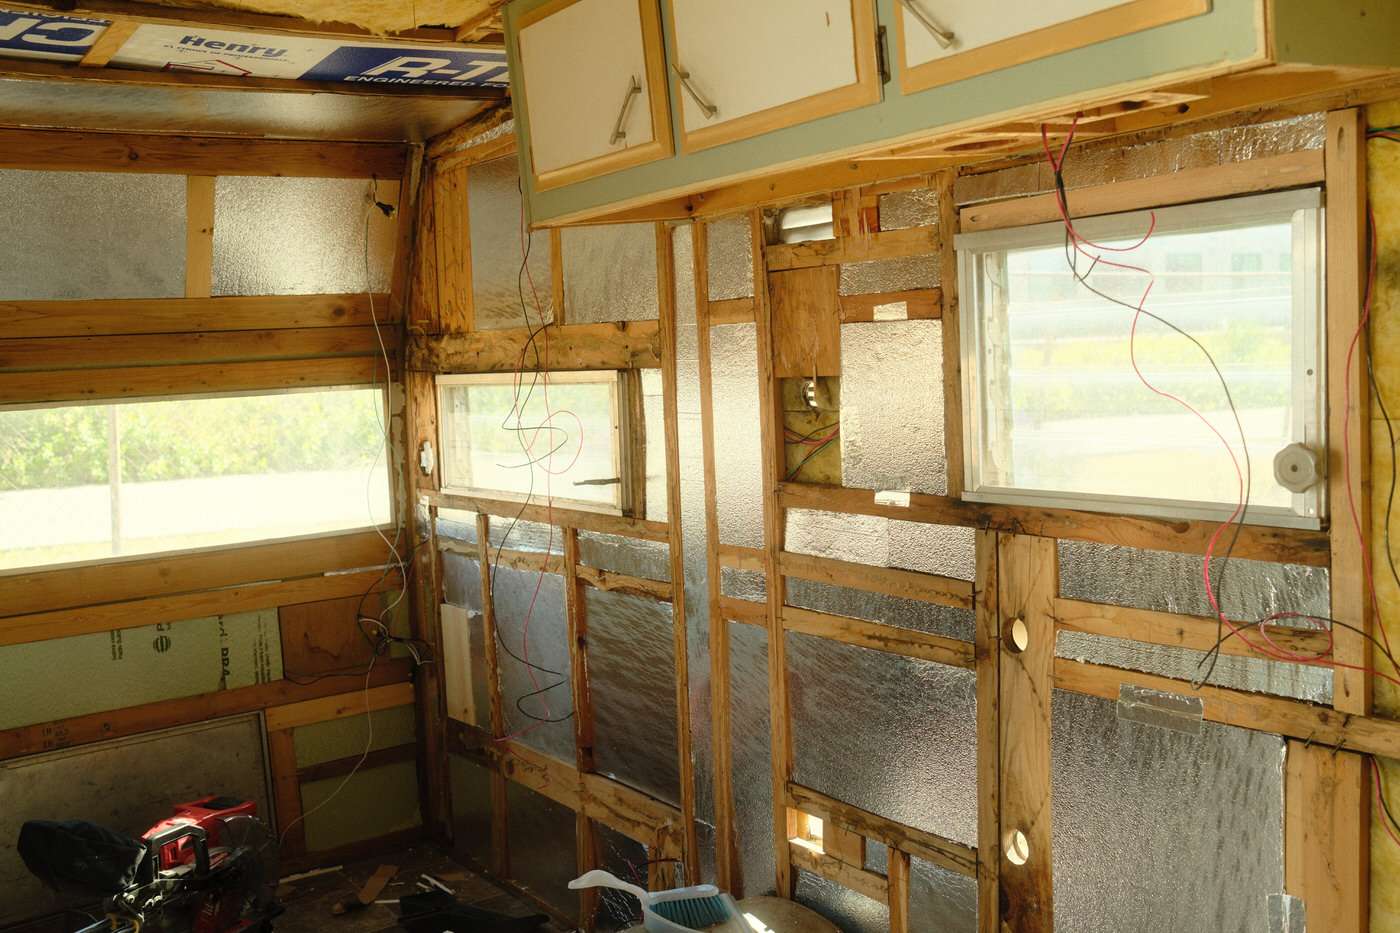
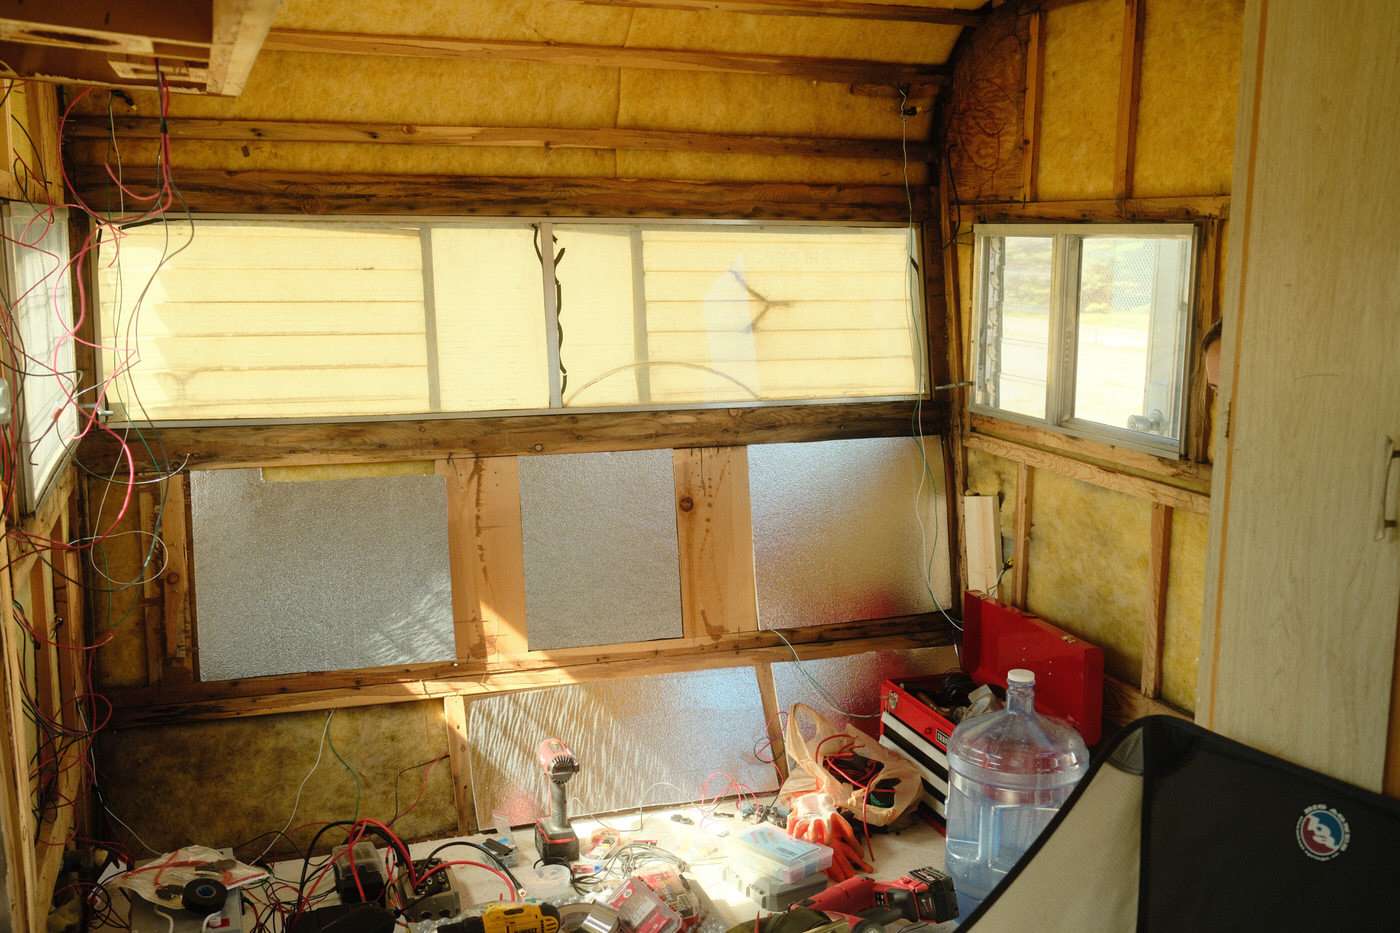
In the areas where we needed to remove the original insulation, we added two layers of foam.
This part of the process was easy and I settled into a routine of measuring and cutting foam over and over again.
Fixing the Leaks and Holes
The next few weeks were full of some of my least favorite tasks in this renovation: fixing leaks, resealing the windows, and installing new J-gutter.
Since we did not have an indoor space to work on this trailer remodel, we had to do things a little out of order.
For example, painting the exterior was one of the last things we did. It would have been a lot easier if we could have done that while all the windows were out.
But that would mean leaving the trailer outside exposed for a few days. I didn’t want to have any windows open to the weather or curious people nearby.

So we got to work sealing the leaks on the roof. We used a putty knife and a wire brush on the drill to clean old sealant in the seams of the metal. Then we applied RV lap sealant to all the seams and some small pinholes that we found in the metal.
For the small holes around the sides of the trailer, we used Waterweld by J-B Weld. We sanded it down before we did our final exterior paint and it looks great.
For the larger holes, we used a spare piece of aluminum siding that we found at a junk store. We cut the aluminum to size, rounded the corners, riveted it into the existing shell, and sealed it.
Nick also spent a lot of time polishing the roof as you see in the video above. In retrospect, this was a waste of time.
Polishing and Resealing the Windows
We saw signs of leaking around the windows while checking for water damage during the demo. We knew we had to remove the windows and give them a clean and fresh seal.
We also spent a lot of time polishing every crevice of the windows. First we used the steel brush on the drill. Then we used different sized steel wool to polish the aluminum by hand. This was such an arm workout!
Again, I wish we didn’t spend so much time on this part. It looked good, but in the end, I think it was too much effort for the payoff.


Once the windows were out, we had to scrape the thick sticky putty off of the trailer and the window. This part sucked! It was a mess and took such a long time. We used these plastic razor blade scrapers a lot.
I do believe resealing the windows was a necessary step, but we were so glad when all this was over.

We used this butyl tape all over the trailer windows (photo above) and under the J-gutter. Then we scraped away the excess and did a final seal with TremPro 635+ Polyurethane sealant that I bought from Vintage Trailer Supply. (see note below)
Note: At the time of our renovation, the TremPro 635+ was the sealant recommendation for vintage trailer restoration by Vintage Trailer Supply. They don’t sell that one anymore and instead now recommend this one.
Our trailer has old glass jalucee windows that we love. They are one of my favorite things about the trailer. I wanted to take good care of them so I bought all new window gaskets too.
They no longer make these windows. But, I found the right gaskets on this Vintage Trailer Gasket website. This website was really helpful in figuring out what I actually needed!
A couple of the windows have larger panes of glass that needed to be replaced. For those replacements, we used this tape that was the right width for our specific windows.
All of this was a lot to figure out, and we were very glad when it was done.
Replacing the Exterior J-gutter
We did the same thing with the J-gutter around the exterior of the trailer.
I got new J-rail from Vintage Trailer Supply. We took off the old gutter and removed the putty. Then, we installed the new gutter with the new butyl tape.
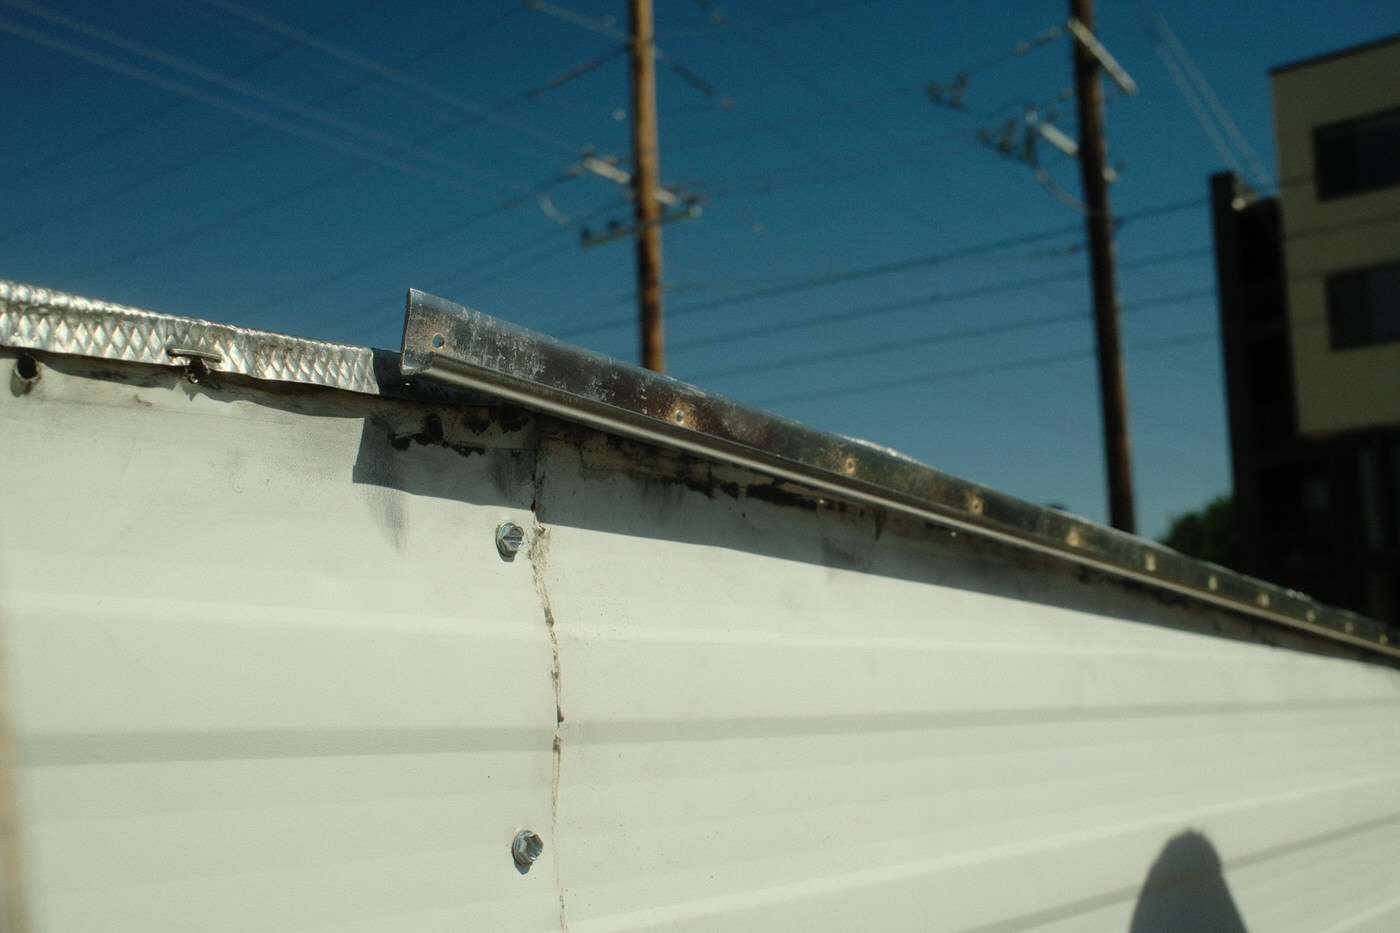
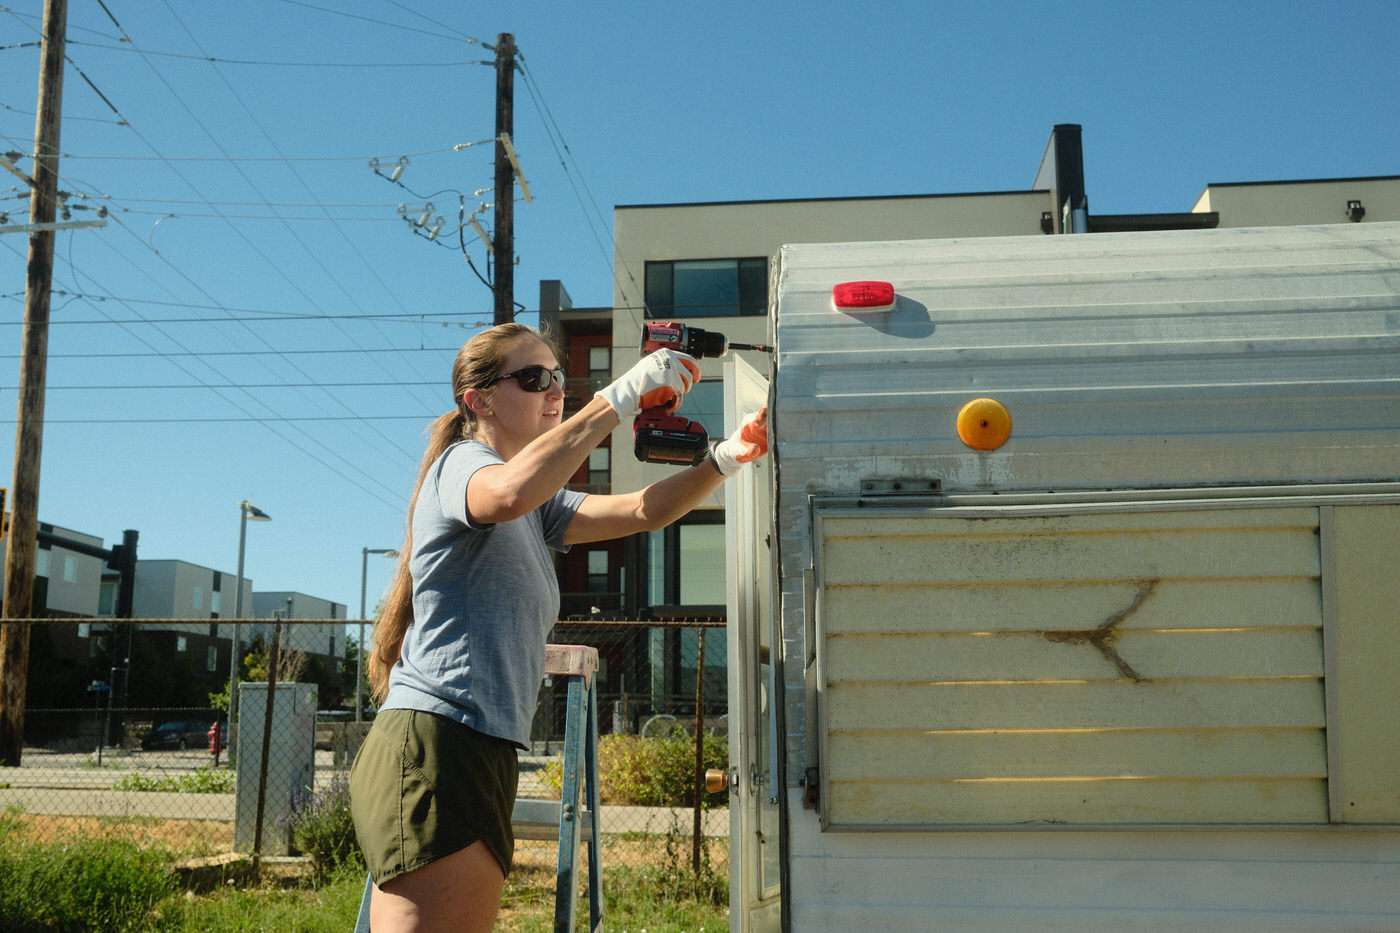
Tip >> The butyl tape is SO much easier to work with when it’s cold. We stored it in a cooler until we were ready to use it.
Then we scraped off the excess putty and did a final seal with the same polyurethane sealant I mentioned above for the windows.
After all this work, things didn’t look much different. Still, it felt good to know we sealed all the windows and seams and nothing was leaking.
Next up, Part 3 – the new layout and finally starting the rebuild…
Save for later on Pinterest!


Hi Amanda,
You and Nick did such a great job on the camper and this is so well documented too. Really appreciate this!
I may have missed it, but what did you put up for the walls after you did the demo?
We have a 1962 camper a lot like yours and I’m considering going down to the studs to fix the wiring also.
Thanks!
Brad
Hi Brad, for the walls we used the thinnest plywood that we could find. We got it at Lowes and I think it was the Patriot Timber 5mm plywood. It worked great!