
1960s Vintage Camper Remodel: New Layout and Rebuild
After weeks of tearing the trailer down, fixing leaks, and installing insulation, it’s finally time to start rebuilding the trailer into our dream camper!
This post may contain affiliate links. Read my full disclaimer here.
This post is part 3 of our 1960s vintage camper renovation series. See the before photos here or check out the demo and electrical in part 2 here!

Installing New Walls
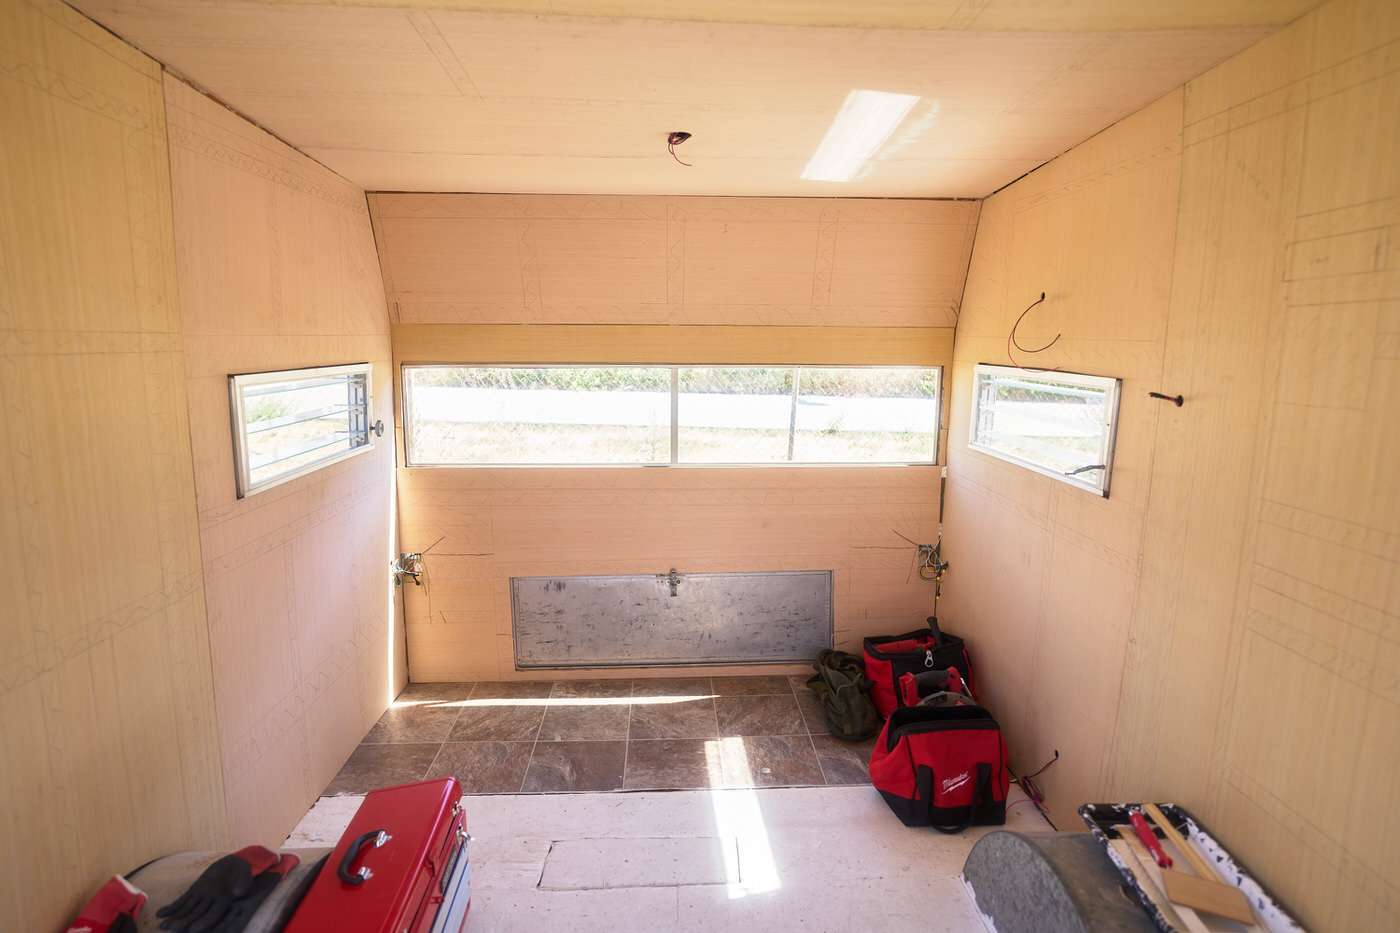
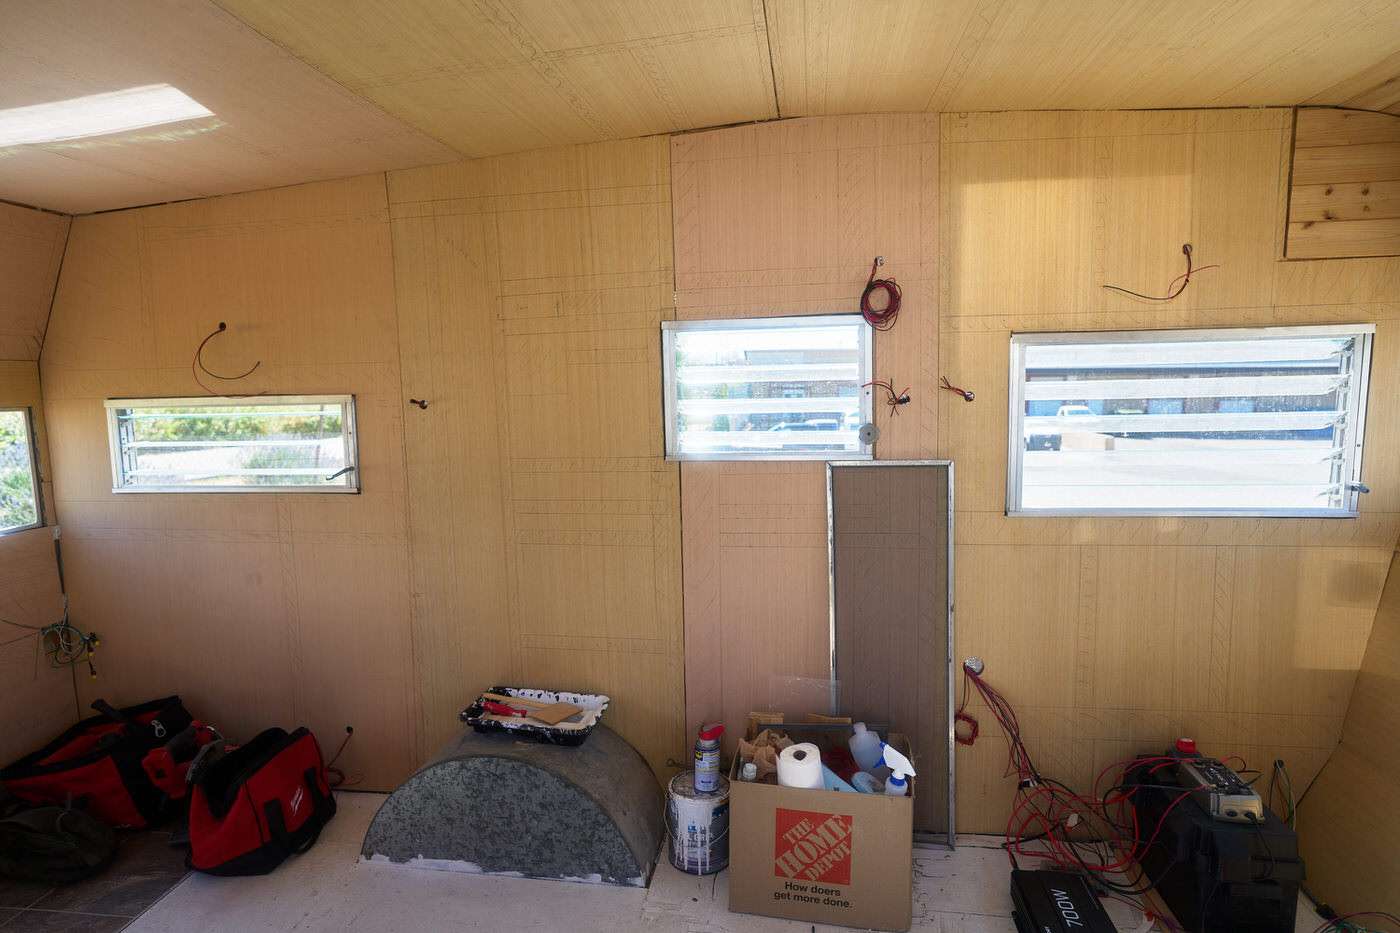
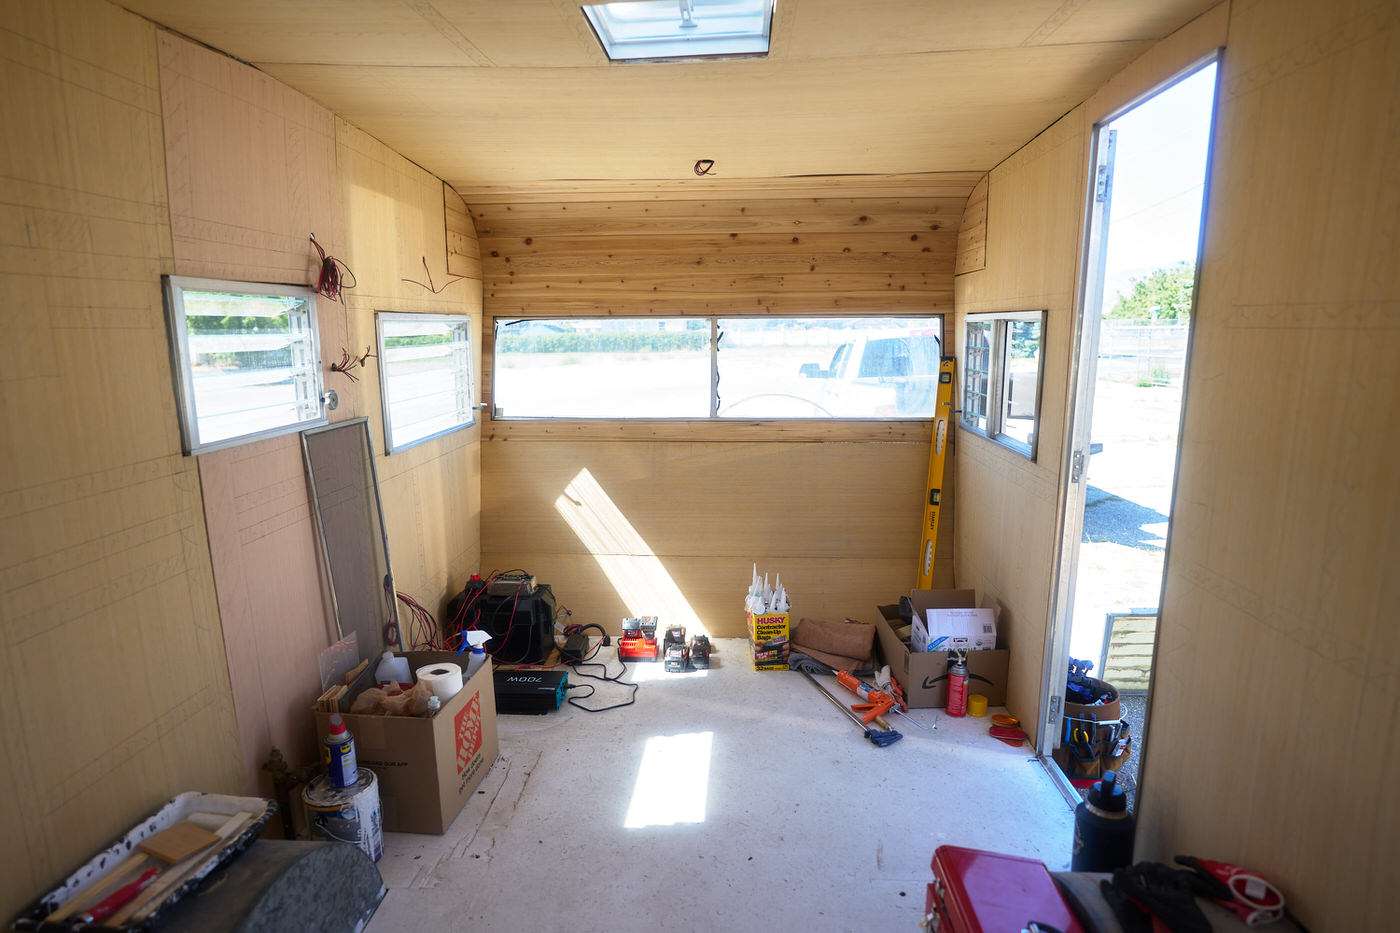
Once the insulation was in, we started putting up new walls. We found very thin wood panels at Lowe’s and Home Depot.
Nick did all the painstaking work to measure and cut these panels. He roughly measured and drew where all the frame pieces were behind each panel so we knew where to put the nails.
It took a lot of time to do this, but it was so much easier to install the panels in the end.
We used a good amount of wood glue first and then a nail gun to get all the panels installed. It’s finally starting to look good!
Vintage Camper Remodel: The New Layout
For the new camper layout, we only made a few small changes from the original layout.
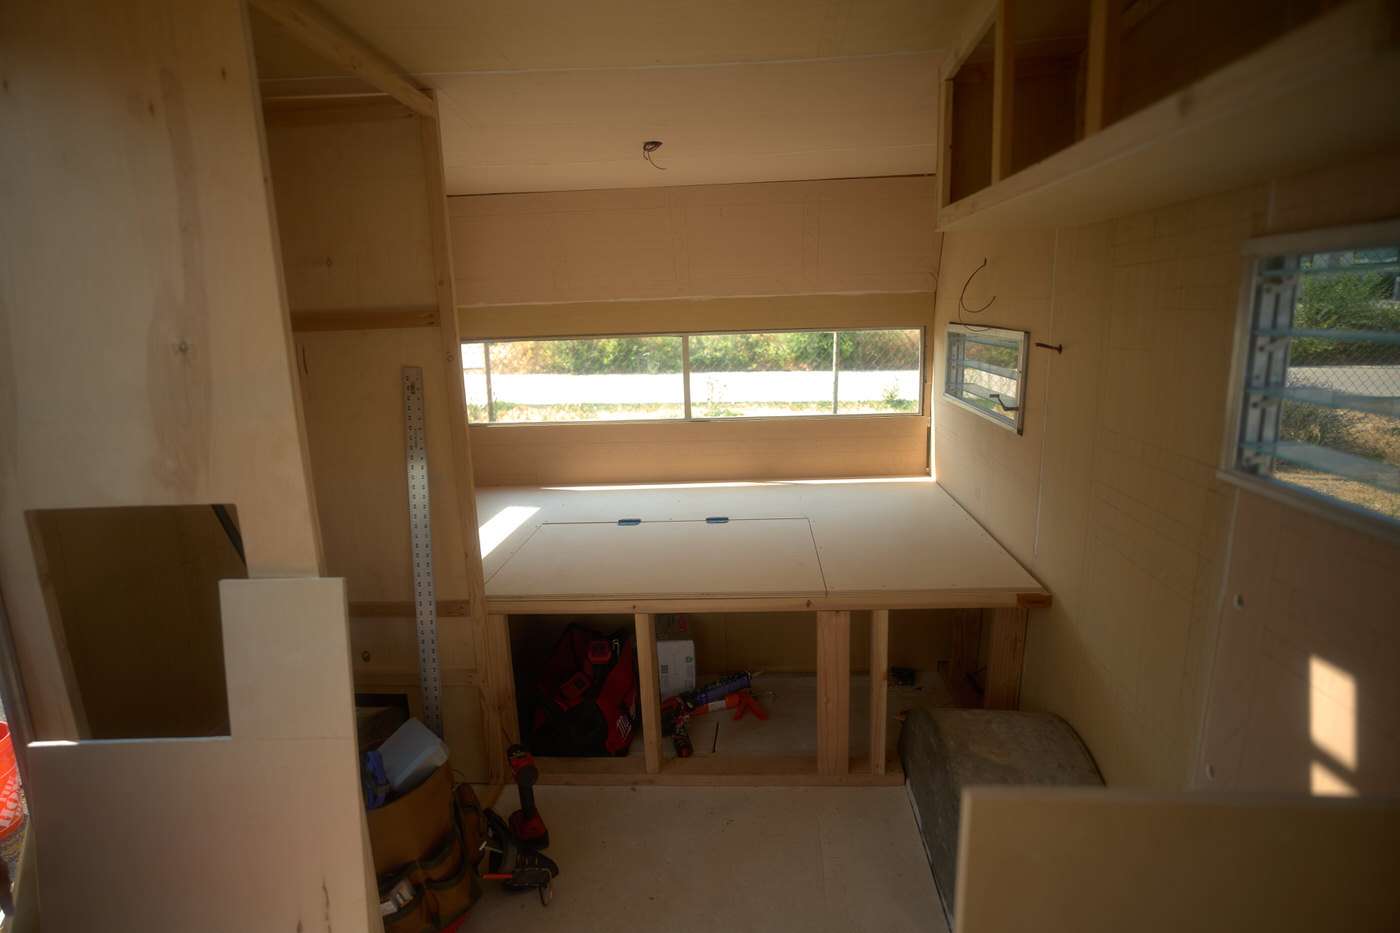
The original trailer had a couch that converted into a bed. Since we had a nice seating area with the table, we didn’t think we would ever need the couch, so we wanted to make that area into a permanent bed.
This was a lot easier construction and it allowed us to build the bed up higher and create more storage underneath.
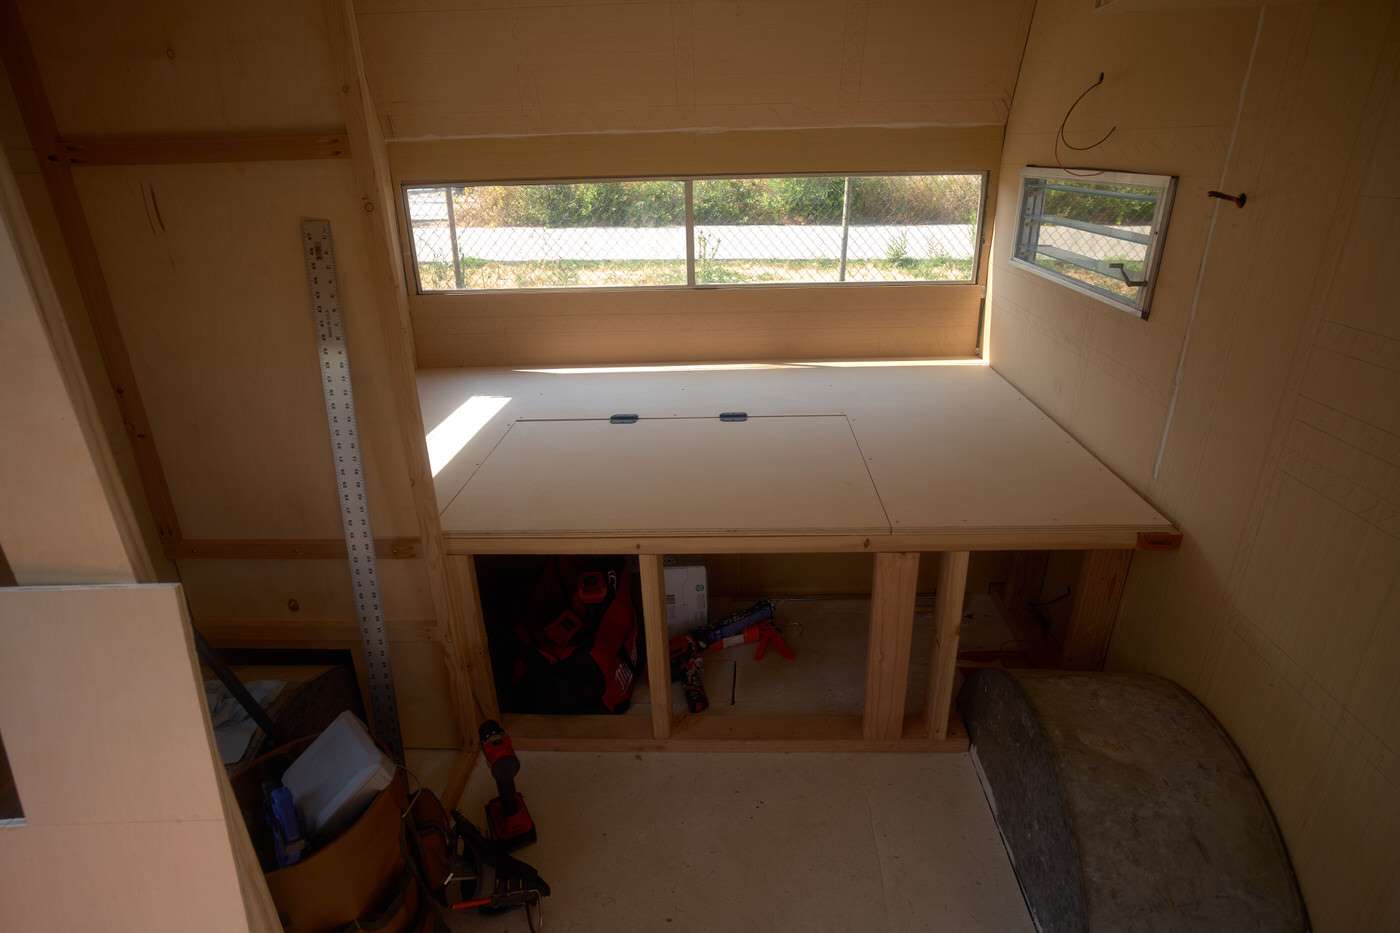
We also decided to build the bed platform to be the size of a full size bed. The original bed area was a few inches smaller than that.
I knew that a full size bed would be so much more comfortable for me and Nick. I’m so glad we did this.
To accommodate the full size bed, we had to rebuild the wardrobe and the kitchen about 3 inches smaller.
The wardrobe area originally had two doors and some drawers, but we modified it to have one large door instead.
All these design changes turned out great. We’re so happy to have a full size bed where we can both sleep comfortably. The wardrobe and kitchen area still feel like they have plenty of space.
Check out the progress in the video below…

Building a Cedar Shelf
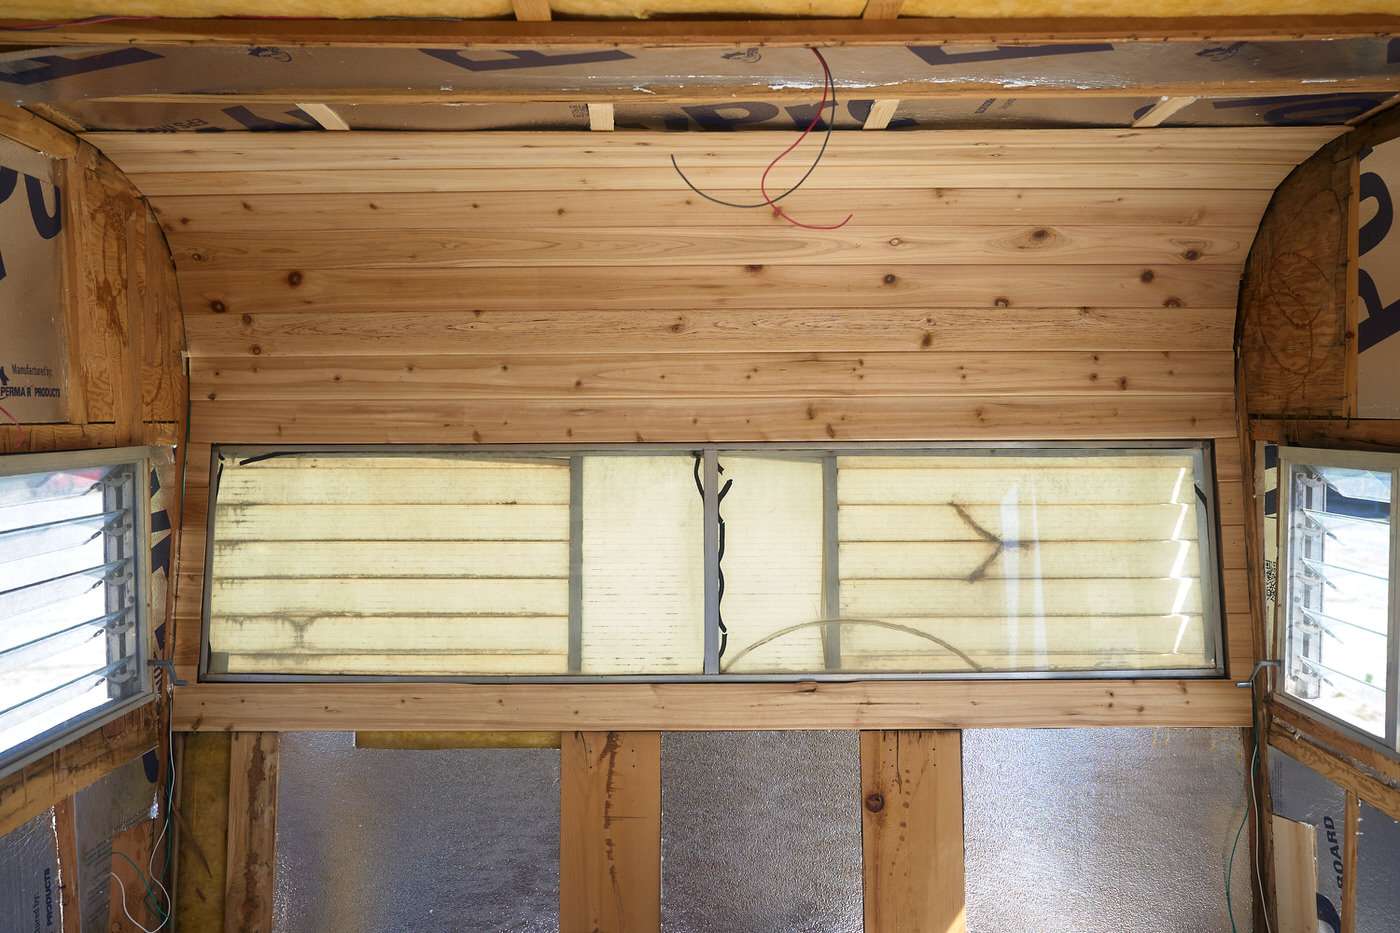
We chose to put an open shelf above the table instead of cabinets. I thought this would look nice and also make the space feel more open.
I found thin cedar panels at Home Depot. It was a lot trickier to install the curve than we thought, but it ended up looking really good.
After the curved back was installed, we waited to finish the shelf until later in the renovation.
The original cabinets came out about 16 inches, so we planned for our shelf to come out the same distance.
Luckily, we found a project board a Lowes that was about 16 inches wide and worked well. We added a lip to the shelf and then sealed the wood with 3 coats of a matte polyurethane.
We found basic metal brackets on Amazon that we installed in the middle so that the shelf doesn’t warp over time. I have more pictures of the finished shelf later in the renovation.
Rebuilding the Bed and Benches
Once all the walls were up, we started rebuilding the bed and benches with the new layout mentioned above.
Nick wanted to use 2×4’s to have a really solid build even though this did add some extra weight. (The weight of the trailer still wasn’t too much for the trailer axle, leaf springs, or our truck to tow.)
One of the best tools we used for this part was this Kreg Pocket Hole Jig. I drilled SO MANY pocket holes during this rebuild. This kit is a must-have!
We split underneath the bed into two sections – one side accessed from the outside, and one from the inside.
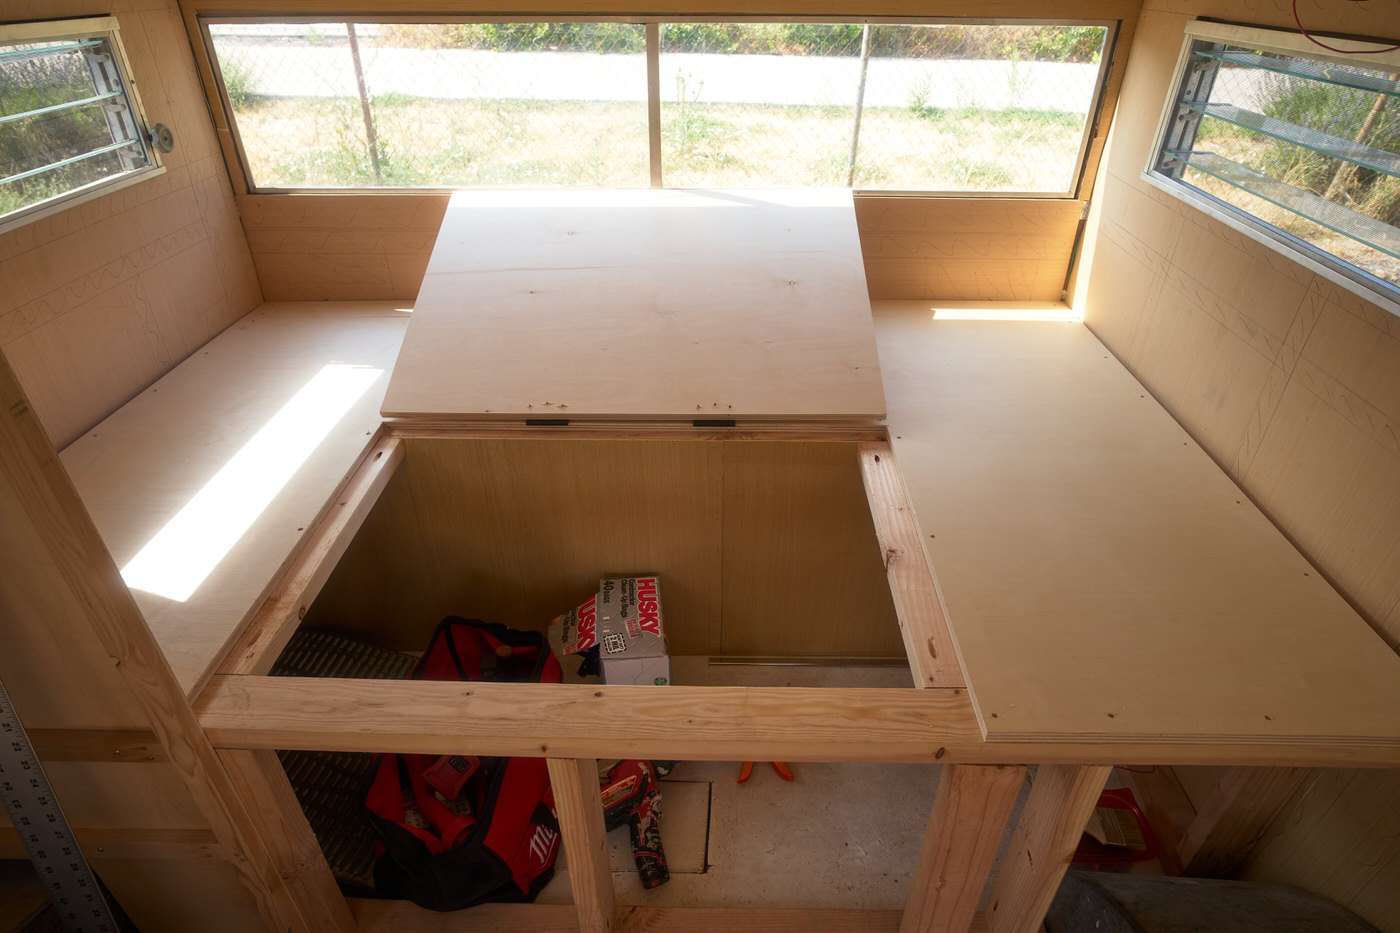
We topped the bed area with a piece of 3/4 inch plywood. Then we cut a large opening in the top to make a door.
We thought it would be great to access the storage area from both the top and bottom. But in reality, the top storage hatch hasn’t been useful.
The mattress is way too heavy to lift for access to that storage door.
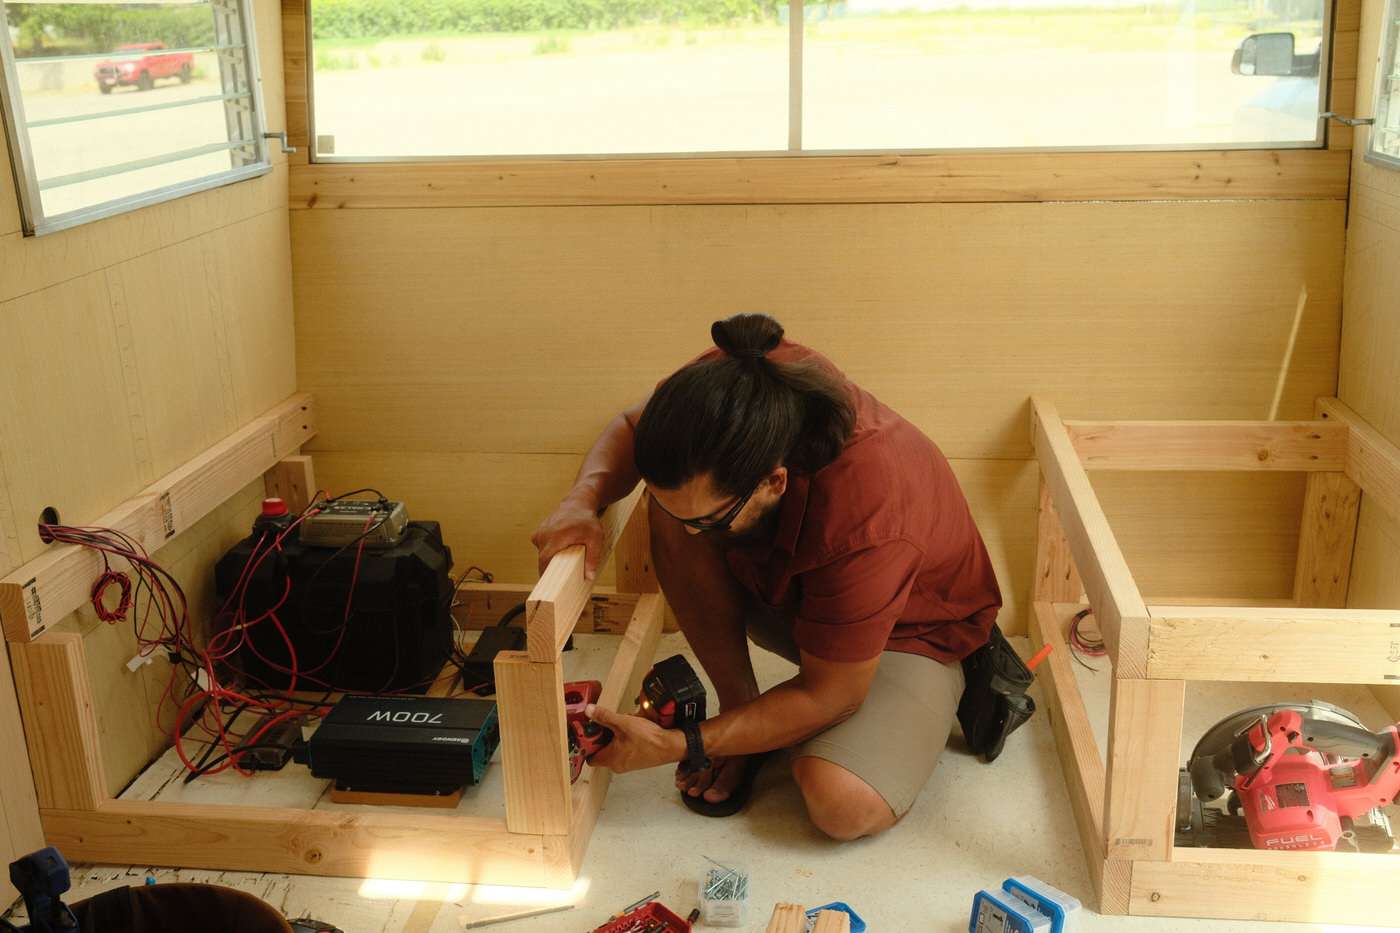
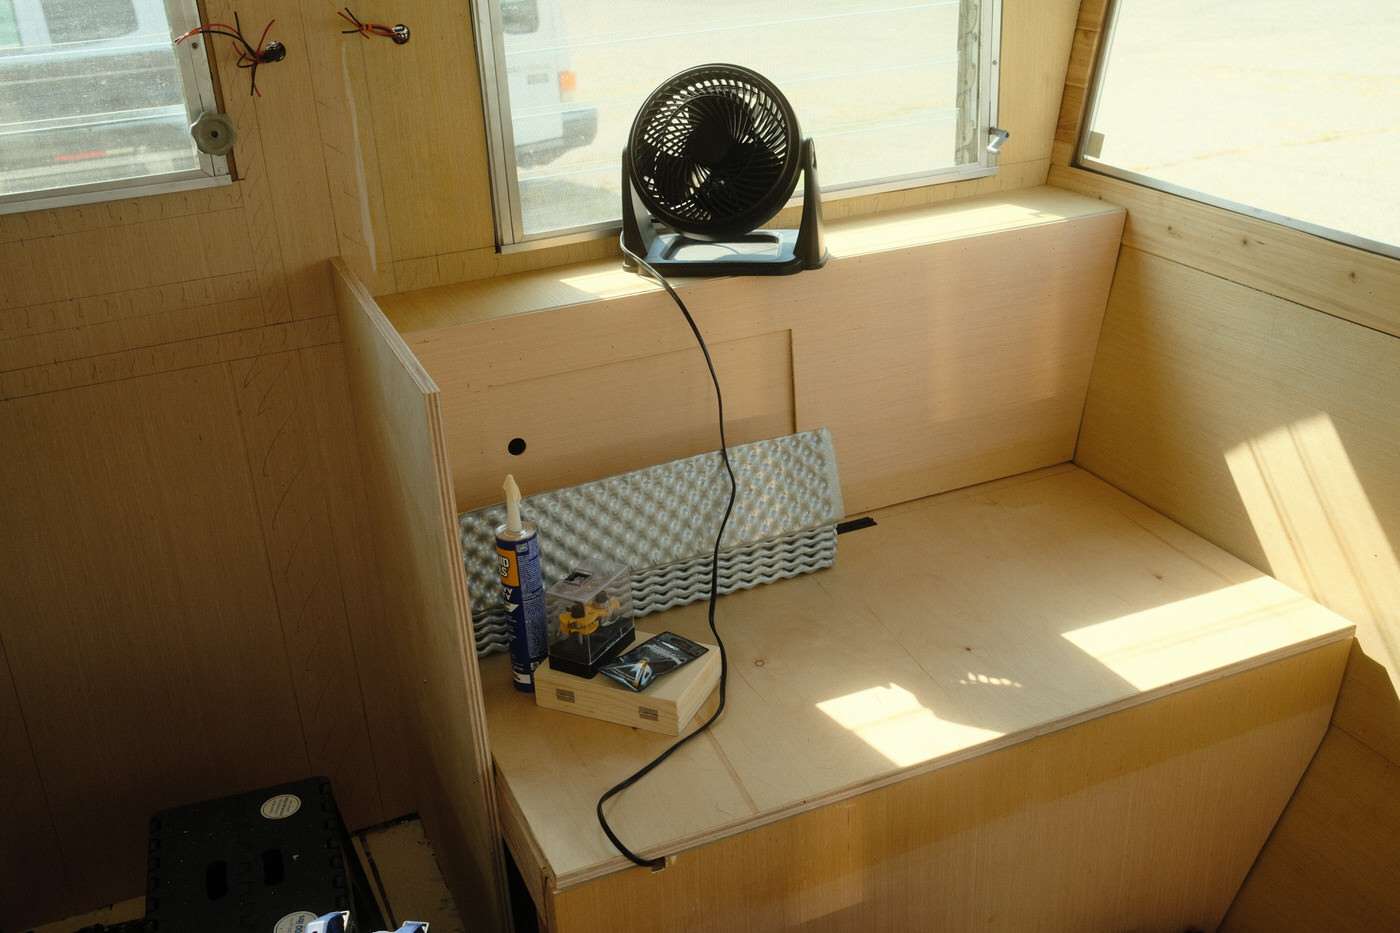
After we finished the bed, we moved on to the benches. Our trailer isn’t perfectly symmetrical, so it was tricky to get everything even and level. Nick did a great job though!
After the renovation, we installed a carbon monoxide and propane alarm in the bench.
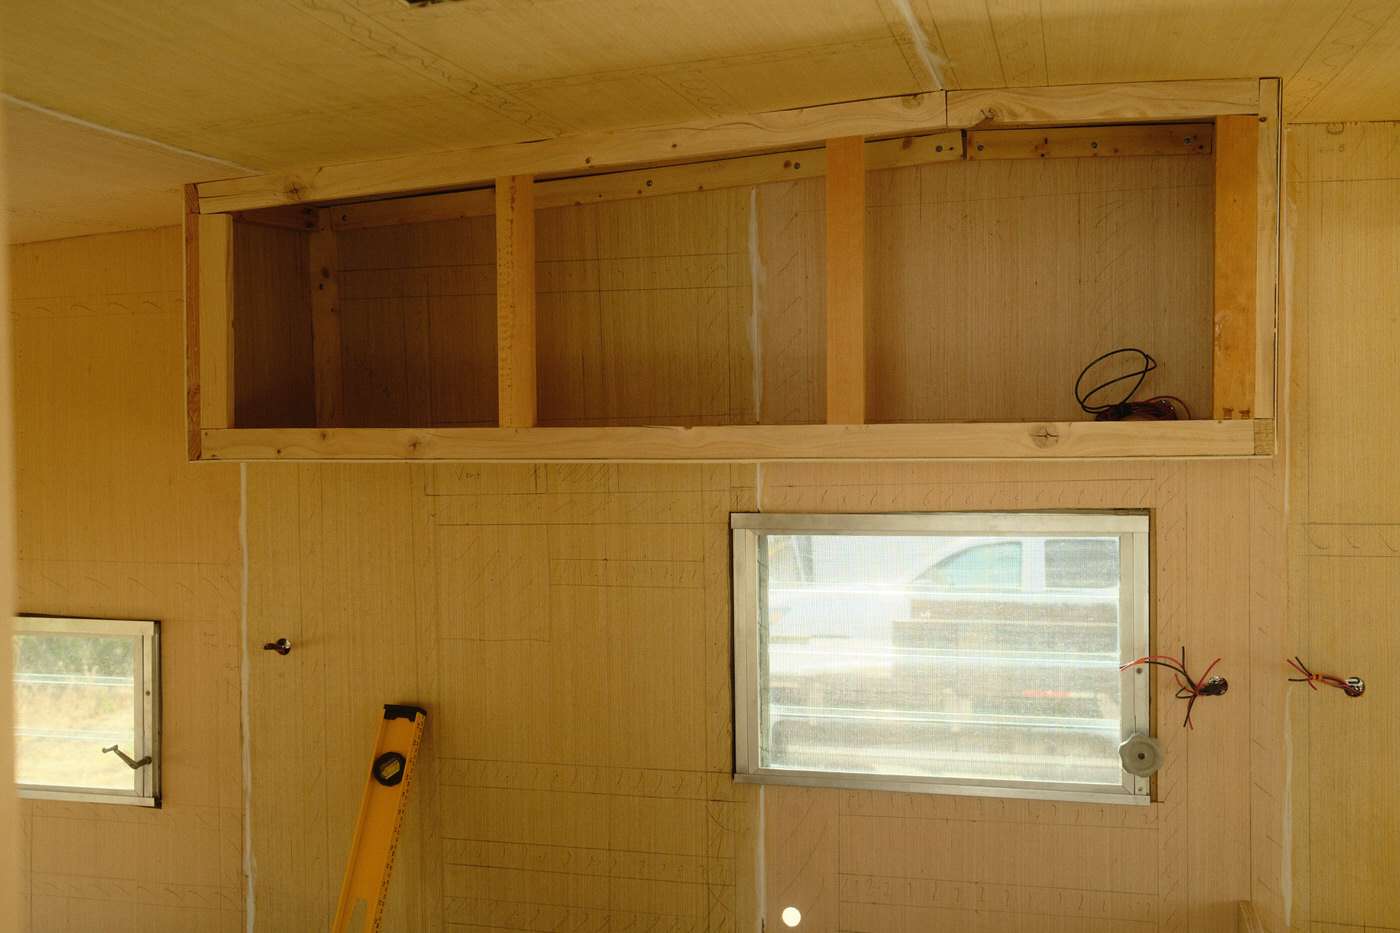
The Kitchen Cabinets and Wardrobe
Nick built all the cabinets and doors for the trailer interior. Here’s what he has to say about this part of the trailer remodel…
Nick’s Cabinet Construction Breakdown:
The cabinets we’re built using 1x2s and the same wood paneling used on the walls. We kept the kitchen layout mostly the same as before. However, we adjusted it for the larger bed size mentioned above.
For the wardrobe, we decided to remove all the dividers in the original closet. Now, we have one big open space for the wardrobe. It made construction easier and gave us much more usable space inside the wardrobe.
After adding the panel to the front of the cabinets I used the router with a flush trim bit to cut out the openings flush with the frame.
The doors are simple shaker-style doors. The frame is built with 1x4s. I used the router with a groove bit to cut a long groove down the length of each piece of the frame. Then I slotted a small panel cut from the same wood as the walls into the groove.
To connect the pieces of the frame, we used pocket holes and screws. Because this was all done by hand without a router table, I wasn’t able to do a tongue and groove to connect the corners.
We decided to go with some fancier soft close hinges, so after the doors were built, we used the Kreg Hinge Jig to cut the openings for the hinges.
These hinges do a good job of keeping the smaller doors closed when traveling, but the wardrobe door was opening on the road. We added some cabinet door magnets to keep it closed.
The last step for the doors was drilling out the holes for the handles. We used a hardware template and I taped off the holes we didn’t need so we were always using the same holes for handle placement consistency.
In the end, we are so happy with how the cabinets turned out!
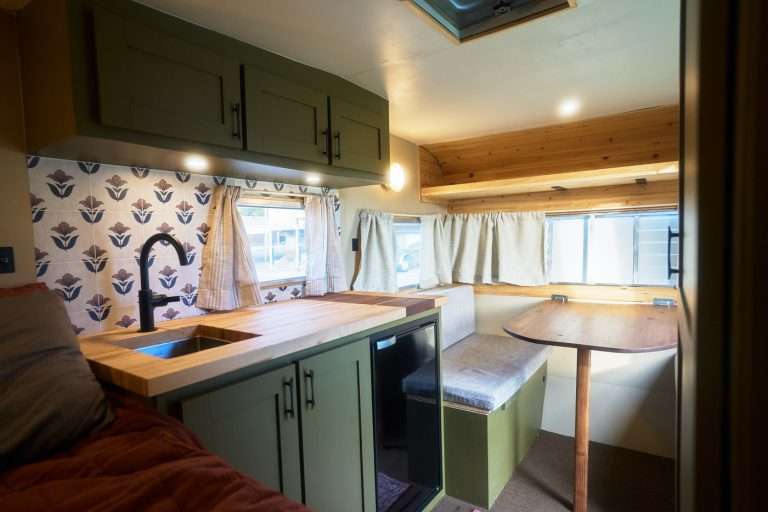
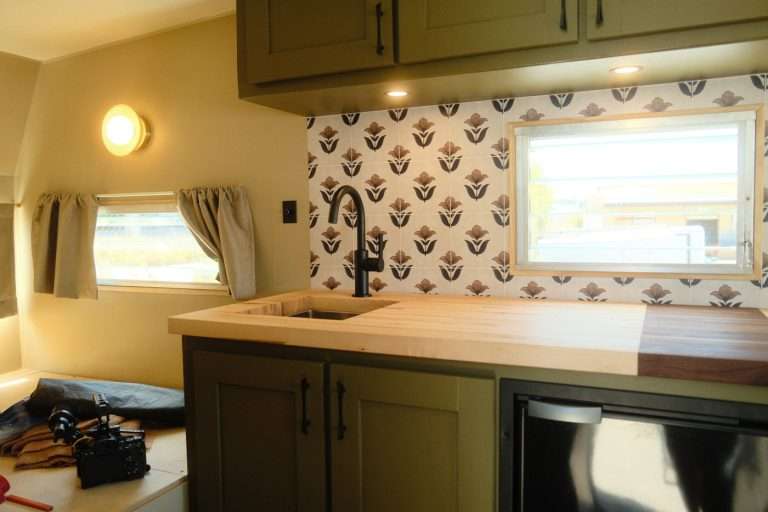
In the next post I will show you the finished cabinets! We’re also going to talk about the interior design and finishing the trailer kitchen.
More Posts from Our Camper Renovation:

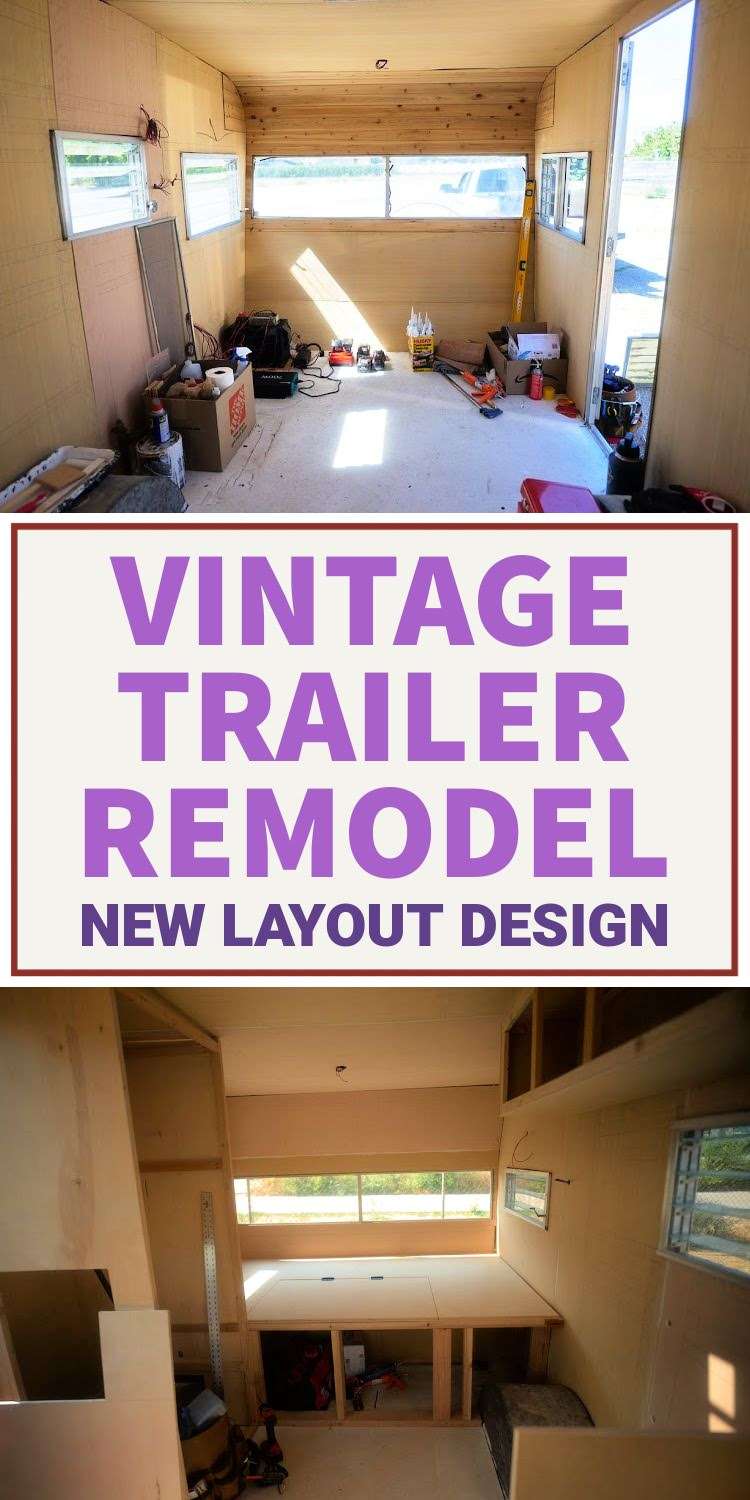
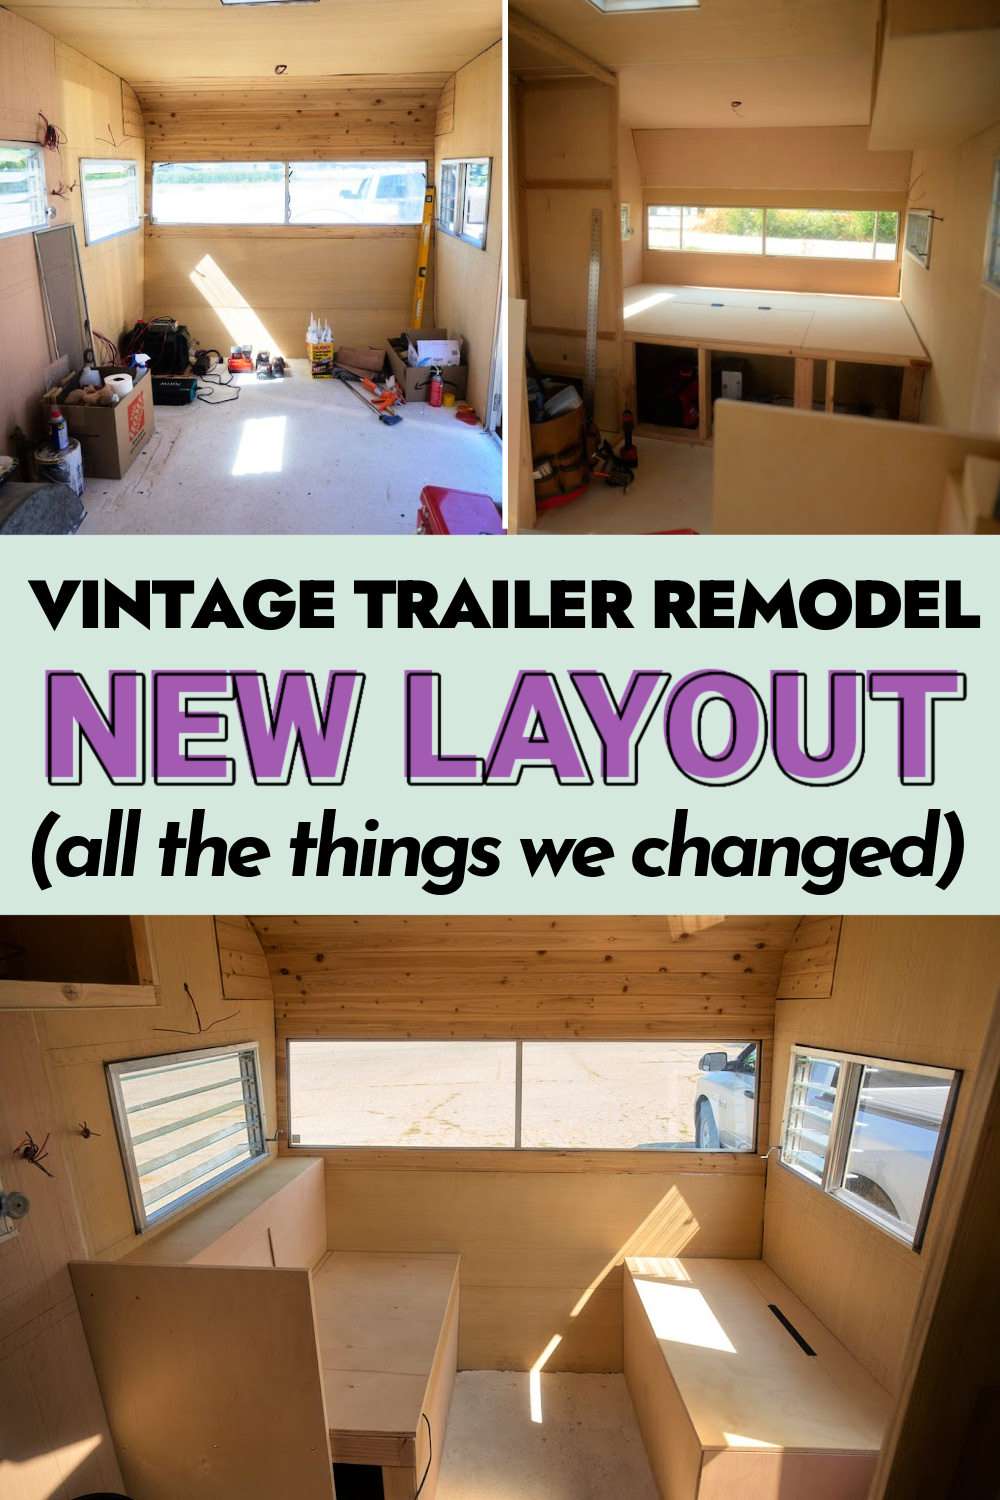
Save for later on Pinterest!

Thanks for your story, I enjoyed reading it. My husband and I just bought a 1987 Scotty, its in good shape, we may do some upgrades over the next year. Hope you’ve been enjoying your travel!
That’s awesome! I hope you enjoy your camper!