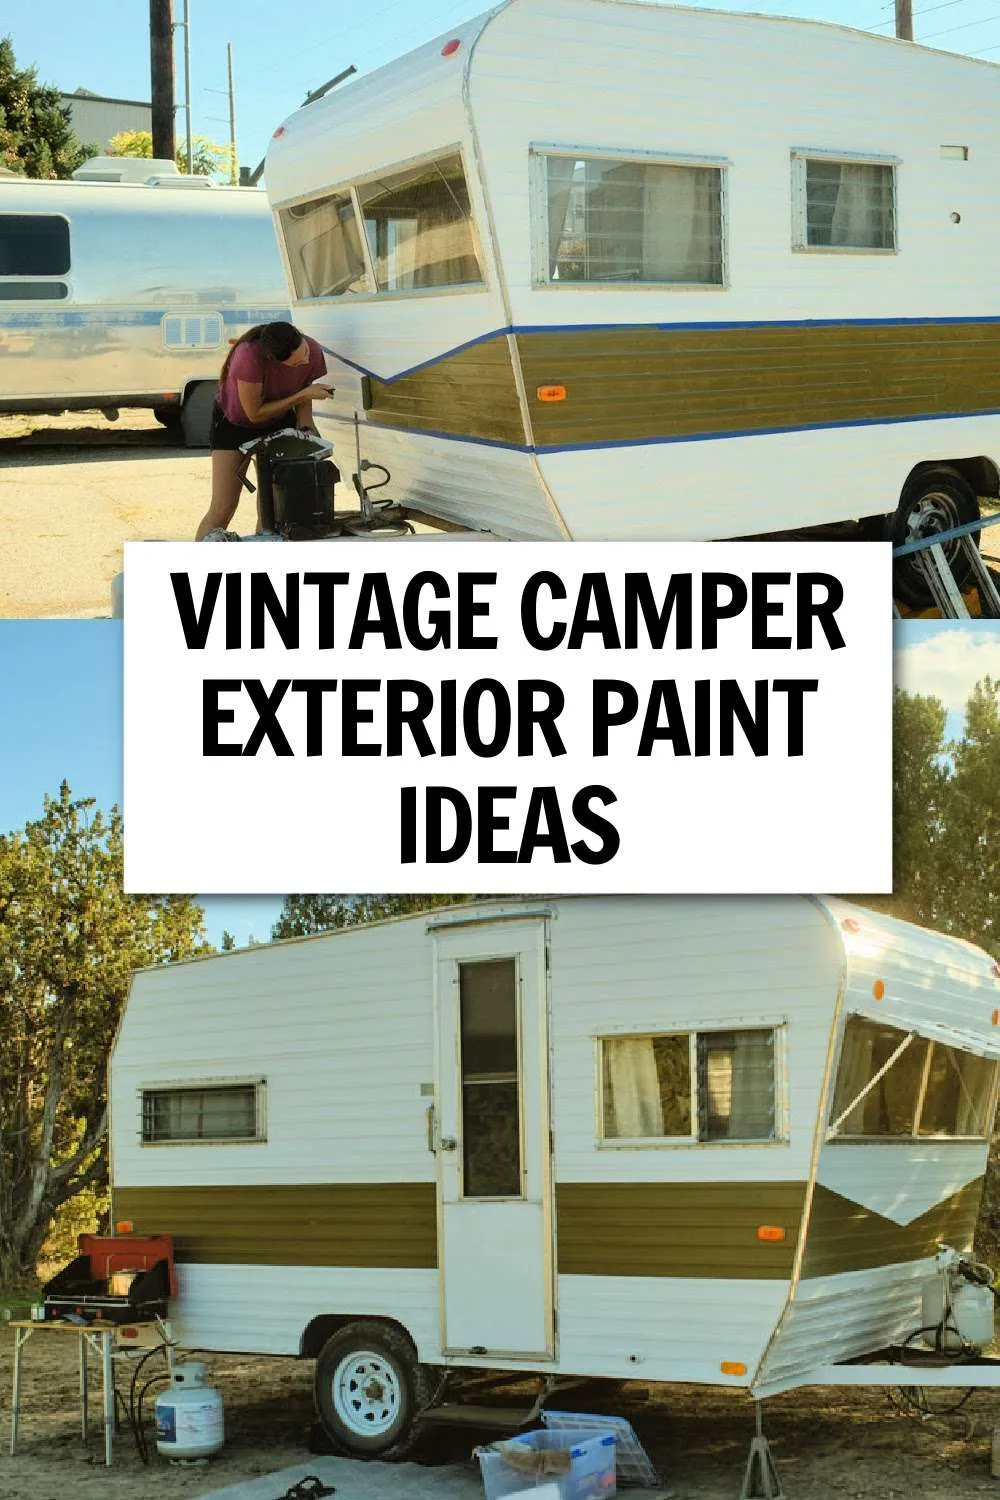
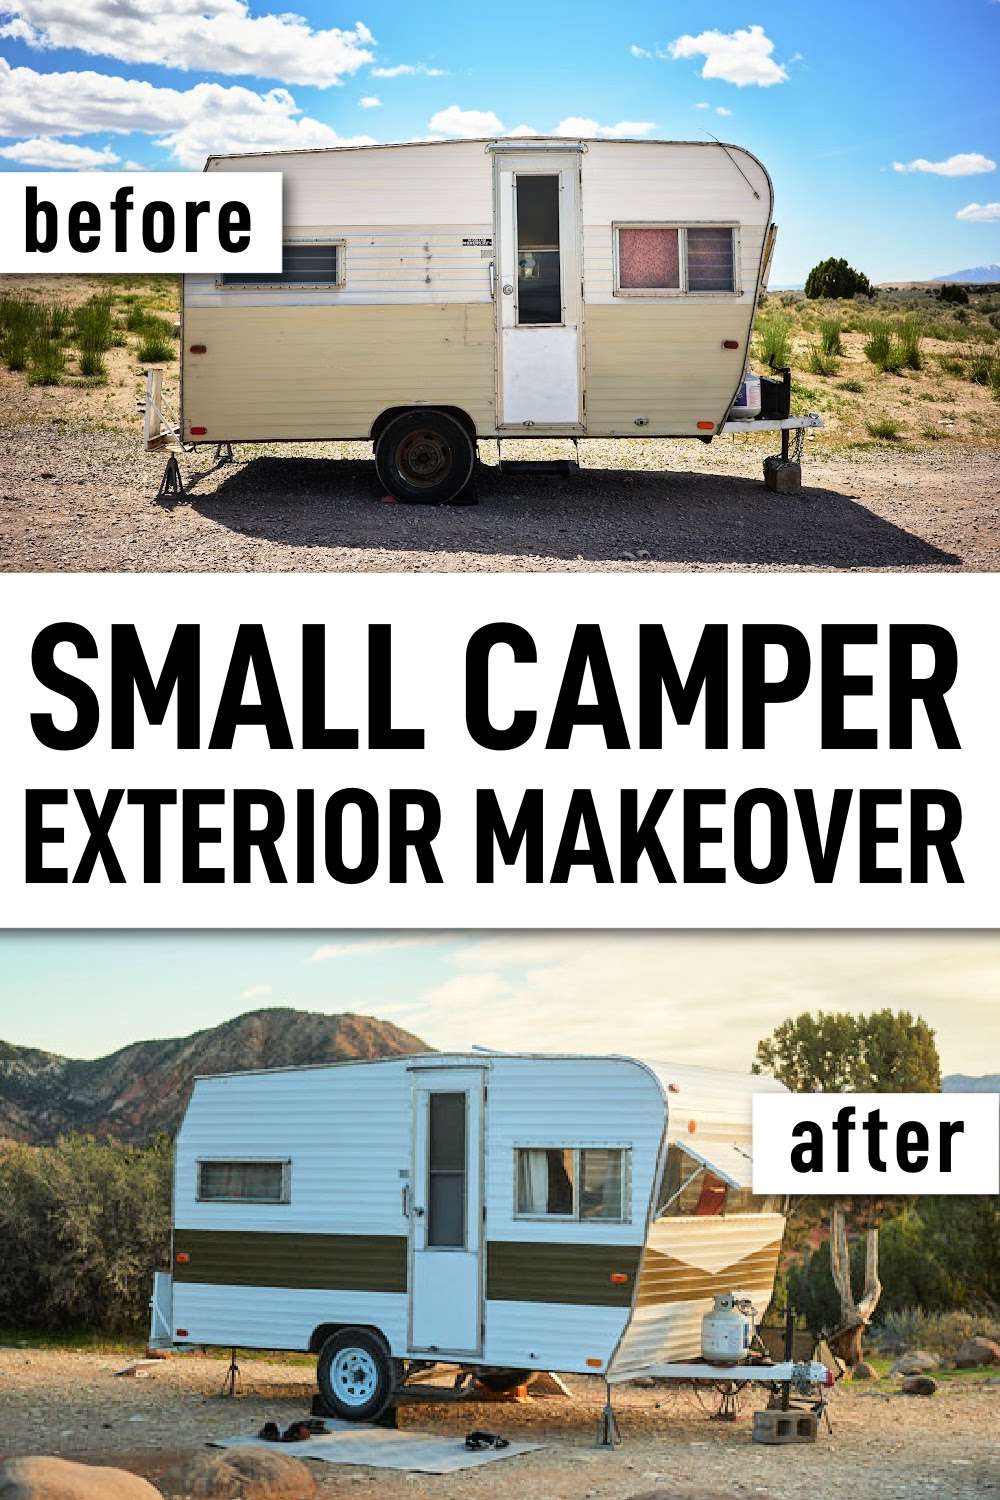
Painting Our 1960s Vintage Camper Exterior (Before and After)
Fixing up the trailer exterior was our least favorite part of our small camper makeover. At this stage of the renovation, we were tired of the project. We just wanted to use the trailer! But we still had to tackle the exterior paint, the front rock guard, and the wheels…
This post may contain affiliate links. Read my full disclaimer here.
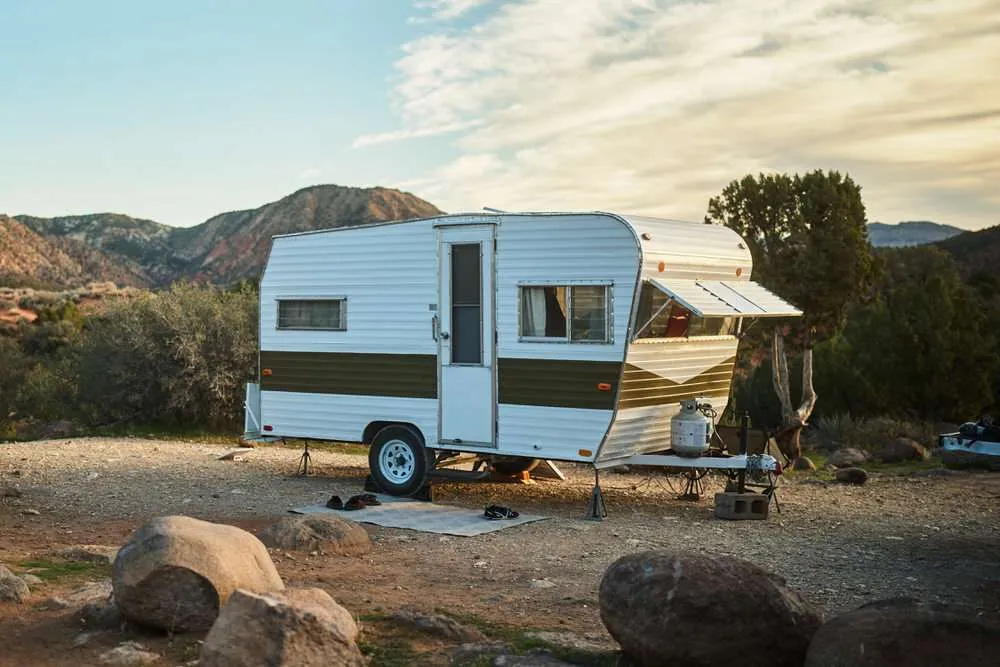
We left painting the camper exterior for last. It might have been smarter to start with the exterior renovation, especially while the windows were out.
However, considering our work location and resources, it made sense for us to save it for last.
The video below shows you all the work we did on the trailer exterior and the final trailer before and after!

This is part 6 of our 1960s vintage camper renovation project! Jump to the very beginning here, or check out the previous post here – Part 5: Camper Interior Design
The Vintage Camper Rock Guard
The rock guard on the front window was a mess. It ended up being a huge project to fix.
They don’t make these rock guards anymore, so we either had to fix it or try to make something else.
It’s technically three pieces and this is what it looked like before…
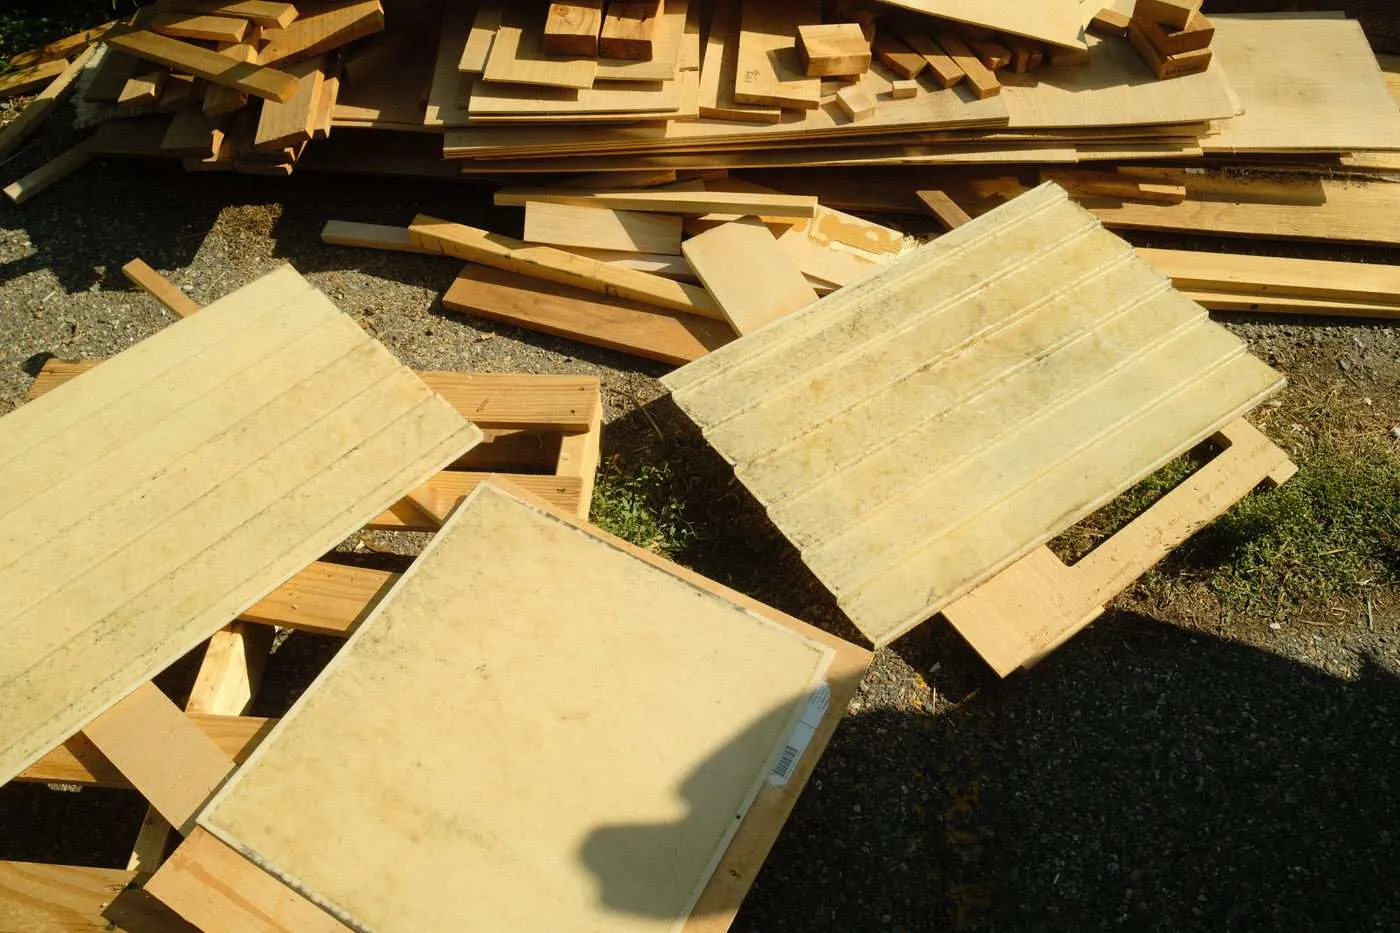
The fiberglass was exposed and one of the panels had a big crack.
In my research, I saw people making DIY rock guards out of wood, but I didn’t like the way that looked. I didn’t think it fit with the vintage trailer look we had going.
I wanted to preserve the original feel of the trailer as much as possible.
After lots of Googling and browsing vintage trailer forums, we decided to revive the old rock guard by laying new fiberglass over the exposed and cracked parts.
This would fix the cracks and reinforce the fiberglass so it wouldn’t shed every time you touched it.
We bought a fiberglass kit with resin and hardener from Home Depot and got to work. I hated the smell and dealing with all the toxic chemicals in the kit, but I am happy to say that it worked!
Initially, we tried to spray paint the rock guard, but that didn’t stick. So then Nick sanded the panels, primed them, and painted them white. We used the same color as the trailer’s exterior.
It was a lot of work to get this rock guard looking good, but I am happy that we got to keep it and reuse the original piece. You can see how it turned out in the video above!
Exterior Trailer Paint
We had budget and time constraints for our tiny camper remodel. Plus, our renovation site lacked running water and power. We had to work around all this to get the trailer exterior painted and looking good!
Before we began, we did test the trailer for lead paint. Luckily, we did not detect any, so that made the painting a lot less stressful.
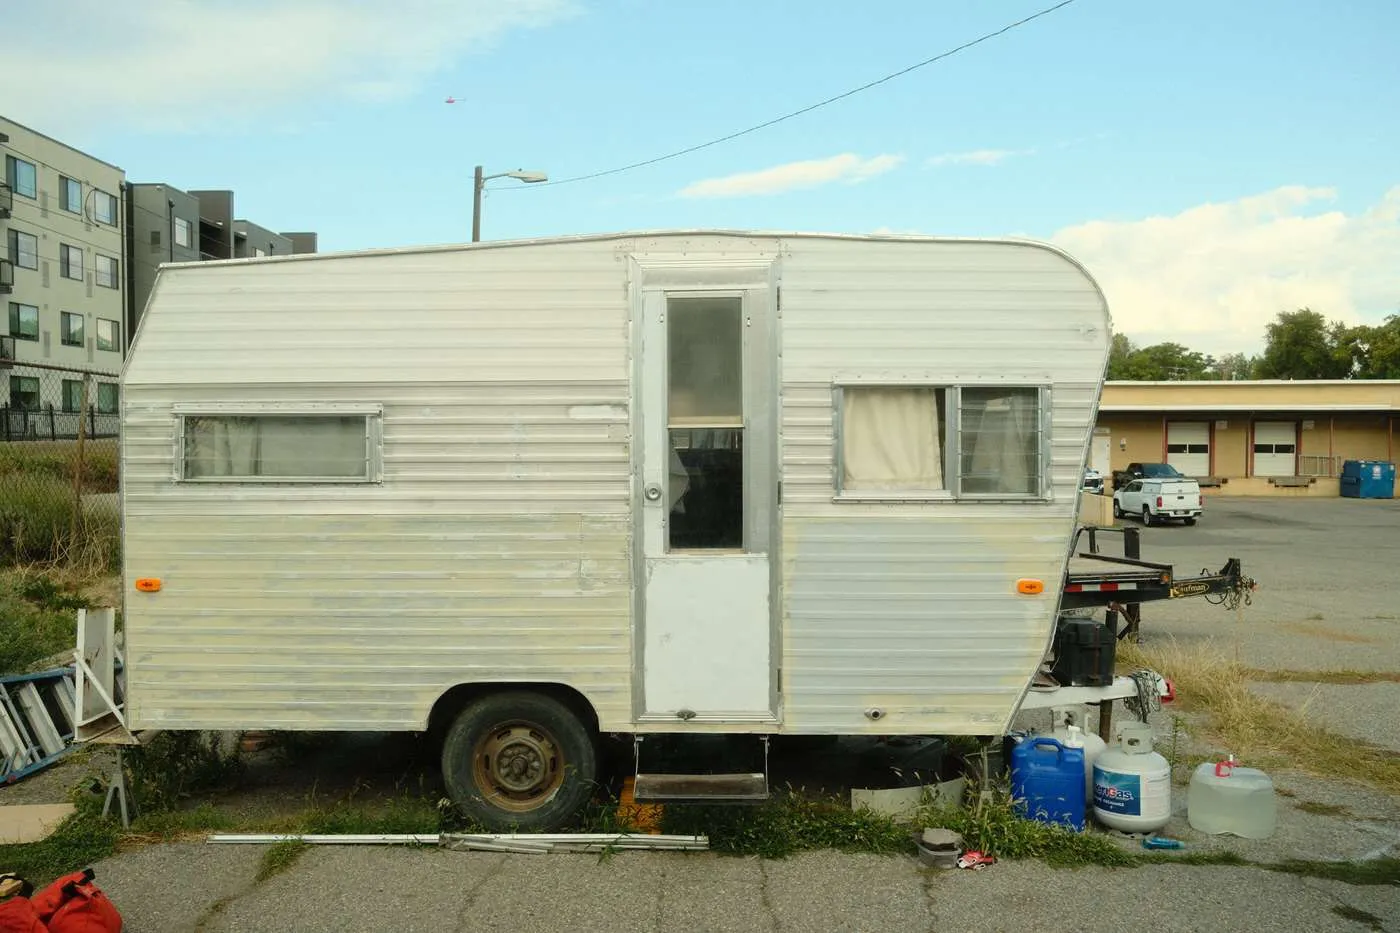
We started by sanding the exterior. This part sucked. It took a really long time because there were so many grooves and texture in the metal. We did most of it by hand, which was a good workout. I definitely could skip arm day at the gym for a while.
After sanding the entire trailer, we wiped it down with water and then a degreaser.
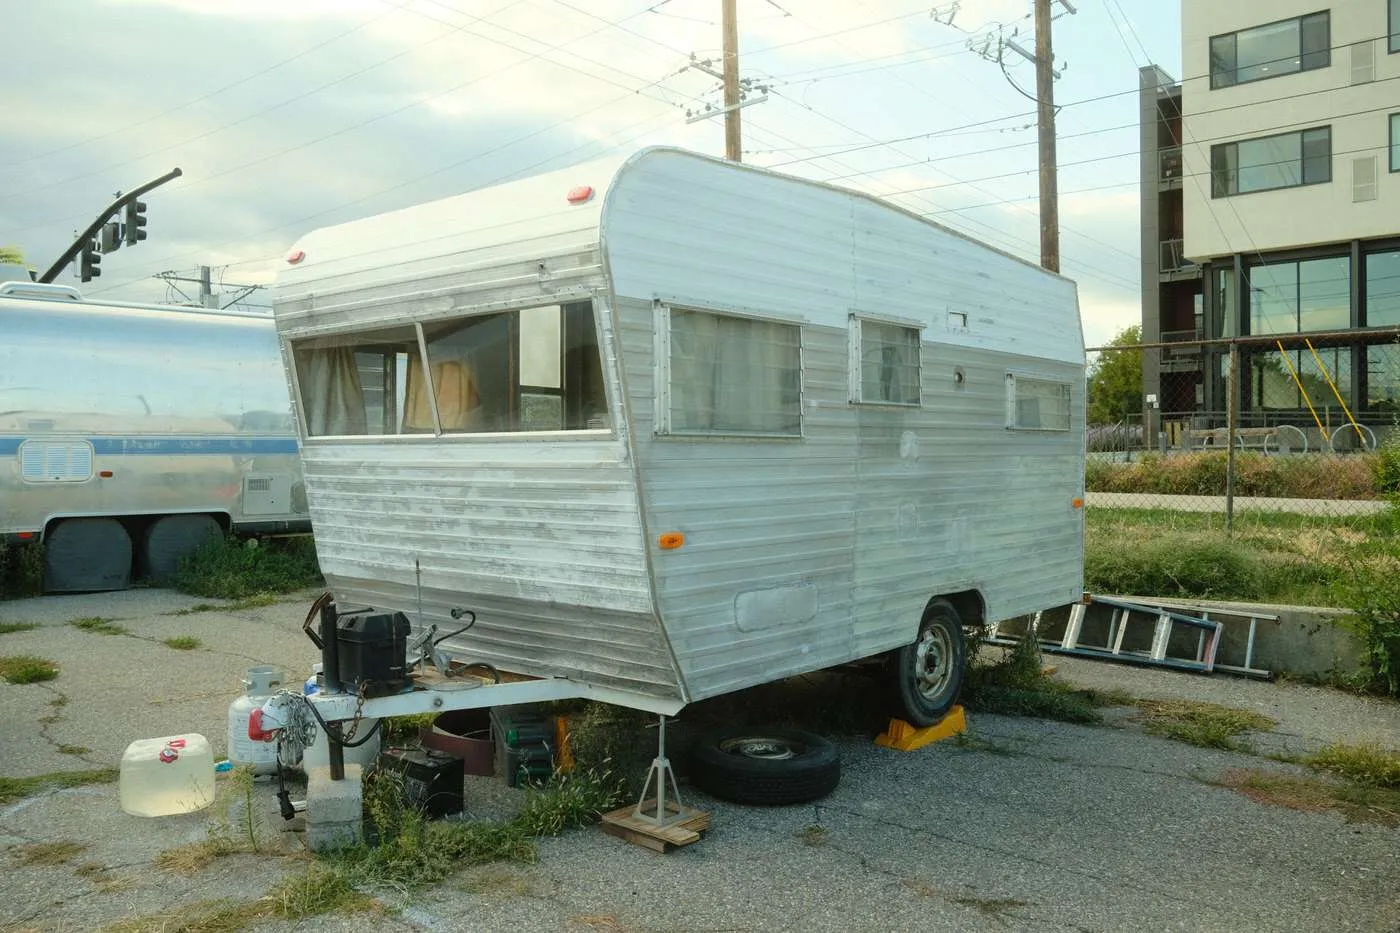
Once we sanded and cleaned the trailer, we started painting it with an aluminum primer. We used rollers and a paintbrush for all the painting.
I know it’s not perfect for painting, but it worked for us. We had to consider our location, the tools we had, and our desire to finish quickly.
Nick did a lot of research into the DIY options for trailer paint. It would cost thousands to bring it to an auto body shop to get it done “correctly,” so that wasn’t an option.
The other popular method we came across was using a spray gun. We thought this could get messy. You need perfect weather and good spraying technique, which we definitely did not have.
Many people think spraying the paint would be easier and look better. However, given the fact that we have never done it, I’m guessing it would have turned out patchy and drippy. Not to mention, we would have had to rent a paint sprayer.

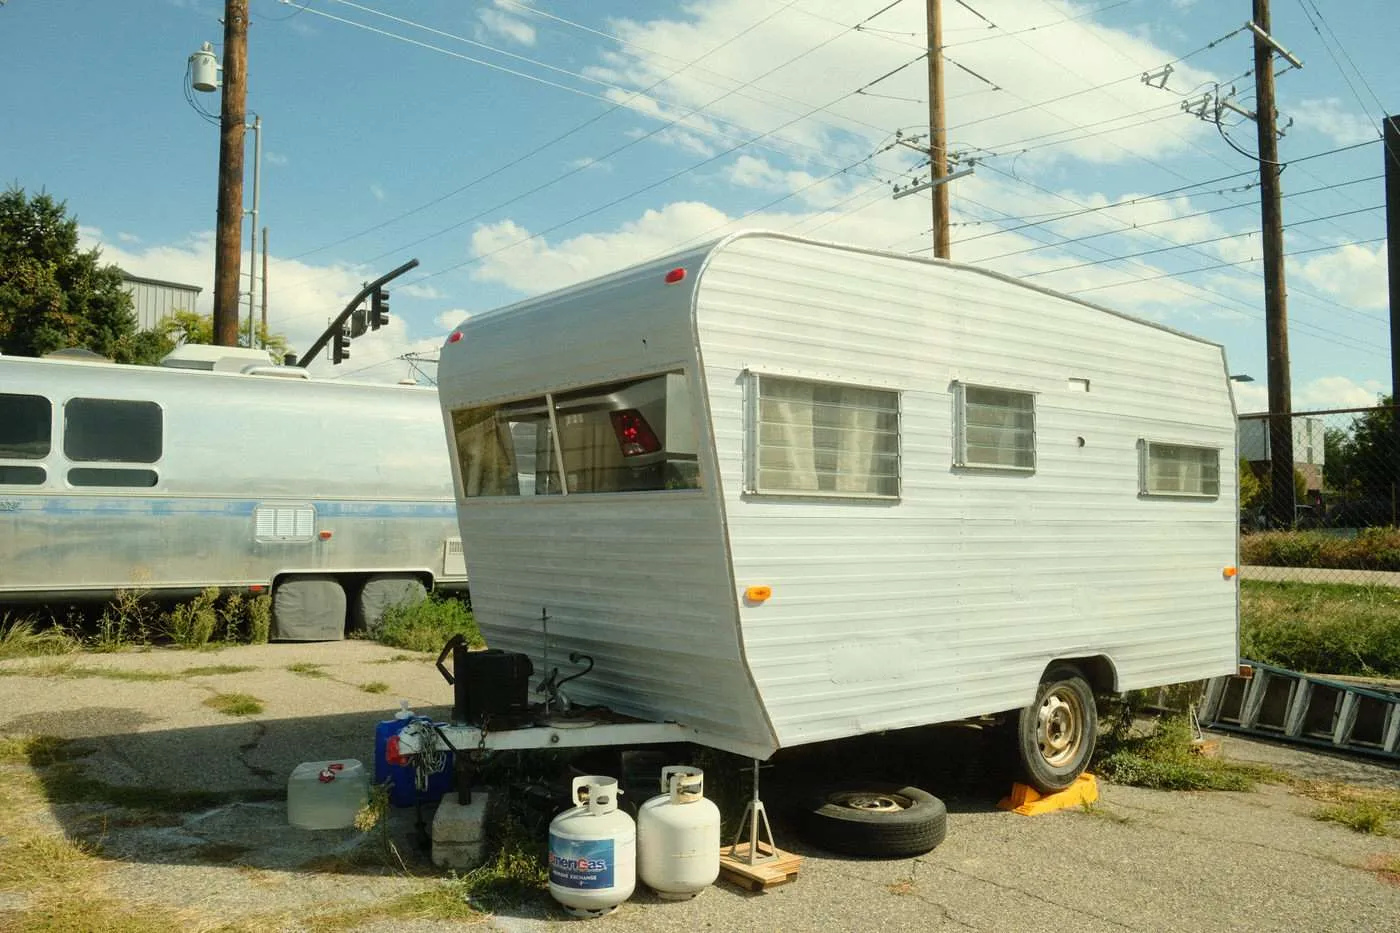
We decided to use rollers and brushes. They might not create the smoothest texture, but the result still looked great.
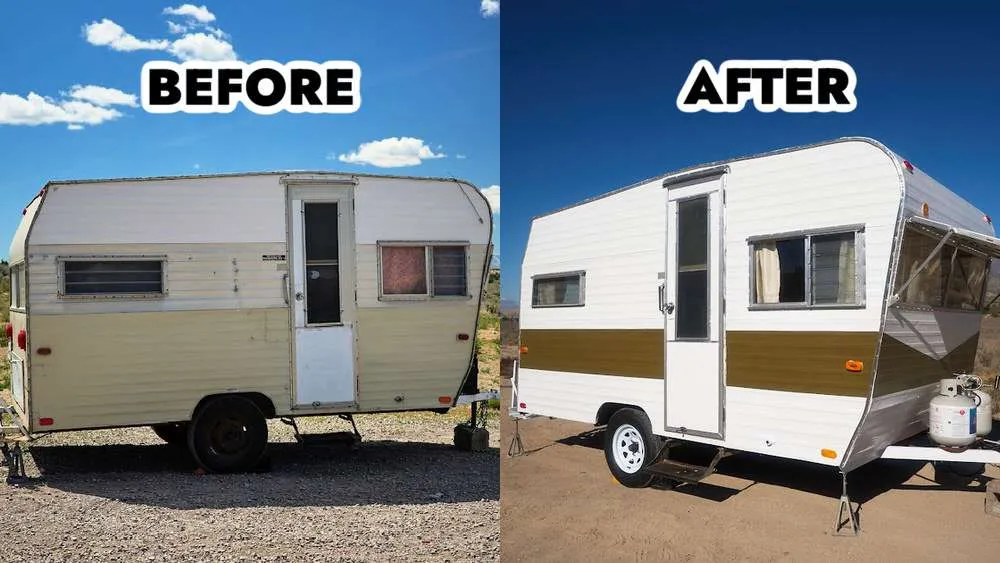
We decided on a glossy white exterior paint for metal. Then painted a green stripe all the way around.
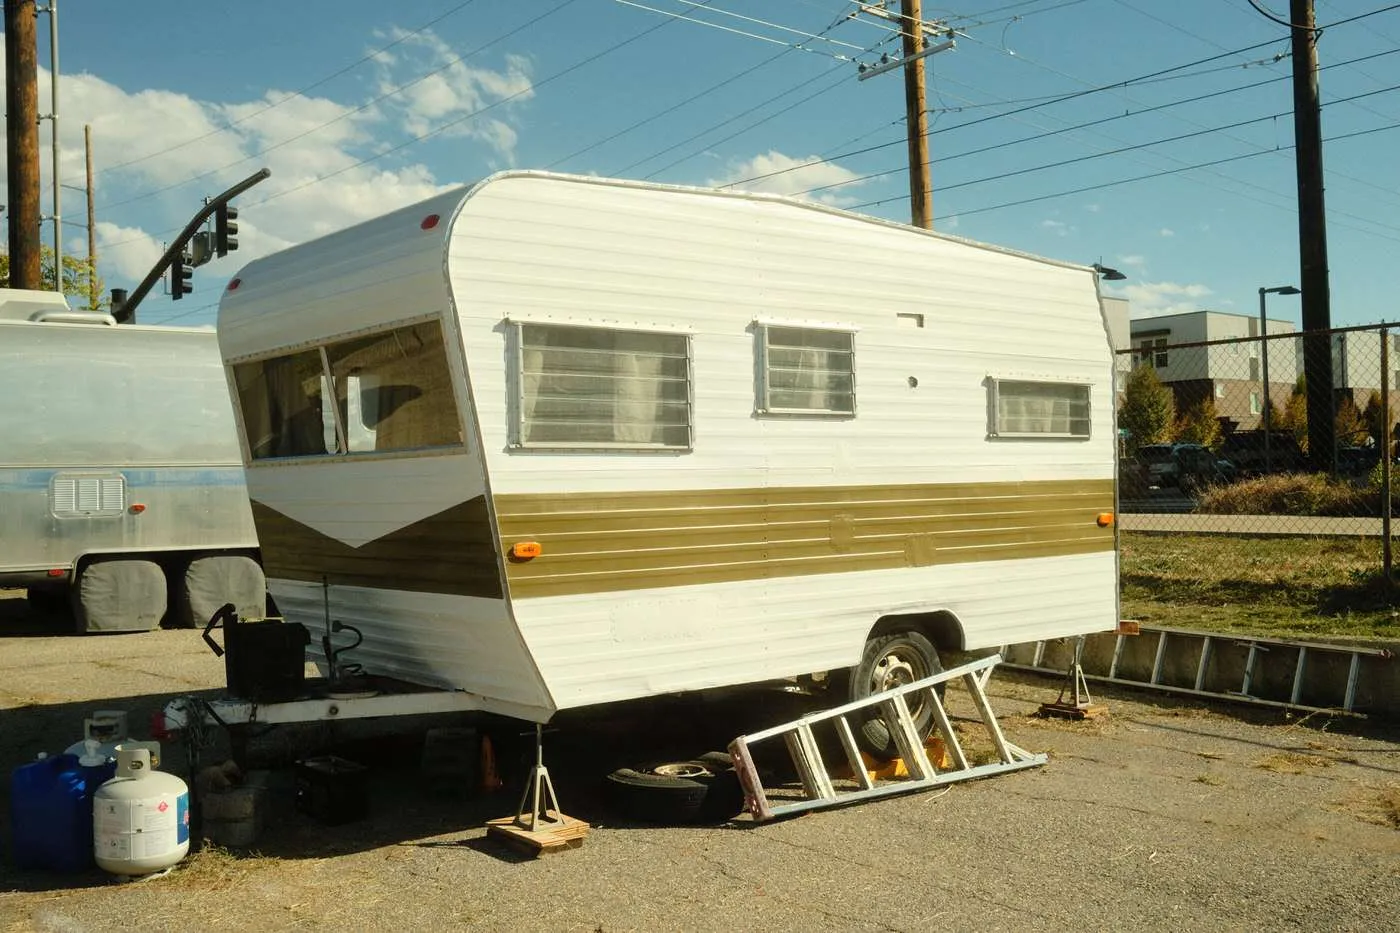
For the green stripe, we used the same green color on the inside, but bought a glossy Behr outdoor paint. We’ll see how long this holds up, but for now, we are happy with how it turned out.
For the frame, we used a rusty metal primer instead of having to clean the frame all the way down to the bear metal. Then we used the same white to make the frame match the rest of the camper.
Trailer Wheels
We decided to buy all new wheels for the trailer. The original wheels probably had a little life left in them, but they were rusty and needed some work.
Since we would need new tires eventually, we decided to buy them now. This way, we wouldn’t have to stress about safety or the chance of flat tires with the old ones.
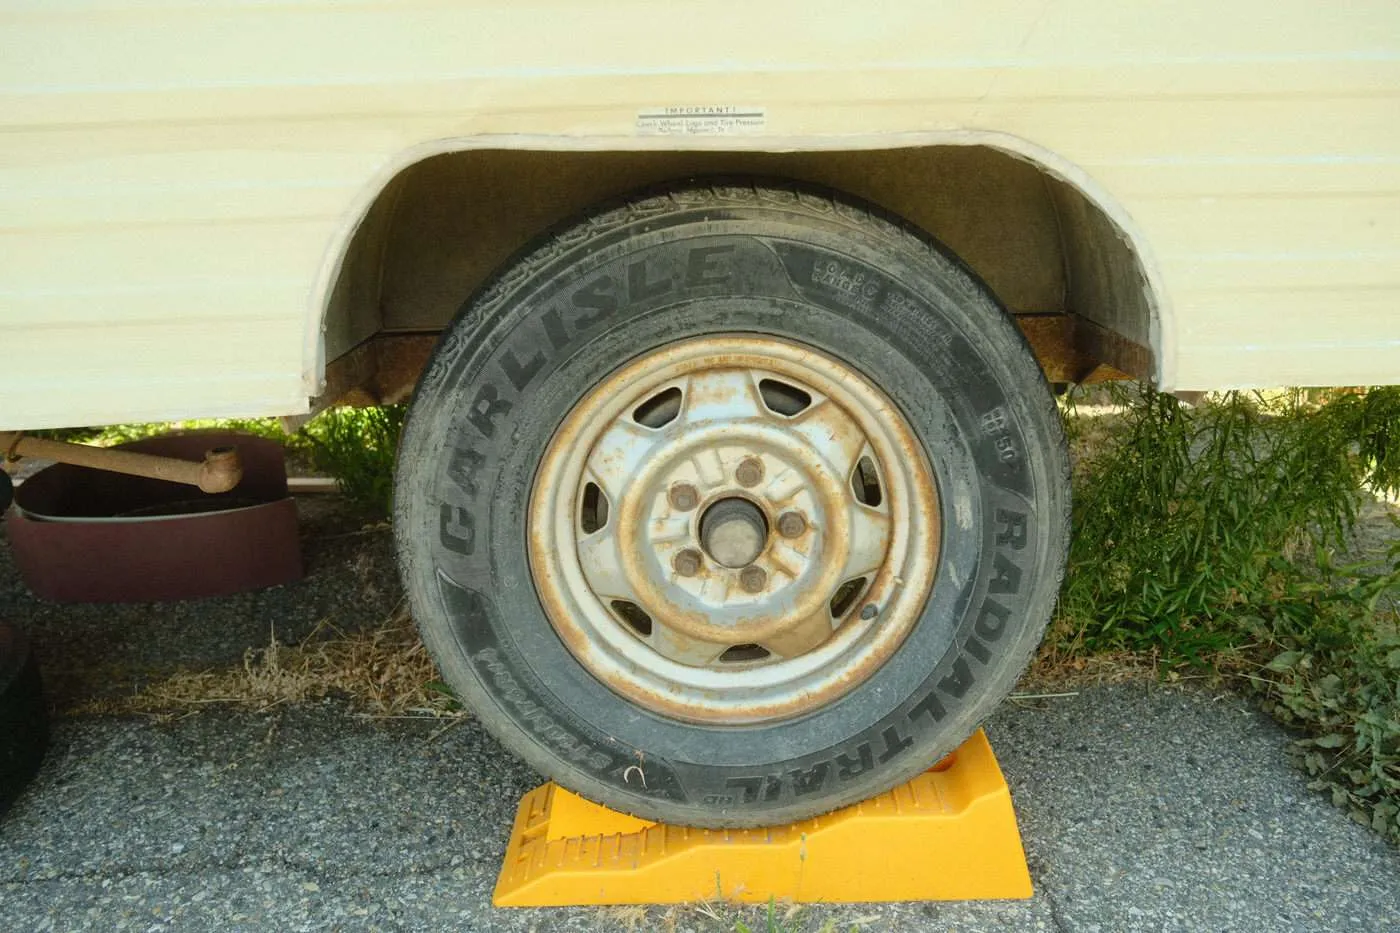
We bought new wheels at a local trailer supply store here in Salt Lake City.
Nick also repacked the bearings while he swapped out the wheels. This is super important so that they wheels don’t catch on fire.
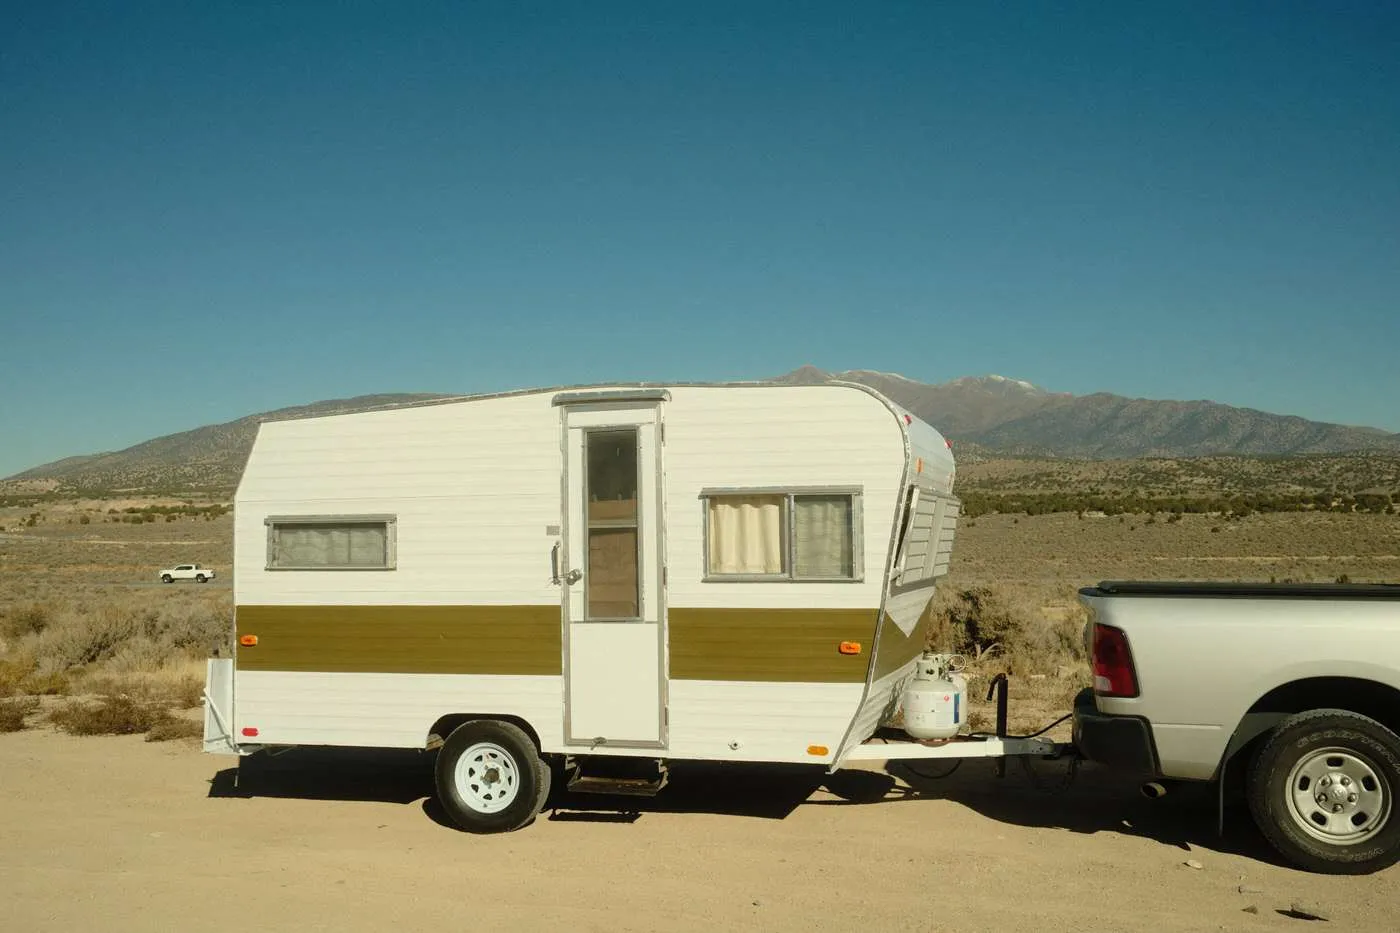
Our Finished Small Camper Exterior
We put in a lot of work on the exterior, and by the time we finished, we were so ready to use the trailer. We’re very happy with how everything turned out!
In the final part of this vintage trailer renovation series, I’ll share all the before and after photos. I’ll also discuss what I love and don’t love after a year of using it!
See you in Part 7…
Save for later on Pinterest!