
Small Camper Interior Design: Bed, Table, Flooring & Curtains
Today we’re going to talk more about our small camper interior remodel. In the last post, we focused on the kitchen remodel. Now we’re going to focus on the rest of the camper interior – the table area, bed area, lights, curtains, and flooring! Let’s dive in.
This post may contain affiliate links. Read my full disclaimer here.

This is part 5 of our 1960s vintage camper renovation project! Jump to the very beginning here, or check out the previous post here – Part 4: The Kitchen Remodel
As I’ve mentioned before, I like to think of this trailer as having 3 parts – the table area, the kitchen, and the bed area.
Vintage Camper Dining Table
The Wooden Table
The original table that came in the trailer was not usable, so we had to make or buy a new one.
I wanted a wooden table, but I didn’t think plywood would look very good. So I came up with the idea of buying a cheap pine table from Ikea and modifying it to work for the trailer. I was so excited about this idea!
I’m pretty sure we bought the Ikea Ingo table. It looks like it’s no longer for sale. But this idea would likely work with any other thin, inexpensive pine table. You could even try thrifting a table from Facebook Marketplace.
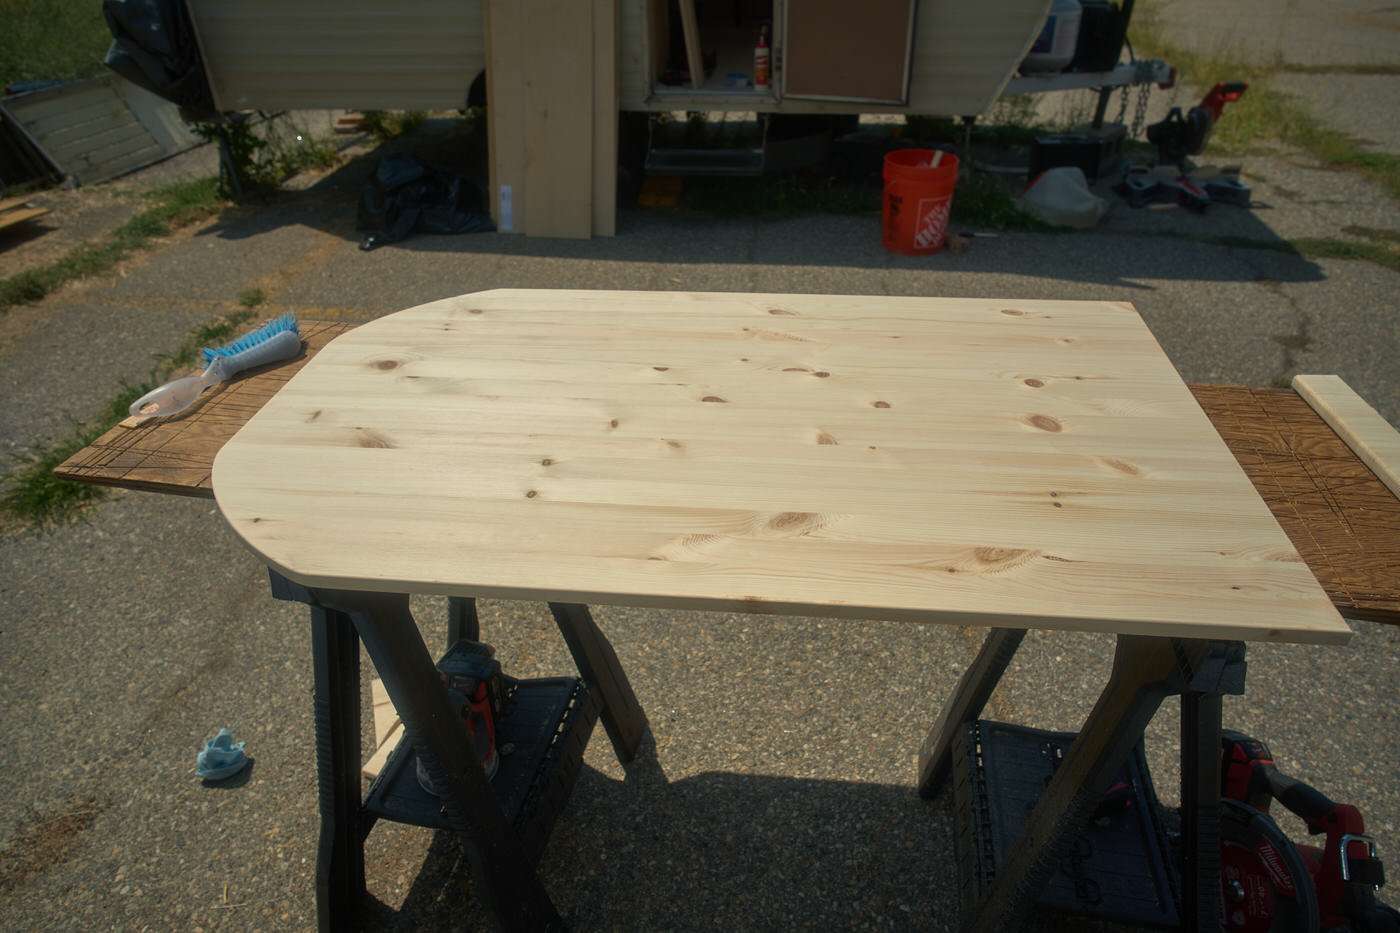
We had to reduce the width of the table to fit our space. Then cut a curved edge and used a router to smooth the corners and edges of the table.
For the stain, I went with the English Chestnut by Varathane and love the way it turned out! It’s a warmer wood tone with slight red undertones.
It made that piece of pine look so good. After the stain, I sealed the table with 3 coats of matte polyurethane.

In the original trailer design, the table could convert into a bed. It would fold down and rest on railings attached to the benches. See photo above.
We wanted to have this same functionality in the new design. I found this table bracket on Amazon, and it worked perfectly.
I think an adult would be too heavy for this setup, but maybe it will work for our daughter one day. We haven’t tested it yet!
The only mistake we made with the table was putting some supports underneath it right away. Nick worried about the table warping over time, so he placed a few pieces of wood underneath it.
This caused the wood to warp as it dried. Luckily, it’s not too noticeable, but we should have waited until after the stain and seal to do that step.
DIY Camper Cushions
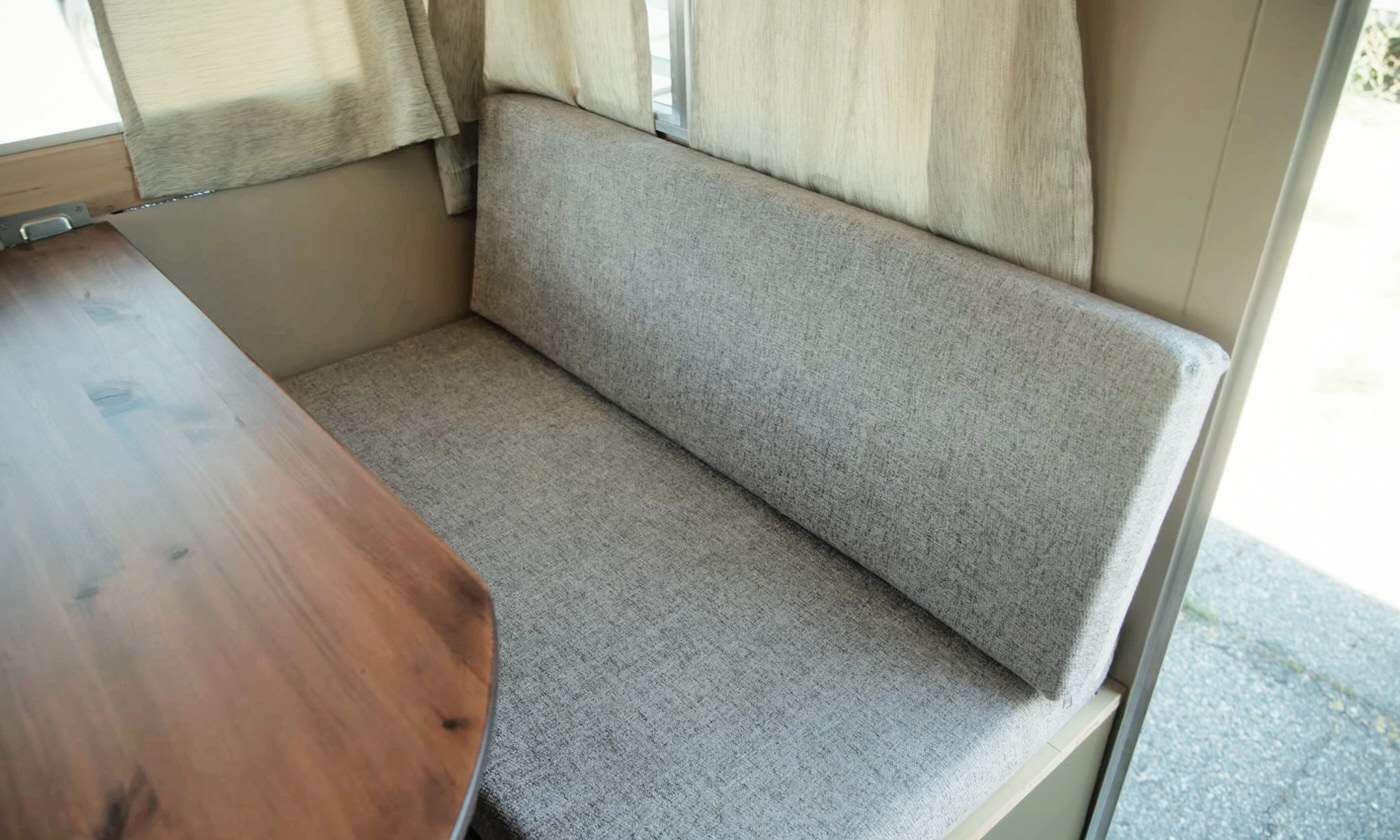
I had so much fun making the cushions! I can’t believe how good they turned out considering I’ve never made anything like it before.
I ended up going with chenille fabric that I found in the sale section at Joann’s. (…RIP Joann’s)
I really liked the look and feel of chenille fabric, but it was so expensive… $40–$60 a yard!
To save money on our DIY camper makeover, I took cushion measurements and calculated the fabric I would need and then went to the scrap/remnant section. There, I found two different fabrics. Each had enough for two cushions.
Each side of the table has different cushion fabric, but it looks cool, and this design choice saved me a lot of money.
Supplies I Used for Making Camper Cushions:
- Brother MZ53 sewing machine – I’m a sewing beginner. This was on sale at Walmart and so far I like it! I watched a YouTube video on how to set it up and use it, and then I was on my way!
- Cushion Zippers – I got these zippers from Amazon and they worked great. They come in a few different colors to match different cushion fabrics. I wanted the cushions to have zippers in case I needed to remove them for washing.
- Cushion Foam – There are different thicknesses of foam you can buy. I guessed and went with the 3 inch. It looks and feels great. These cushions are very comfortable.
- 30 minute cushion YT video – I followed this video exactly when making my cushions. It is so helpful!
- Wash-Away Fabric Tape – This tape was very helpful. My machine didn’t have any trouble getting through it.
- Thread
- Chenelle fabric from Joanns sale section
- Fabric Scissors – highly recommend a solid pair of scissors
- Table Measure and Marking Pencil
- Sewing Pins
See how the cushions turned out, starting at about 11 minutes into the video below:

Trailer Curtains
Before this trailer renovation, I didn’t know how to sew. I wanted to learn, so I thought this was a perfect chance.
In my closet at home, I found some old curtains I no longer use. Instead of going out and buying more fabric, I planned to cut the old curtains up and reuse them in our trailer.
This saved us money and they turned out great!
For the table area, I used semi-blackout curtains that work perfectly. They let a little more light through, but you can’t see through them.
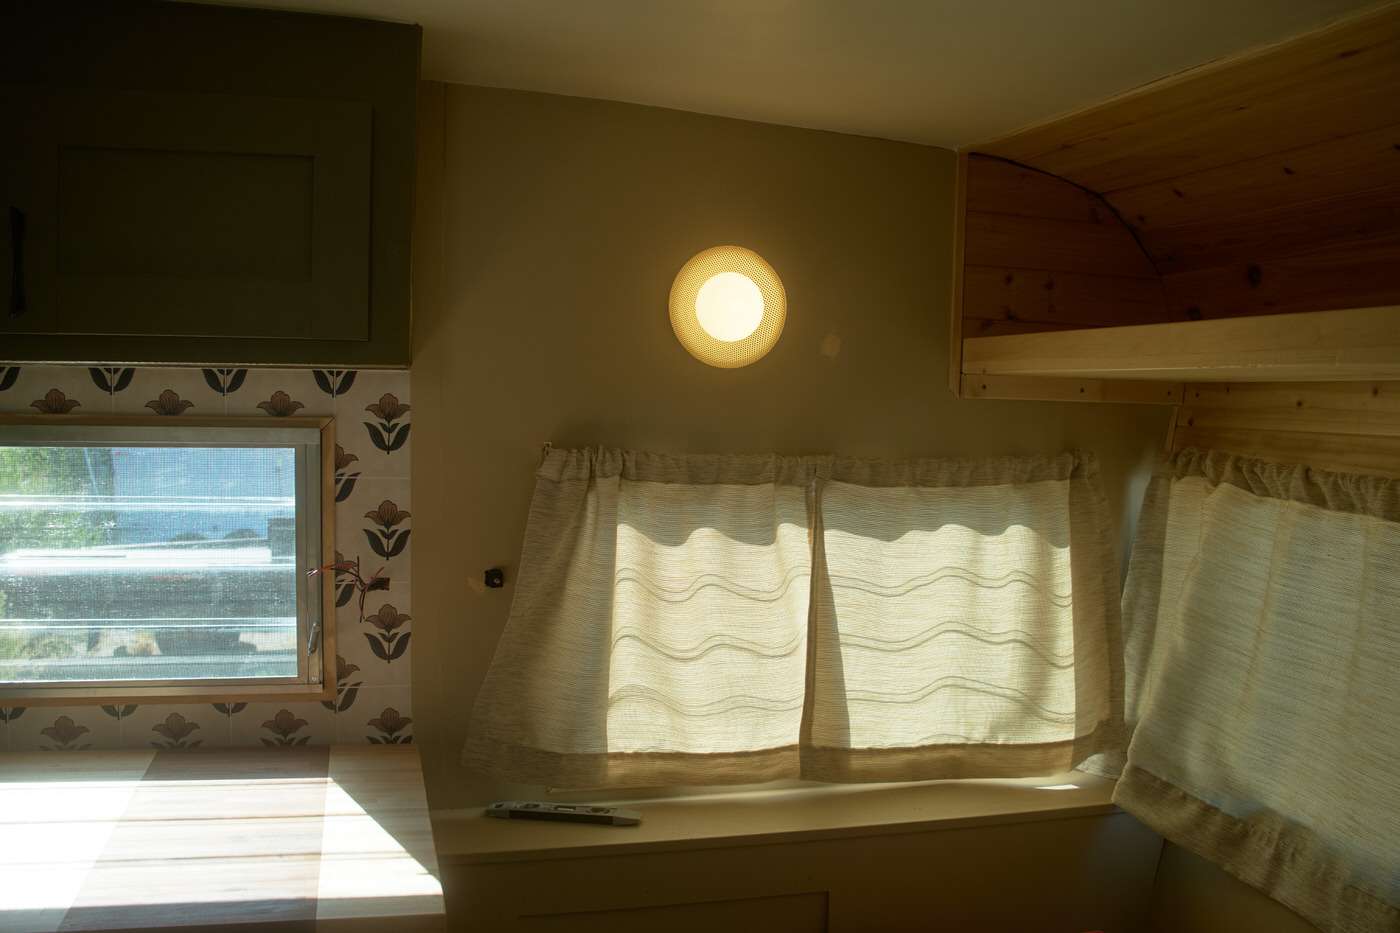
For the bed area, I chose complete blackout curtains, which we love. They keep the light out and help keep the trailer cool during the day.
For trailer curtain rods, I initially had trouble finding something that I liked. I wanted the curtain rods to be small and unnoticeable. I even considered a DIY project, but then I found the perfect curtain rods at Walmart. (They’re linked below.)
Not only are they very cheap, but they’re super small and not even noticeable when the curtain is up. They come in various diameters and lengths, so we could use them on the large front and back windows as well.
For the trailer door, I ended up buying a small roll-up curtain off Amazon that fit the door window perfectly.
Supplies I Used for Making Camper Cushions:
- Brother MZ53 sewing machine
- Fabric Scissors
- Table Measure and Marking Pencil
- Sewing Pins
- Large Walmart curtain rods
- Small Walmart curtain rods
- Old store-bought curtains that I cut and reused
- Amazon roll up door curtain
Vintage Camper Bed Area Design
Mattress
I knew the importance of having aeration under a camper mattress. If you don’t, moisture can form between the mattress and the plywood base. This can lead to mold growth.
I thought about drilling small holes in the plywood for airflow. Then, someone mentioned a product from Mattress Insider in a comment on my YouTube video. It’s designed for RV and trailer mattresses. It works perfectly!
It’s a pad that you put under the mattress to create airflow. It was much easier than drilling holes in the plywood. (I’m not sure how well that would have worked anyway…)
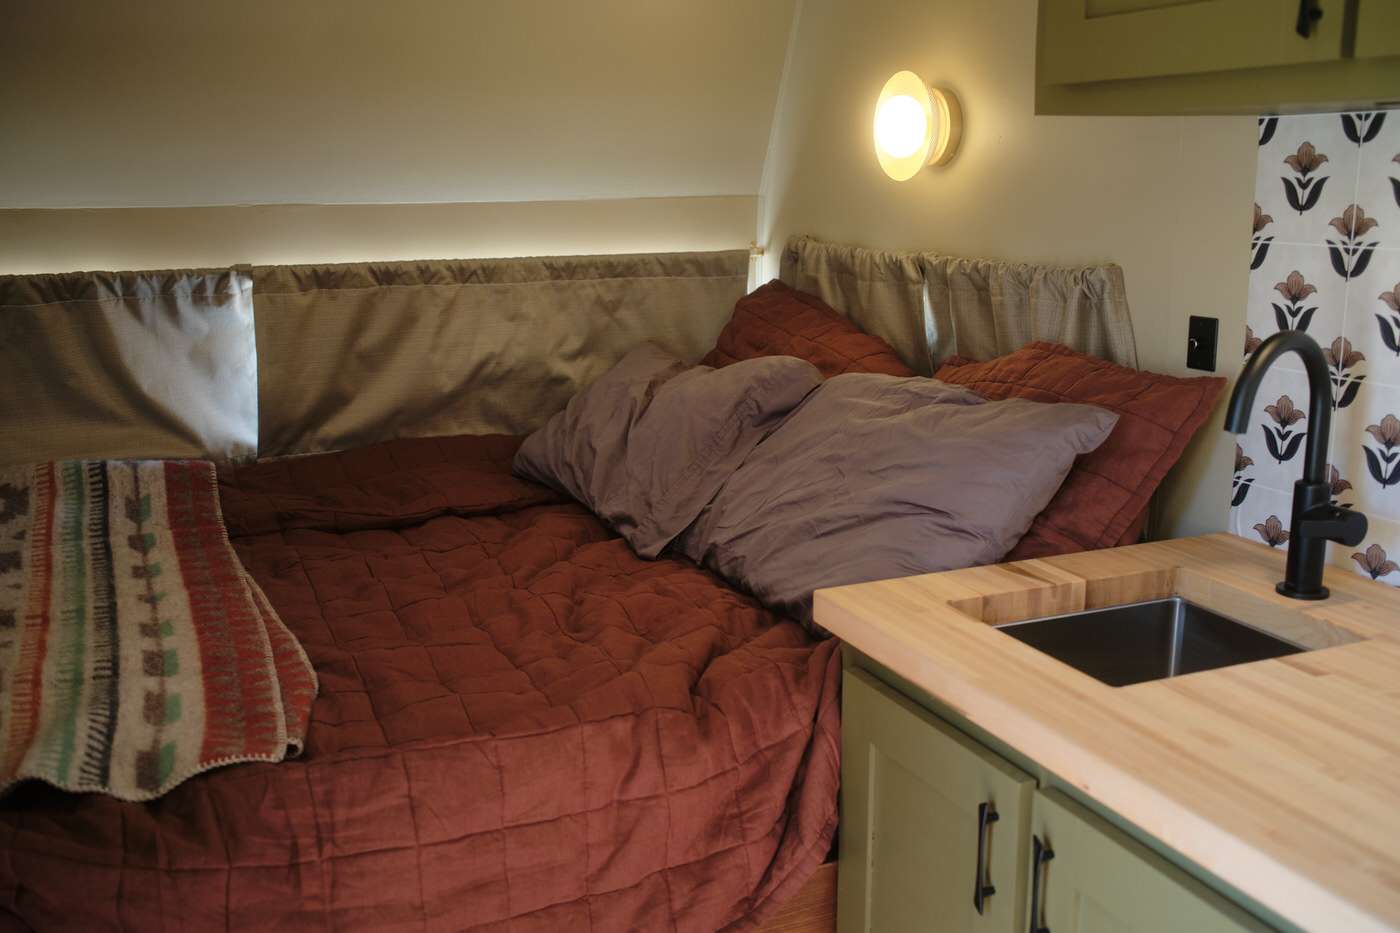
We chose a full-sized foam mattress from Costco. We both think it’s very comfortable.
Bedding
For the bedding, I went with cheap cotton sheets from Target and a linen quilt from Quince.
I love this quilt. It comes in so many colors and feels nice. It provides a lot of warmth for something that’s pretty thin. It’s easy to wash if needed.
I also bought a fun patterned wool blanket from TJ Maxx. Wool is great because it doesn’t hold on to dirt or smells, so it’s great for camping.
If we need more warmth on a trip, I have a large Coleman sleeping bag that we use as an extra blanket. So far, this has worked well.
Lighting
We talked about our off-grid electrical system and lighting in part 2 here. As I mentioned, we have these small LED lights on the ceiling above the table and the bed. We also have one under the kitchen cabinets. These are all dimmable.
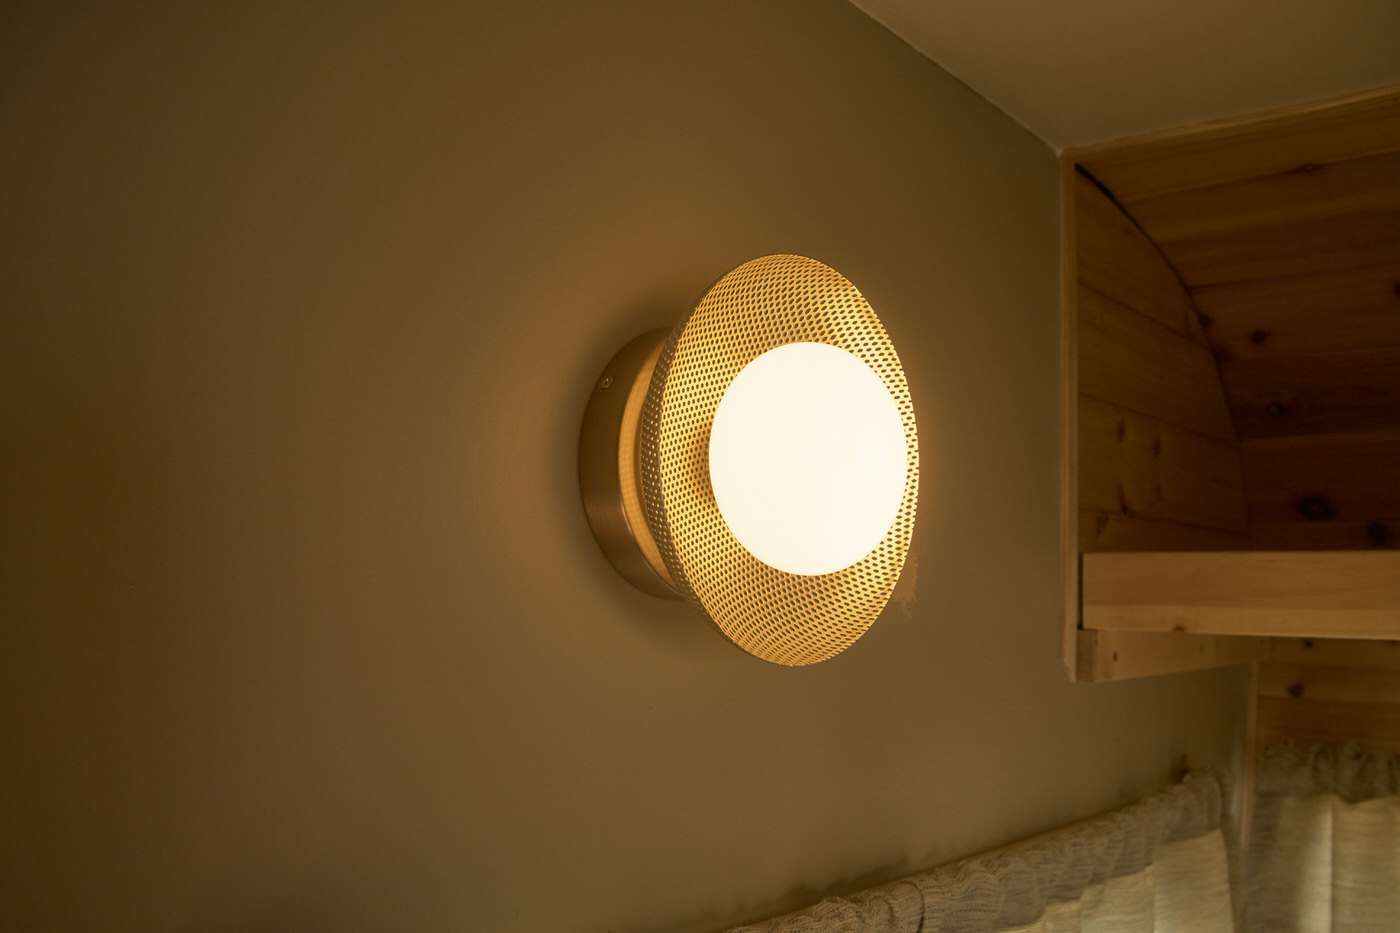
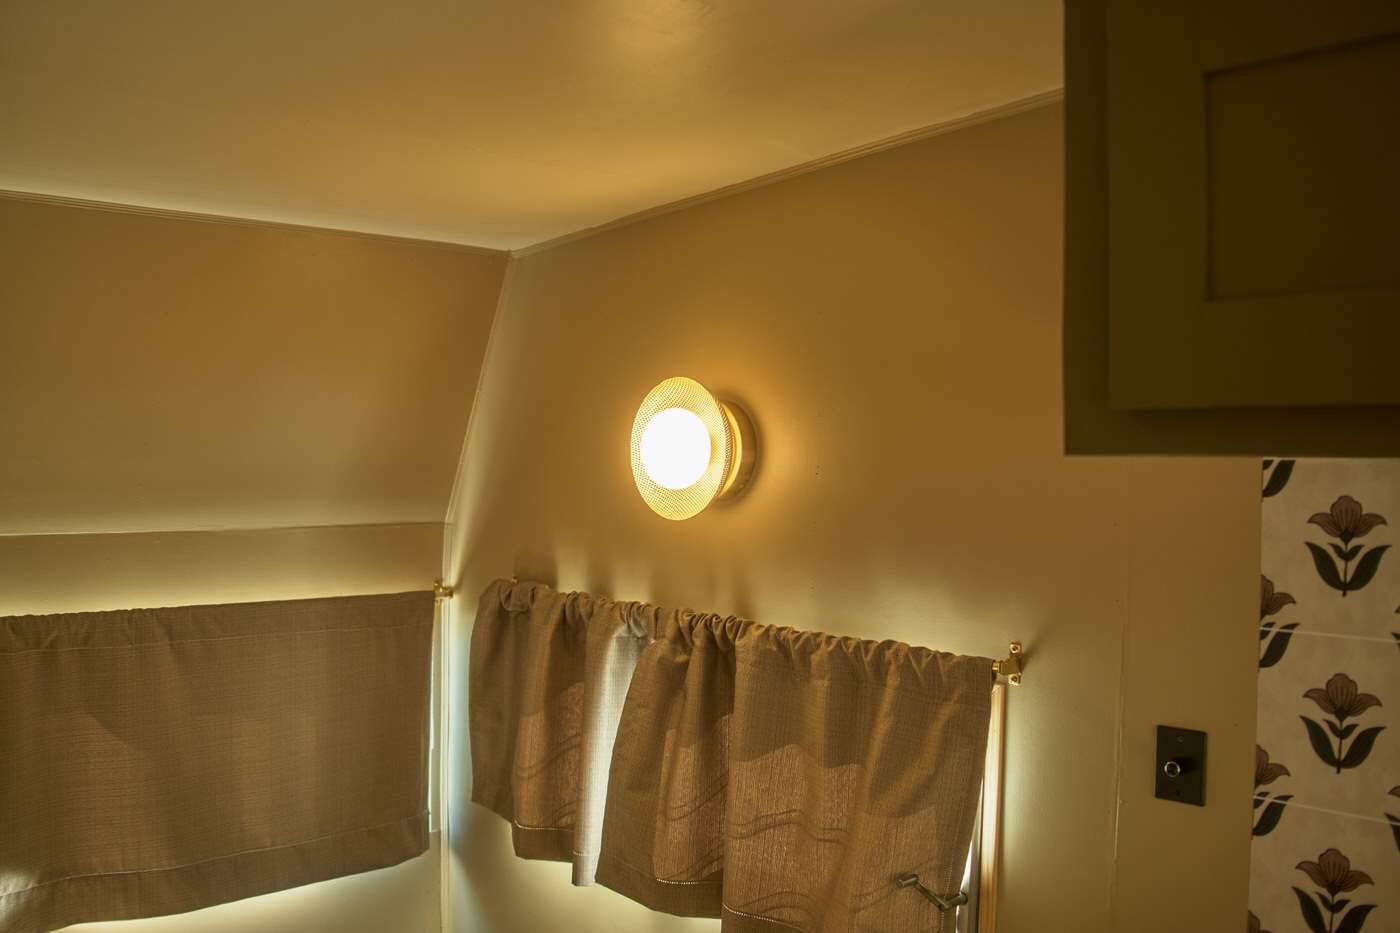
We also have two wall sconces – one by the bed and one by the table. I wanted to have some more funky, fun lights for this area. I found these lights at West Elm (in the perforated metal finish) and I instantly became obsessed.
They’re so unique and they look awesome when the light is on. These lights are technically AC house lights but we wired them up to our 12v system and replaced the bulb with a warm dimmable 12v LED so they work in the trailer.
These wall sconces are also on dimmable switches, which is nice for the evenings. These lights make the trailer feel cozy!

The Flooring in Our Vintage Camper
One of the last things we did on the interior was install the carpet. Now I know what you’re thinking, why would you put carpet in the trailer?
This is yet another decision that I spent a lot of time considering. I read about the pros and cons of every single type of flooring that people use in RVs and campers.
From sheets of vinyl or linoleum, to hardwood, to luxury vinyl planks, to cork, to rubber, to carpet… I considered them all.
Since there wasn’t a perfect choice and each had downsides, I chose carpet for a few reasons.
Carpet is lightweight and affordable. It’s quick to install and breathable. It feels cozy and warm. Plus, it dampens sound. If we ever want, it’s easy to change.
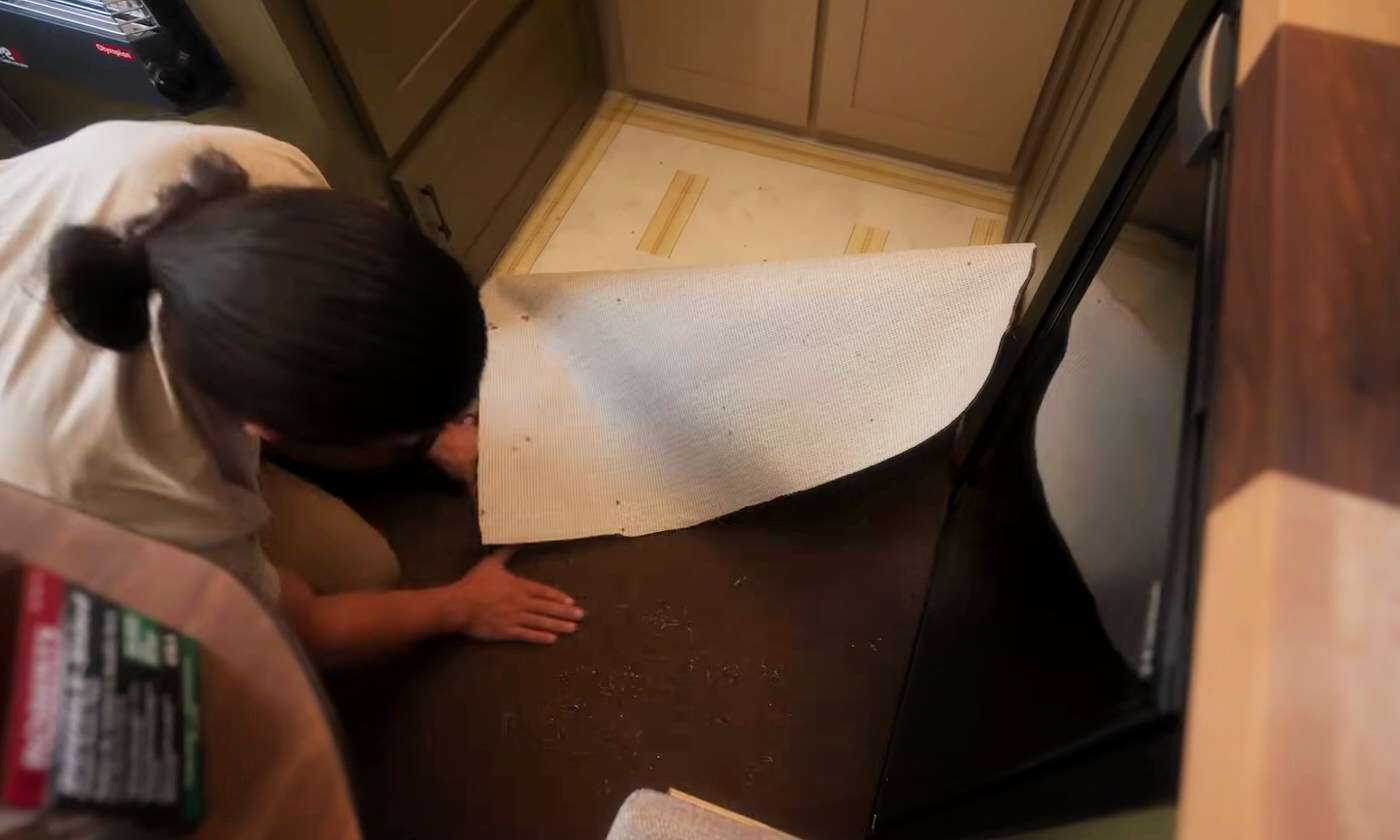
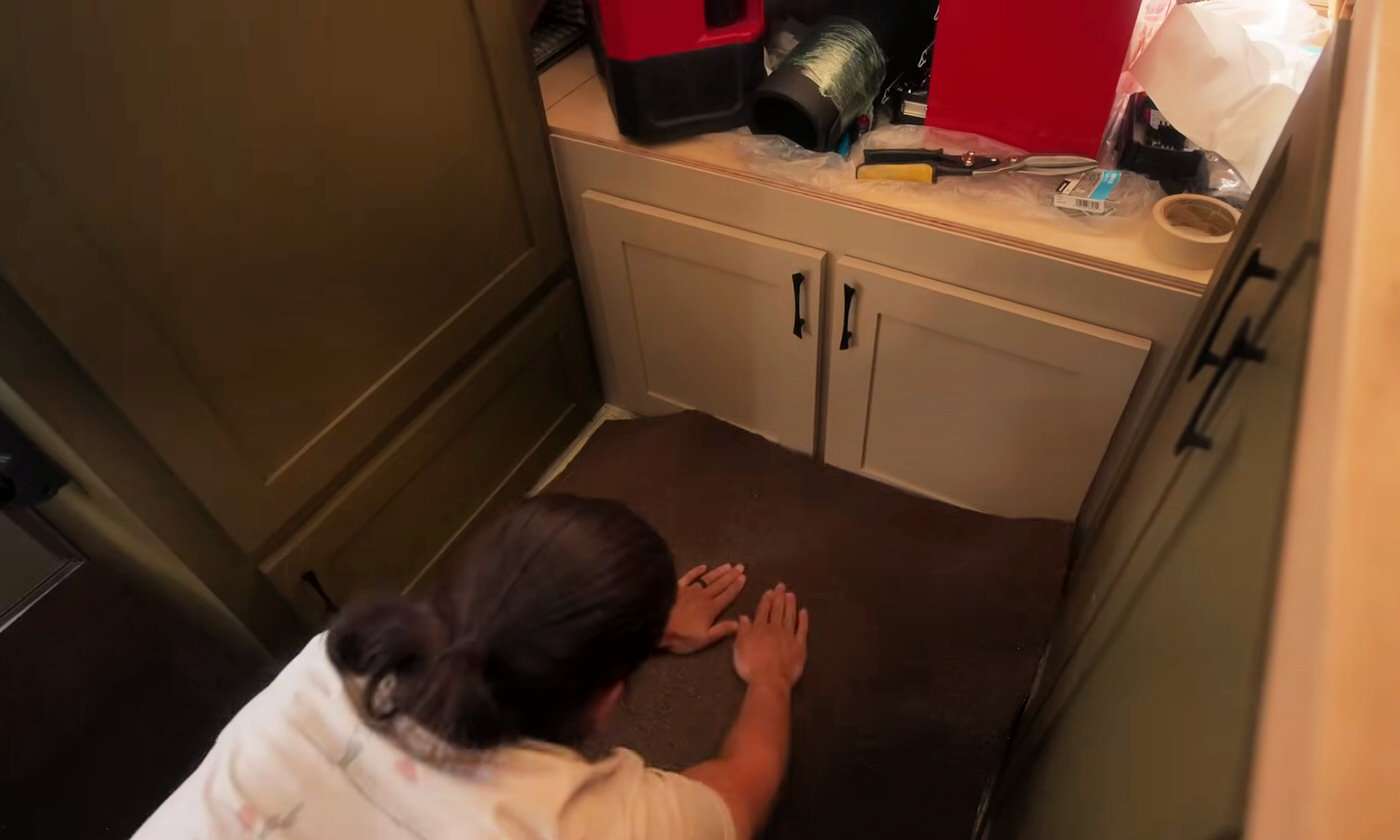
The main con is that it can get dirty. We chose a low pile durable carpet that is also highly breathable, allowing it to dry quickly if water spills on it.
We are very happy with this decision. I love the way it makes the trailer feel cozy.
We chose a dark brown color that will mask any dirt. We also keep an extra piece of carpet by the door to catch any dirt and a small washable rug in the center.
We avoid wearing shoes in the trailer. This way, we keep sand, mud, and snow outside. If we do track in dirt, the double layer of carpet at the doorway helps protect the floor from wear. We love it!
For cleaning, we use this Milwaukee vacuum and it works great for the trailer! We can travel with it and clean up dirt easily on the go.
Phew, we made it through all our small camper interior design decisions! We love the way it turned out.
Now we need to switch gears and talk about painting the trailer’s exterior in Part 6 here!

Save on Pinterest


