Vintage Camping Trailer Kitchen Remodel (1960s Camper Interior)
After a few months of hard work, we’re finally at the part I’m most excited about – the interior design and the kitchen remodel in our small camper!
This post may contain affiliate links. Read my full disclaimer here.
Since I am not an interior designer, and there are a million paint colors to choose from, I was a little overwhelmed…

This post is part 4 of our 1960s vintage camper renovation series. Start from the beginning here or check out the previous post in part 3 here!
In this trailer, there are essentially three rooms in one. We have the table area, the kitchen, and the bed. I wanted all the spaces to feel cohesive while also having some distinction between them.
To start the design process, I wrote down some words that describe how I want the space to look and feel:
- cozy
- earthy
- moody
- natural
- relaxed
- soulful
These words guided me as I looked for paint colors, cushion covers, a bedspread, and a kitchen backsplash. There were a lot of decisions to make!

Vintage Camper Design Concept & Colors
We have a lot of wood in the space, so that brings in some warmth and coziness. But I still needed to decide on paint colors.
I knew that I didn’t want a lot of white in the trailer. I wanted there to be color and pattern.
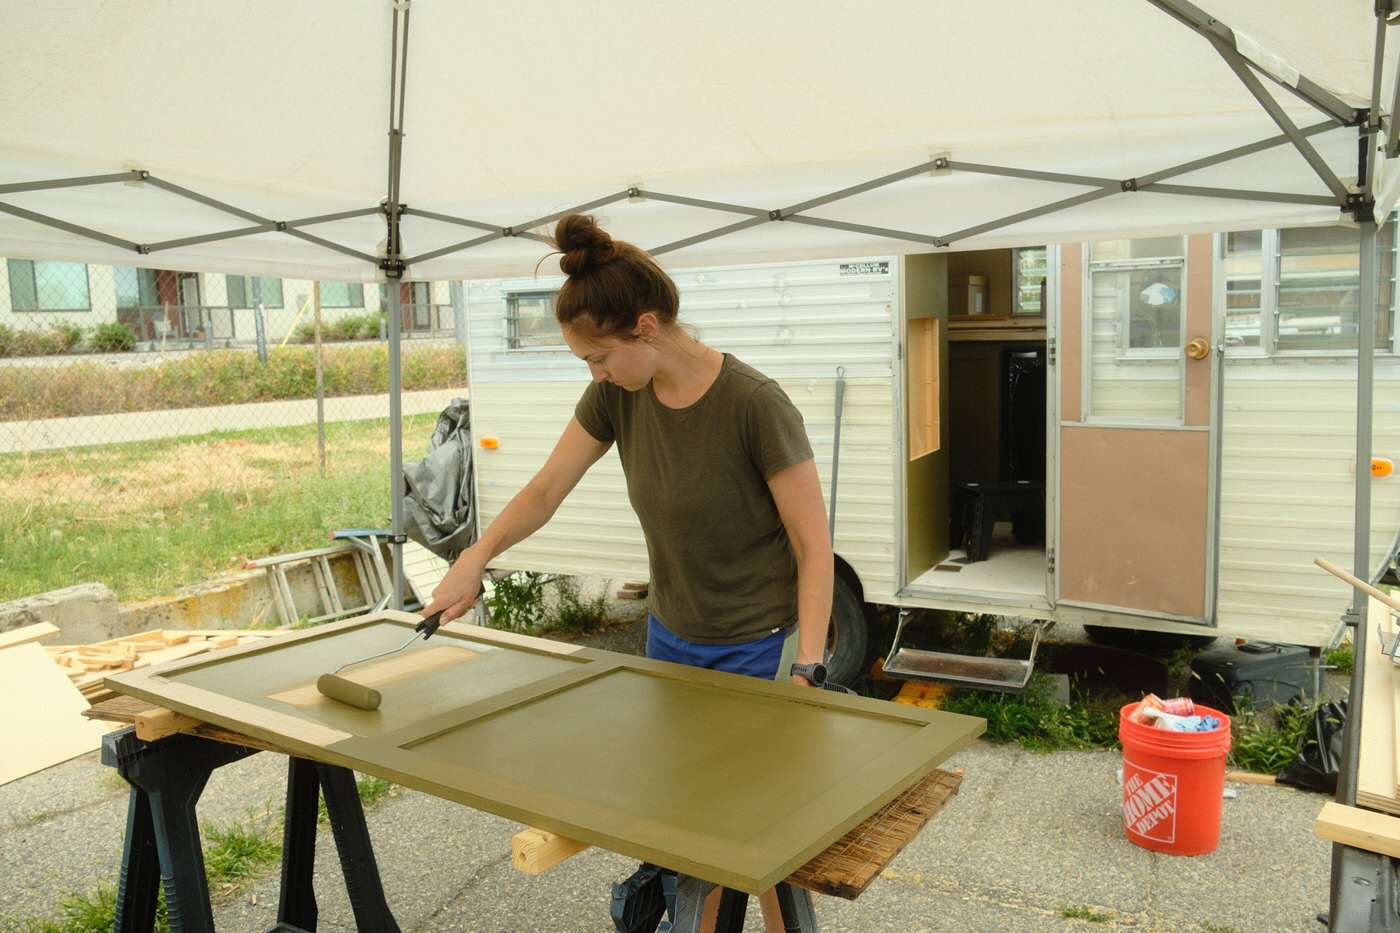
This was so much harder than I thought it was going to be! After some trial and error (which you can see in the video above), I finally decided on an olive green as my main color.
Paint Colors Used in the Camper:
- Behr Riviera Beach – walls
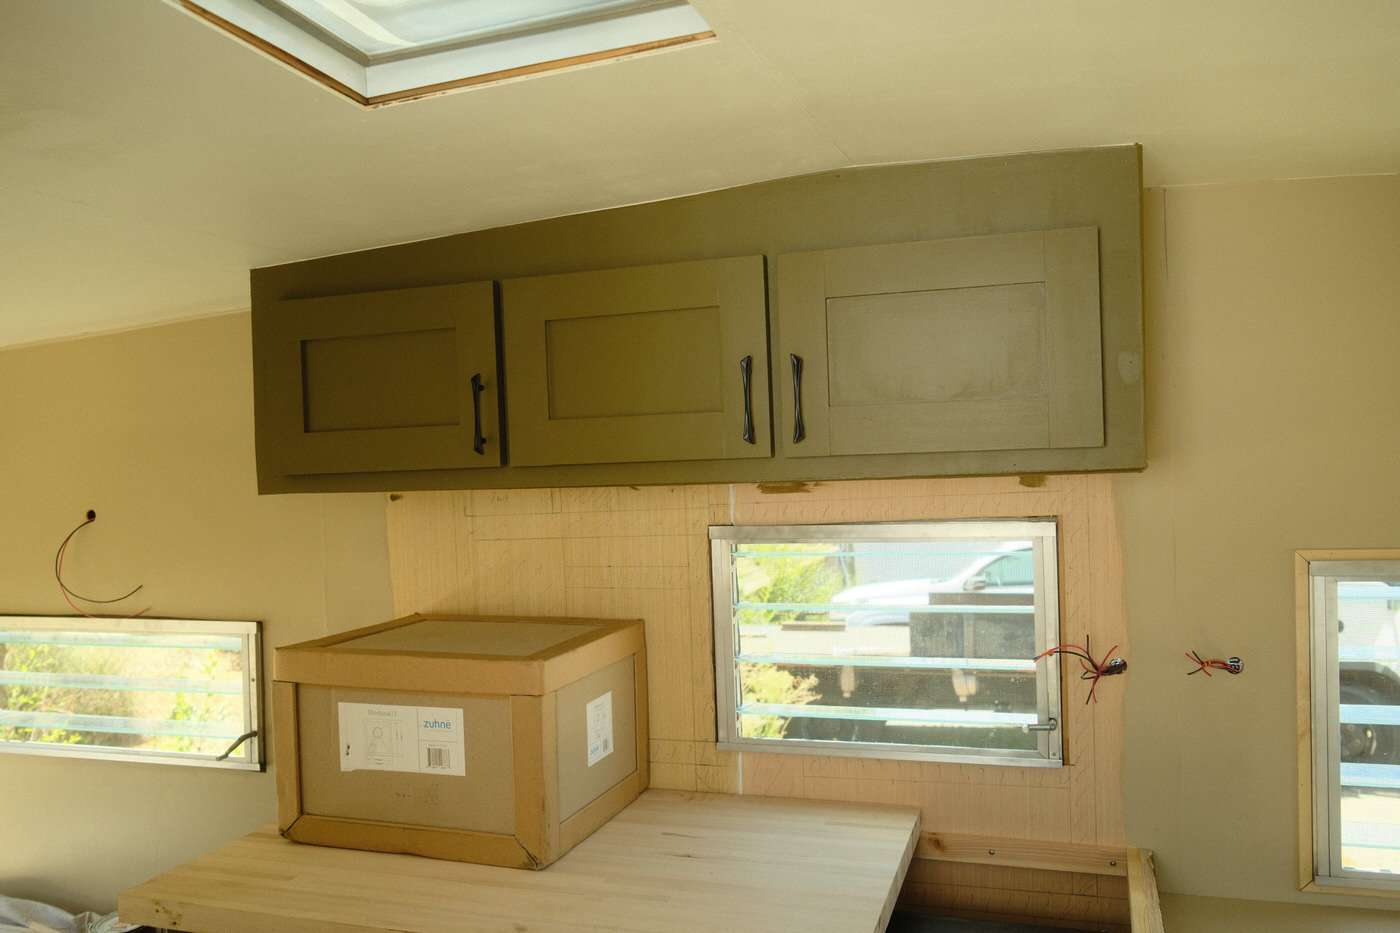
- Behr Adventurer – kitchen and wardrobe cabinet colors, benches
- Behr Off White – ceiling

Small Camper Kitchen Design
Note >> The rest of this post is going to focus on the kitchen. Check out this post here for details on the rest of the interior!
The trailer kitchen remodel was the trickiest part for me to design. We had to decide on a countertop, whether or not we wanted a fridge, the kitchen backsplash, and a sink…
No Stove
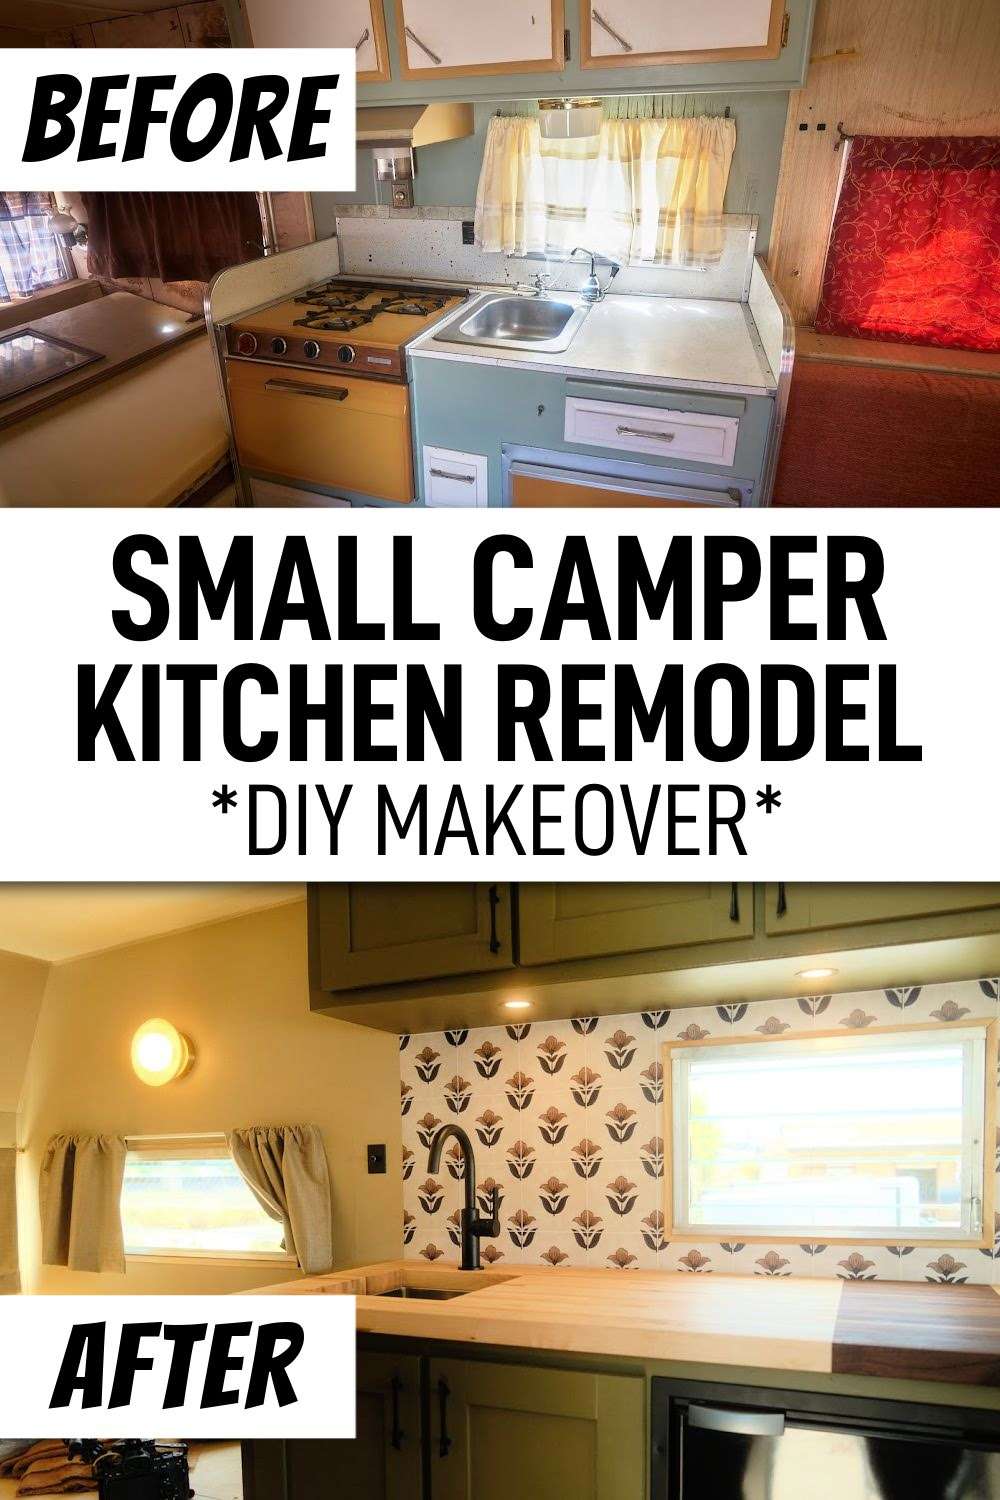
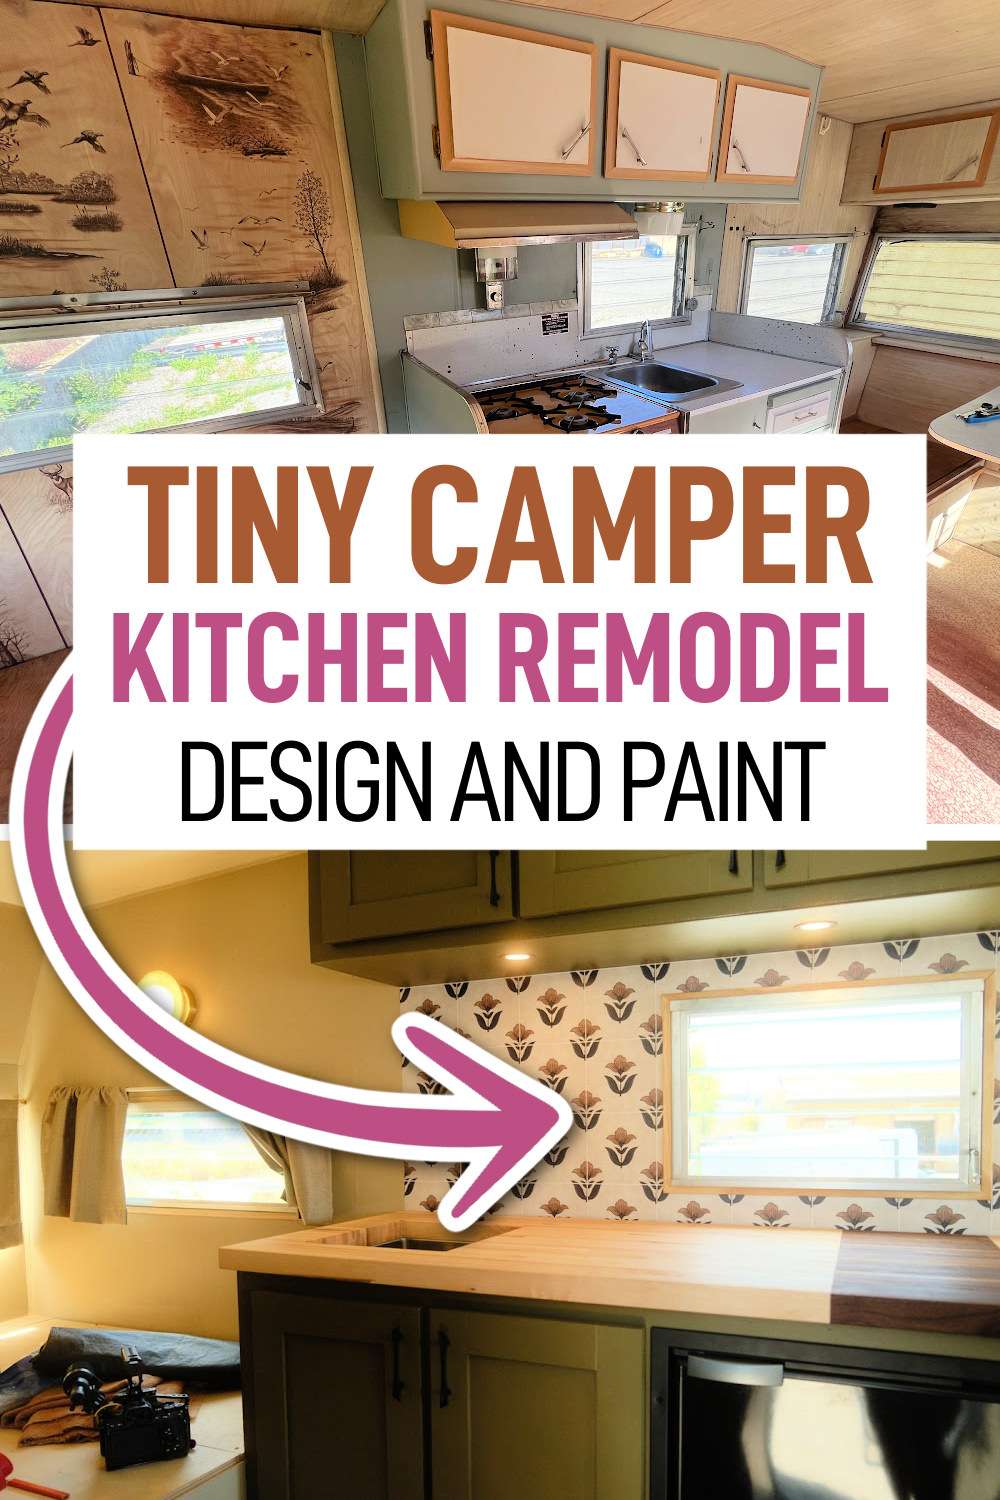
We decided not to put a stove inside the trailer. At first, I fully intended to reuse that awesome yellow stove that came with the trailer. (See before photos here!) I loved it, but it was very big and we weren’t even sure it worked.
We figured that it would take up way too much space for something that we probably wouldn’t use. I would prefer to cook outdoors as much as possible.
So then I thought that we could install a simple two-burner propane stove instead. But after hours of research, I couldn’t find one that I felt safe having installed.
Plus they’re expensive, and if they break in the future, then I’ll have a huge hole in the countertop to deal with.
Again, this is a decision that I’m so happy with. I saw some videos of propane stoves malfunctioning, and I did not want to worry about that in the camper.
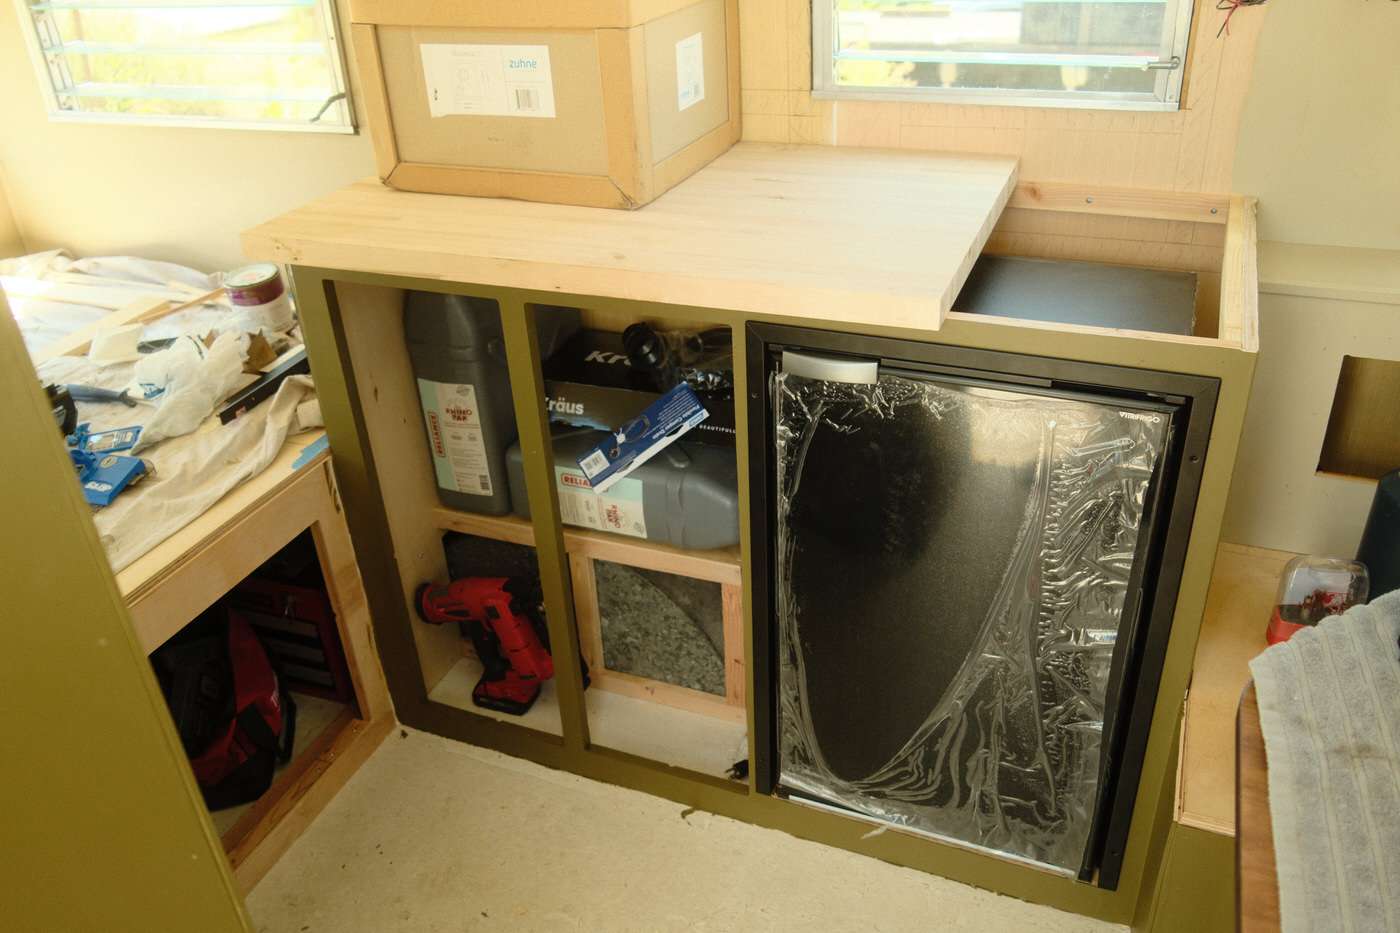
Small Camper Fridge
When we first started planning the trailer rebuild, we did not plan to install a fridge. We wanted to keep it simple, so we planned to use our camping cooler as usual.
As we thought about it more, we realized that a fridge would be so nice on longer trips. But we needed something that would work well with our existing off-grid power system.
After hours of research and reading Reddit threads, we chose to buy a Vitrifrigo 12V fridge.
We did some measurements and decided on the C85i model. This was the priciest item I bought for the trailer, but it was worth every penny.
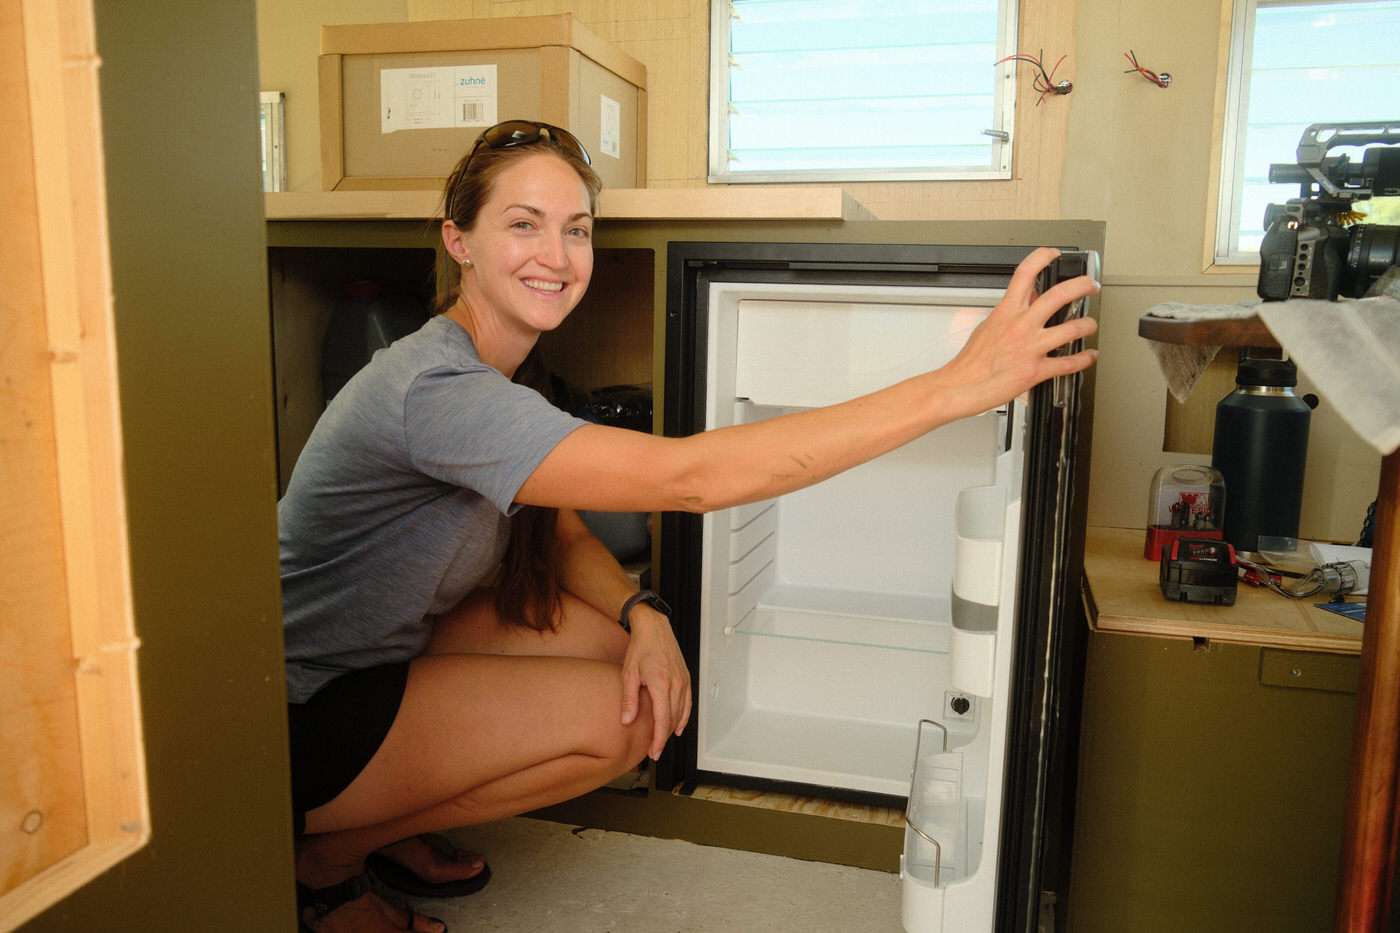
We LOVE having a fridge! This fridge is the perfect size; it’s very quiet while running, and it works with our 12V power system. (See Part 2 here for more details on our electrical system.)
We did have to buy an extra solar panel to keep up with the power demand, but once we got that set up, we were good on power!
Kitchen Countertop
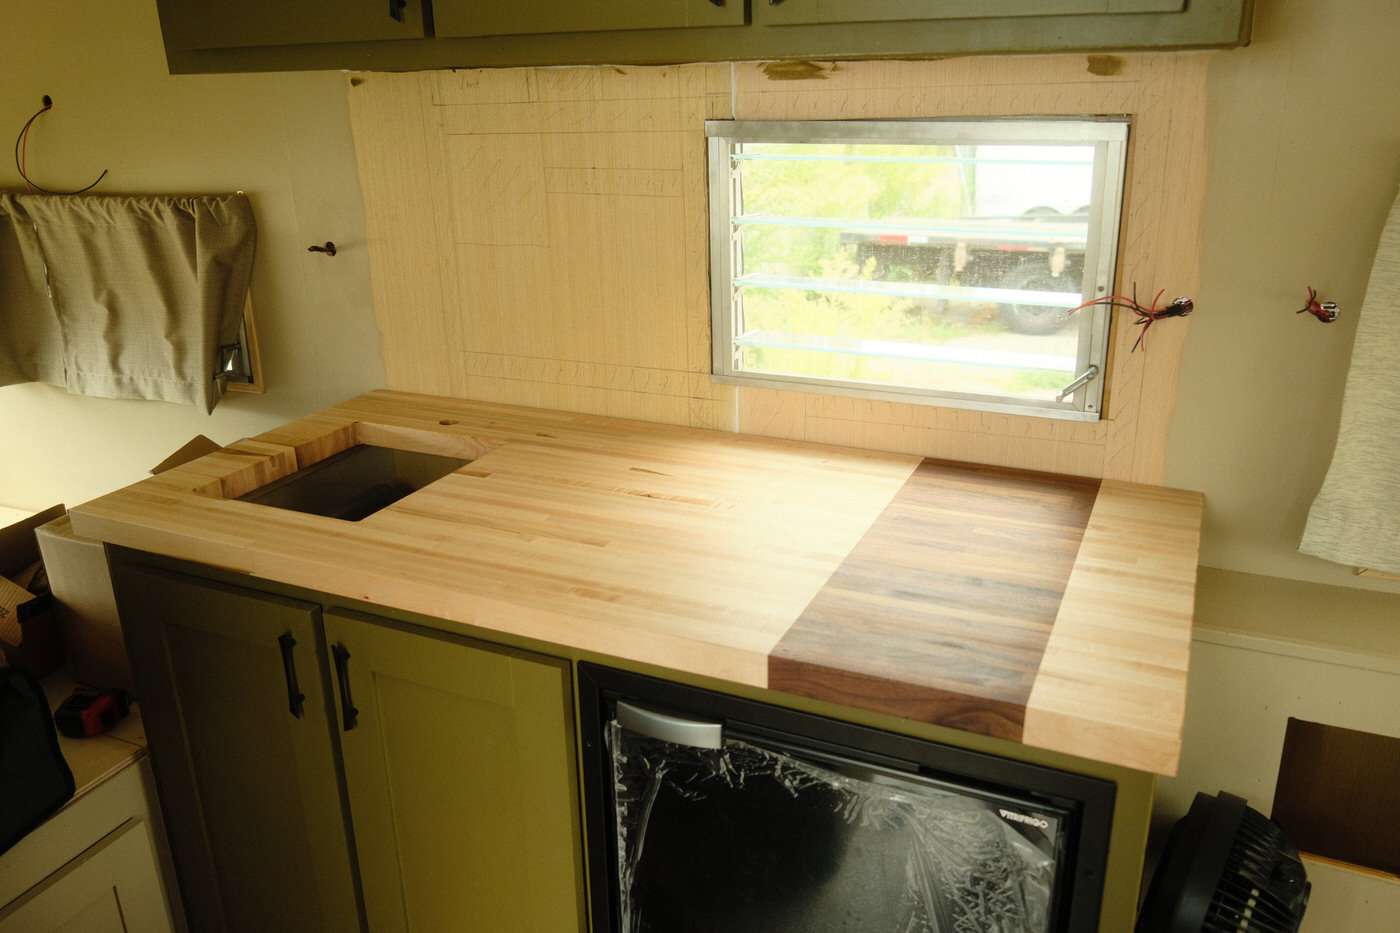
For the kitchen countertop, we decided to go with butcher block. I looked at other options, like solid surface countertops, but they were expensive and heavy.
Our friend had some scrap pieces of butcher block that we used. This saved us a few hundred dollars! Plus, we added a cool design feature by combining two different woods: maple and walnut.
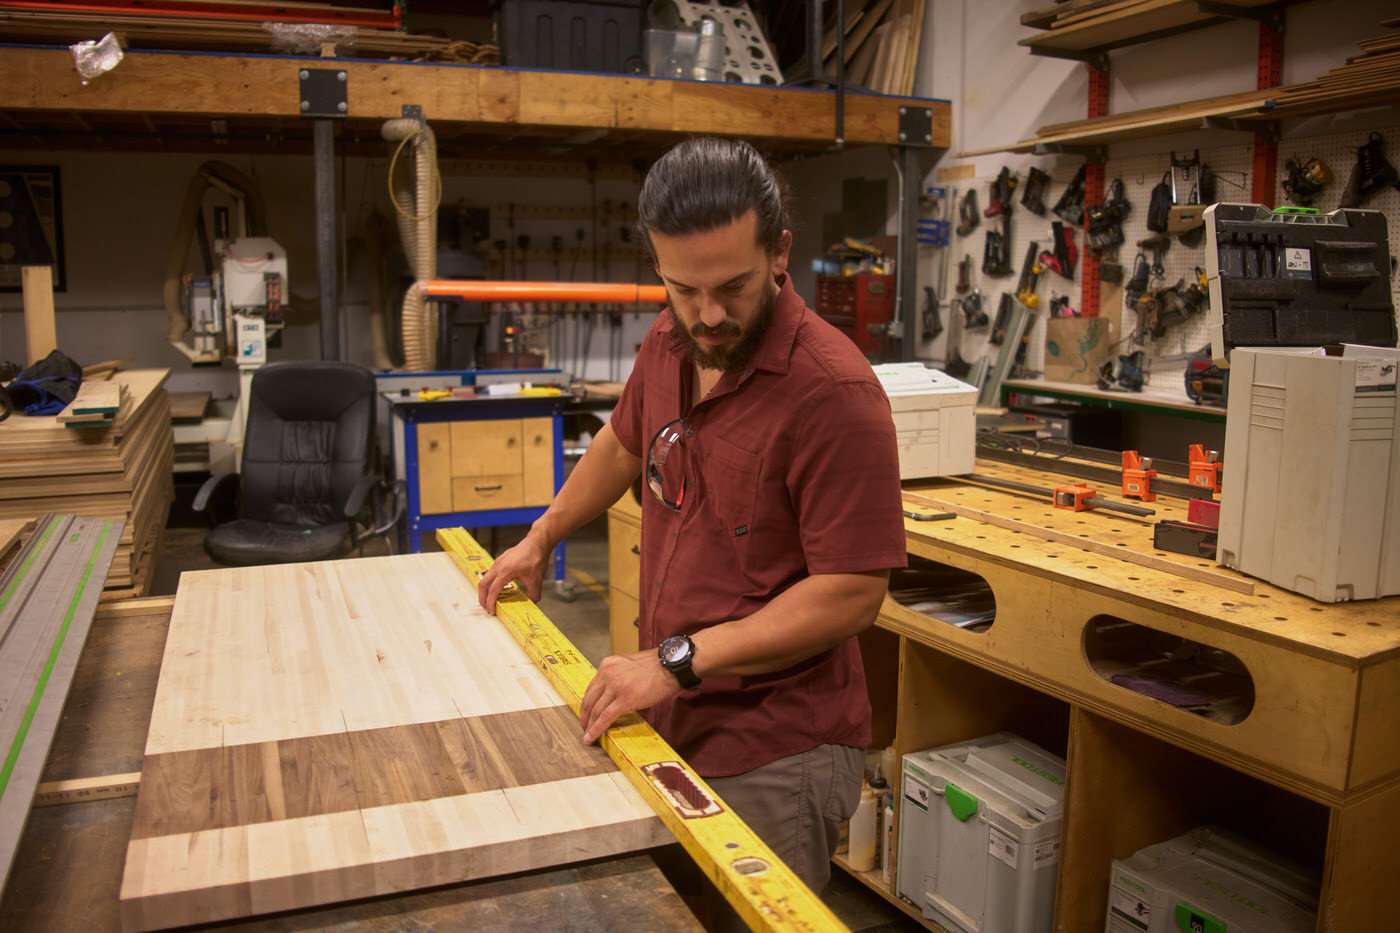
We decided to make the walnut scrap a stripe in the maple, and it turned out really cool!
We used our friend’s workshop to cut and sand the butcher block so it was ready for installation.
I wanted the butcher block to look like the natural wood and not have a shiny coat on it. Even though we don’t cut directly on the butcher block, I didn’t want to use polyurethane.
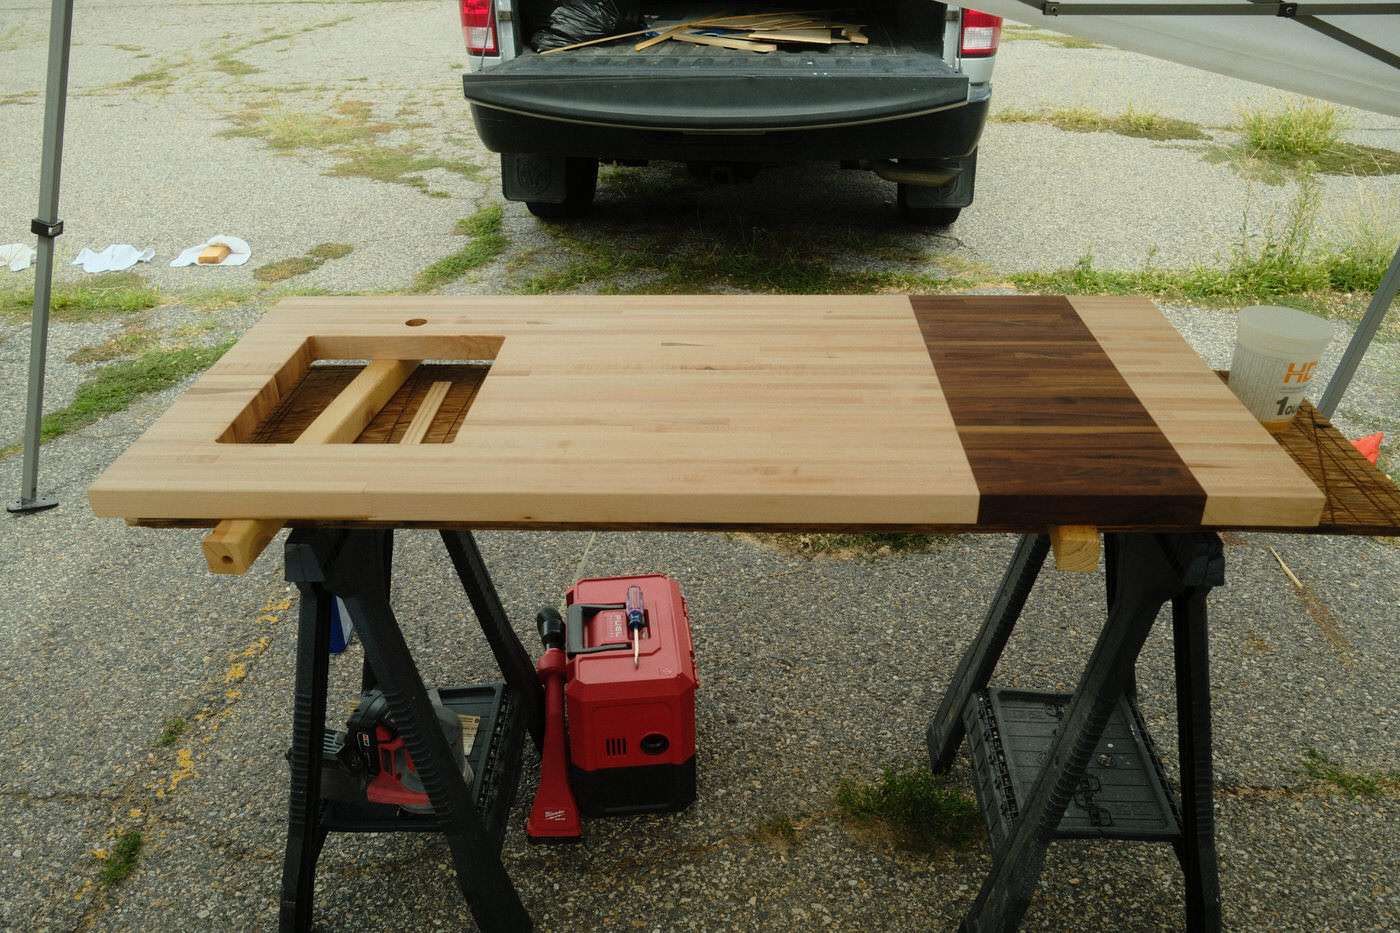
We decided to seal the butcher block with Rubio Monocoat. I liked this product and would use it again on future projects!
We love how the kitchen counter turned out and are so glad we did not install a stove. All the extra counter space is very useful.
Kitchen Backsplash
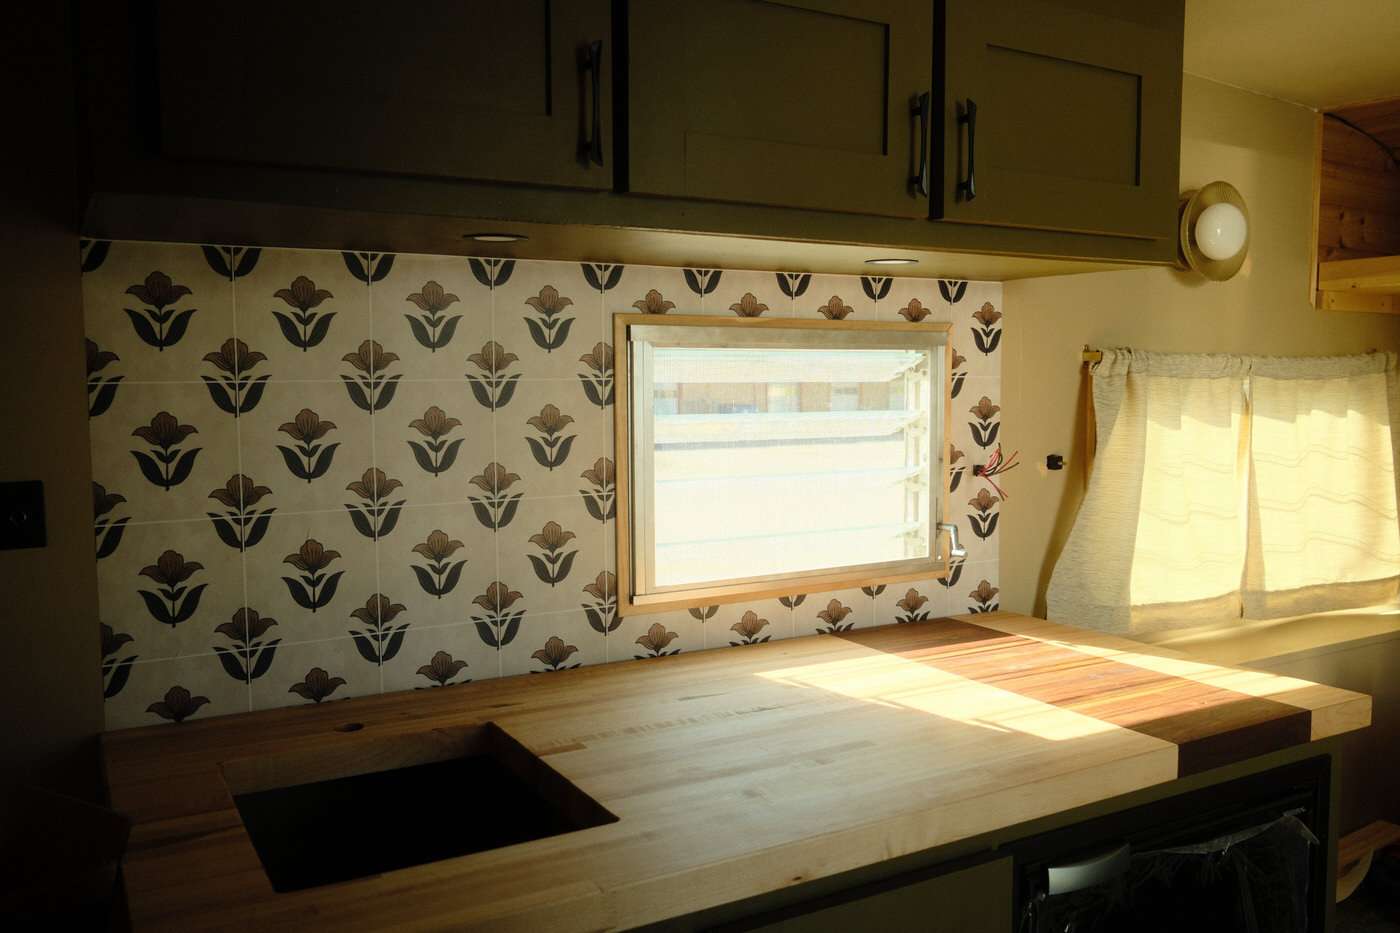
For the kitchen backsplash, I went with a peel-and-stick panel from Quadrostyle.
I originally wanted to use real tiles, but I worried about that in a moving vehicle. It also would add even more weight, so I decided to try the peel-and-stick panel instead.
I figured this would be easy to install and easy to change down the road if we don’t like it or wanted something different.
Installing it was more annoying than I expected, especially since we had to cut out the window opening.
In the end, I like it, but don’t love it. The pattern looks great in the trailer and the quality is nice. But, it’s not the best surface to stick it to, and it already started to peel a bit.
Sink
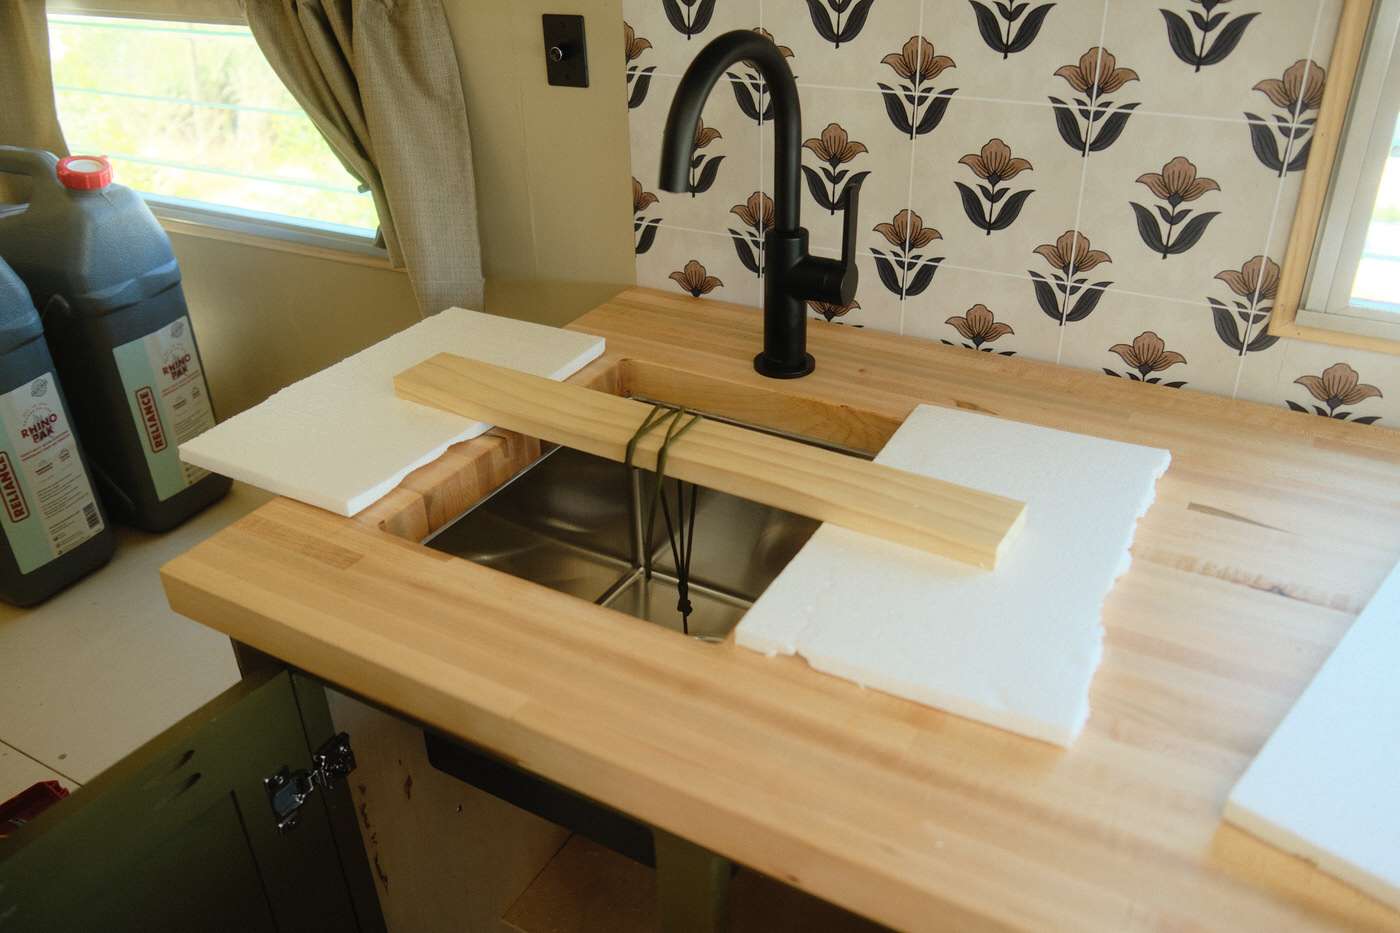
I picked a small stainless steel sink from Amazon. I also chose a matte black faucet to match the cabinet handles.
Nick felt nervous installing an undermount sink for the first time. But, with some YouTube tutorials, it wasn’t too hard. In the end, it turned out great! We used these L-brackets for the installation.
We planned to have a drain and a pump with water jugs under the sink, but so far we have not hooked them up. We can use a water jug outside like we normally do when camping, so this isn’t a priority.

That’s the main design in our small camper kitchen!
Next up in Part 5 here, we’ll talk about designing the bed area, the table, the floor, the lights, and curtains to complete the trailer interior makeover!
More Tiny Camper Remodel Posts:

Save for later on Pinterest!